How to Remove PPF (Paint Protection Film) From Your Car Safely
Removing paint protection film (PPF) comes down to three things: warm the adhesive, lift a corner with a plastic tool, and peel slowly at a low angle instead of pulling the film straight up. What most guides skip is where the risk really sits. SunTek’s FAQ says only a SunTek dealer should remove its film and “highly encourages” dealer removal from original paint, and XPEL says removal leaves the original paint intact when done correctly. Neither speaks for a repainted panel, so this guide covers the DIY method, a risk table by film condition, and the point where you should hand the job to a shop.
Tools and Materials You’ll Need
| Best Film-Lifting Tool Pick | |
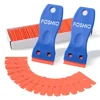 |
FOSHIO Plastic Razor Blade Scraper Set, 2 Scrapers and 100 Blades
|
| View Our Pick on Amazon | |
As an Amazon Associate we earn from qualifying purchases. This is a spec-based pick from the product listing, not a hands-on test. Amazon showed it at $9.89 on October 12, 2026; check the current price.
Keep the kit simple and keep metal away from the paint. This is everything the process below uses.
| Tool or material | What it does | Safety note |
|---|---|---|
| Heat source: hair dryer, heat gun on its lowest setting, or a steamer | Softens the adhesive so the film releases | A heat gun is far hotter than a hair dryer. Keep it moving and never hold it on one spot |
| Plastic razor blade or plastic scraper | Lifts a corner and nudges stuck edges | Never use a metal blade on PPF or paint |
| Isopropyl alcohol or a dedicated adhesive remover | Dissolves leftover adhesive | Flammable: keep away from heat and sparks, see the residue section |
| Clean microfiber towels | Wipes residue and dries the panel | Switch to a clean side often so grit is never dragged over the paint |
| Car wash soap and water | Washes off solvent and dust afterward | Wash the panel before you start as well |
| Nitrile gloves and eye protection | Protects from solvent and hot film | Solvents irritate eyes and skin per their safety data sheets |
Before You Start: Check the Film, the Paint and the Weather
Ten minutes of inspection decides whether this is a DIY job. Look at the film and at the paint around it before you touch a heat source.
- Who installed it, and is it under warranty? SunTek’s FAQ says its warranty has certain restrictions and points owners to a dealer. Read your warranty paperwork or call the installer before you remove film that may still be covered.
- Is it original paint? The maker statements we read (SunTek and XPEL) refer to original or factory paint. None of them addressed a panel that has been repainted after a collision or a respray. If any panel was repainted, treat it as higher risk and test a small hidden spot first, or use a professional.
- What do the edges look like? If the edges are lifting, cracked or the film is yellow and brittle, it will tear into small pieces and take longer. Expect to work in small sections.
- Where and when? Work in shade, on a cool panel, in dry weather. In cold weather SunTek recommends a steamer to soften the film and adhesive, so a cold garage is where a steamer helps most. Direct sun can heat a dark panel unevenly, so keep out of it.
Step-by-Step Guide to Removing Paint Protection Film
Work one panel at a time, and stop if the paint lifts, bubbles or shows any sign of coming away with the film.
Step 1: Wash the panel and tape off trim
Wash and dry the car so grit cannot get under a tool or towel. Mask rubber seals and plastic trim that you do not want to heat or wet with solvent.
Step 2: Warm the film gently and evenly
Warm the panel from edge to edge with slow, sweeping passes, keeping the tool moving. The goal is a film that feels warm and flexible, not a hot panel. No maker page we read (SunTek, XPEL) gives a safe paint temperature, so we will not invent one. A common rule of thumb from detailers is to stop if you cannot comfortably rest your hand on the panel for a couple of seconds, and that is a rule of thumb, not a specification. Use the lowest heat setting and test on a hidden spot first.
Step 3: Lift one corner with a plastic tool
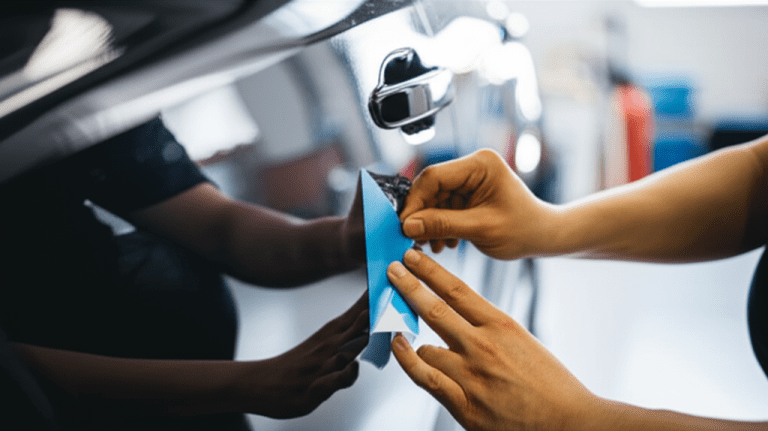
Slide the plastic blade under a corner with the blade nearly flat to the paint. If the corner will not lift, warm it again rather than forcing the tool. Once you can pinch it, put the tool away.
Step 4: Peel low and slow
SunTek says to lift the film at a 45-degree angle and pull it toward yourself, and not to fold it over on itself and rip it off, because that can leave adhesive behind. 3M’s product bulletin for its Series 150 gloss film gives a wider range of 30 to 60 degrees and says a heat gun or steamer can help. In practice, keep the film close to the paint, pull steadily, and add a little heat whenever you feel resistance. If the film starts to tear, stop, warm it and start a new edge.
Step 5: Deal with curves and edges last
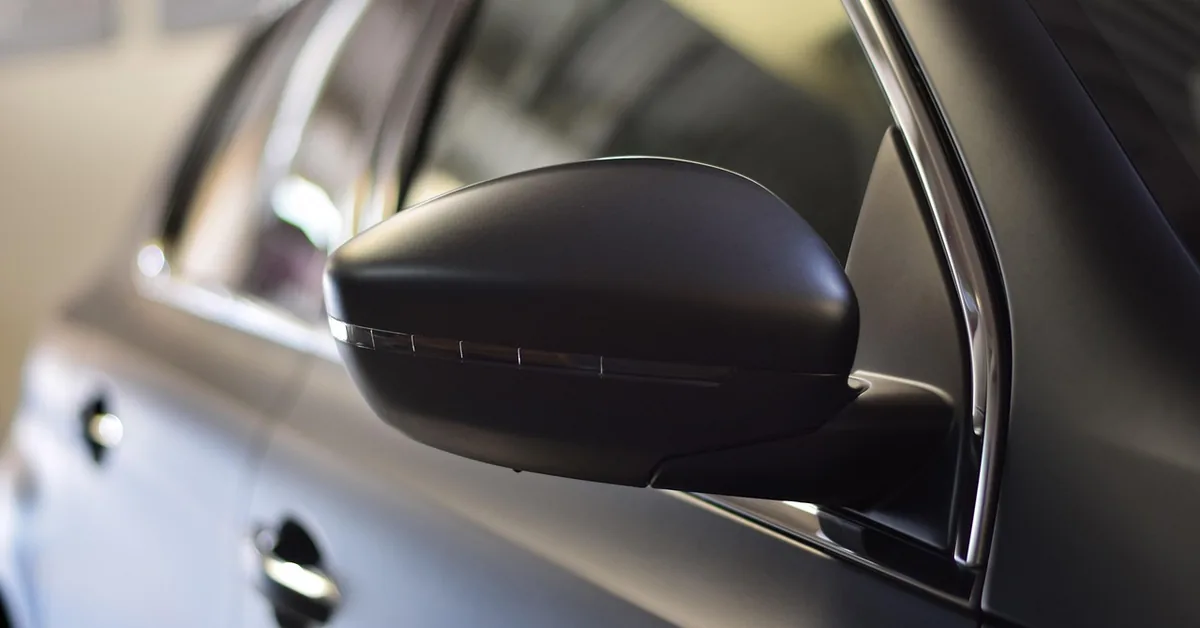
Bumper corners, mirror caps and panel edges are where film wraps around and where it is easiest to stretch the film or snag a loose edge of paint. Peel these in short pulls with extra warmth. If you see paint flaking at an edge, do not keep pulling.
Heat Gun or Steamer: How Much Heat Is Safe?
The honest answer is that the manufacturers do not publish a number we could cite. SunTek mentions a steamer for cold weather, and 3M says a heat gun or steamer can help. A hair dryer is the gentlest option, a steamer is next, and a heat gun gives the most output and the most risk. Whatever you use, the rules are the same: move constantly, stay back from the surface, work in small areas, and let the panel cool between passes.
Two warnings matter more than the exact temperature. First, never heat and use solvent at the same time: a flammable adhesive remover must go on a cool panel, away from the heat source. Second, heat softens plastic trim, headlight lenses and decals around the film, so keep the tool off them.
Removing the Adhesive Left Behind
A film that was warmed properly usually leaves little behind, and any adhesive that stays is easier to remove than it looks. Start with soapy water and a towel, then move up to a solvent only if needed. Our guide to removing adhesive from car paint compares removers by surface and covers the cleanup in more depth, so here is the PPF-specific part.
- Test first. Try any remover on a hidden spot. A 3M adhesive remover listing says it is safe on nearly all cured automotive paints. If a panel was repainted recently, ask the body shop how long to wait before using solvents.
- Treat solvents as fire hazards. 3M’s safety data sheet for its 03618 adhesive remover classes it as an extremely flammable aerosol and says to keep it away from heat, sparks, open flames and hot surfaces. The New Jersey Department of Health fact sheet for isopropyl alcohol calls it a flammable liquid with vapor heavier than air. So no heat gun while the panel is wet with solvent, no smoking, and no spraying near a pilot light or running engine.
- Ventilate and protect yourself. Work outdoors or with the garage door open, wear gloves and eye protection, and read the label for your specific product.
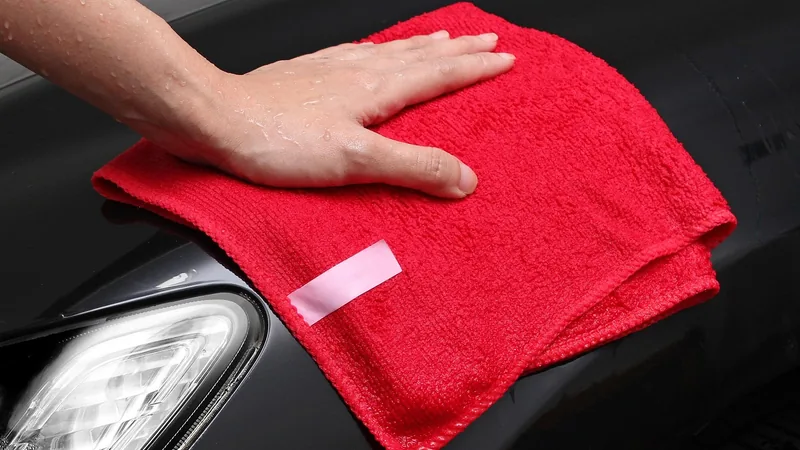
- Soak, do not scrub. Wet a towel, rest it on the residue for a minute, and wipe in one direction with light pressure. Then wash the area with car soap to remove solvent.
PPF Removal by Condition: Method, Paint Risk, DIY or Pro
Use this table as general guidance, not a guarantee. The paint risk column reflects what the maker statements above do and do not cover.
| Film or paint condition | Best method | Paint risk | DIY or pro |
|---|---|---|---|
| Newer film on original paint, edges tight | Low heat or steamer, plastic corner lift, slow low-angle peel | Lowest: makers say removal leaves original paint intact when done correctly | DIY is reasonable if you are patient |
| Old film, yellowed or brittle | Short sections, more frequent re-warming, expect tearing | Moderate: more adhesive left behind and more time at the panel | DIY possible; pro if the film crumbles badly |
| Edges lifting or already peeling | Start at the loose edge, warm it, peel slowly | Moderate: lifting edges can carry loose paint at the very edge | DIY with a test spot |
| Film over a repainted panel | Test a small hidden area; slowest possible peel | Higher: maker statements do not address repainted paint | Pro, or ask the body shop that did the paint |
| Film still under warranty | Contact the installer first | Warranty risk, not only paint risk | Installer or authorized dealer |
| Paint already chipped, flaking or peeling under the film | Do not peel it yourself | High: the film may be holding loose paint on | Pro assessment before removal |
| Heavy adhesive residue after removal | Soap, then a tested solvent on a cool panel, soak and wipe | Low to moderate, depends on solvent and cure of paint | DIY with ventilation and fire precautions |
When to Call a Professional
SunTek says only a SunTek dealer should remove its film. You can still do it yourself, but call a professional if any of these apply.
- The film is under warranty or you are not sure who installed it.
- Any panel under the film has been repainted or has chips and flaking paint.
- The film is old enough that it tears into small pieces as you lift it.
- Paint begins to lift, bubble or come away with the film. Stop and do not pull any further.
- You do not have a shaded, ventilated place to work.
We are not quoting a price range here because we could not verify one from a source. Ask local installers for a quote based on your car and how much film is on it.
After Removal: Inspect, Polish or Re-Protect
Wash the area and look at it in good light. You may see a faint edge line where the film ended, or a slight difference in gloss between covered and uncovered paint. Light edge lines and dull spots can often be improved by polishing, and our beginner guide to how to cut and buff a car explains pad and compound choices and how much clear coat you have to work with. Do not polish a panel that has chipped or thinned paint without checking first.
If you plan to protect the paint again, our explainer on what paint protection film does and what it costs helps you decide between new film and other coatings, and our comparison of paint protection films covers the options. For daily care of film that stays on the car, see how to wash a car with PPF. If your film is a thinner clear bra or protective layer rather than full PPF, our clear bra removal guide covers that case.
FAQs
How do you remove PPF from a car?
Warm the film gently and evenly, lift a corner with a plastic tool, and peel slowly at a low angle, adding heat whenever you feel resistance. SunTek recommends lifting at about 45 degrees and pulling toward yourself, and not folding the film over and ripping it off. Then clean any adhesive and wash the panel.
Will removing PPF damage my paint?
Makers such as XPEL say removal leaves original paint intact when done correctly, and SunTek recommends a dealer for removal from original paint. None of the maker statements we read covered repainted panels, so those carry more risk. Stop if paint begins to lift.
Can I use a heat gun to remove paint protection film?
3M says a heat gun or steamer can help, and SunTek recommends a steamer in cold weather. A heat gun has the most output of the three options, so use the lowest setting, keep it moving and never hold it on one spot. A hair dryer is the gentlest choice.
What removes the adhesive left after PPF?
Start with soap and water, then try a tested adhesive remover or isopropyl alcohol on a cool panel, soaking a towel and wiping gently. Both are flammable per their safety information, so keep them away from heat and sparks and ventilate the area.
Does DIY PPF removal void the warranty?
It can. SunTek’s FAQ says its warranty has certain restrictions and refers owners to a dealer. Check your warranty paperwork or ask the installer before you remove any film that might still be covered.
When should I let a professional remove PPF?
Choose a professional if the film is under warranty, if the panel was repainted, if paint is chipped or flaking under the film, or if the film is so old that it tears into small pieces. SunTek recommends a dealer for removal from original paint.
Products related to this article
Sponsored / affiliate links. As an Amazon Associate I earn from qualifying purchases. I may earn additional commission from eligible campaigns.