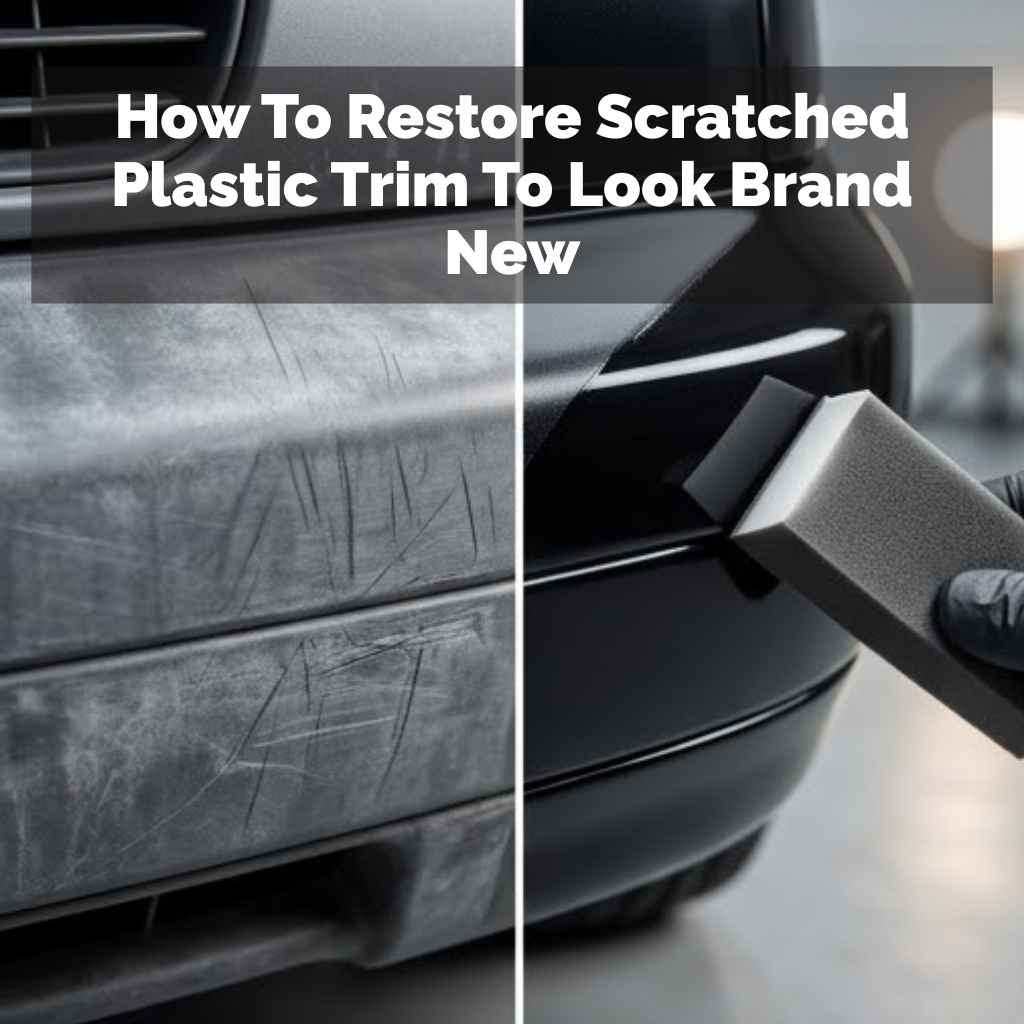
How To Restore Scratched Plastic Trim To Look Brand New
Restoring scratched plastic trim involves cleaning, applying a suitable repair compound or heat, and finishing with a protective coating. Several methods exist, from DIY solutions to specialized products, aiming to fill, smooth, or recolor the damaged areas for a like-new appearance.
Understanding Plastic Trim and Scratches
Plastic trim is everywhere on modern cars. It’s on the bumpers, door handles, window frames, and inside on the dashboard, door panels, and center console. These parts are usually made from various types of polymers.
Some are hard and rigid. Others are more flexible. This design helps protect the car’s body.
It also adds to the car’s look.
Scratches happen easily. They are usually superficial. This means they don’t go deep into the plastic.
However, even small scratches can look bad. They catch the light. This makes them look white or dull.
This dullness is often called hazing. It happens because the scratch lifts or compresses the plastic fibers. This disrupts the smooth surface.
It stops light from reflecting evenly.
The type of plastic matters. Some plastics are painted. Others have a textured finish.
Some are smooth and glossy. Each type might need a slightly different approach. For example, a soft, textured trim piece can be easily damaged.
A smooth, glossy piece might show scratches more clearly.
Knowing what you’re dealing with helps. Is it a deep gouge? Or is it just a surface scuff?
Most of the time, what looks like a deep scratch is just a surface issue. The good news is that most of these can be fixed. We can bring back that deep, rich color.
We can make the surface smooth again.
My Own Trim Nightmare
I remember this one time, I had just bought a used SUV. It was gorgeous, but the black plastic trim around the windows was awful. It looked like it had been attacked by a pack of wild squirrels.
White streaks everywhere. It really took away from the car’s shine. I felt a pang of disappointment every time I saw it.
I thought about replacing the whole trim. That seemed like a lot of money and work.
I started researching online. I found all sorts of crazy ideas. Some people said to use toothpaste.
Others mentioned olive oil. I was skeptical. I decided to try a more common method first.
I bought a plastic trim restorer kit. It came with a cleaner and a liquid dressing. I cleaned the trim thoroughly.
Then I applied the dressing. It looked better, but the deeper scratches were still visible. It was a small improvement, but not what I hoped for.
Then I stumbled upon a forum where people talked about using heat. Specifically, a heat gun. My heart sank a little.
Heat? On plastic? That sounded risky.
I pictured melting my trim into a puddle. But the forum members swore by it. They said it worked wonders for restoring faded and lightly scratched plastic.
They warned to use it carefully and sparingly. I decided to give it a try on a small, hidden area first. I held my breath and applied a quick burst of heat.
Slowly, magically, the dull white lines seemed to melt back into the black plastic. It was amazing!
This experience taught me a lot. It showed me that sometimes the simplest solutions are the best. It also showed me the importance of understanding the material you’re working with.
And that a little bit of caution can go a long way. It’s not just about products; it’s about technique too.
Plastic Trim Types Explained
Smooth Glossy Plastic: Often found on interiors or newer car exterior trim. Scratches show easily. Needs careful polishing.
Textured Plastic: Common on bumpers and lower trim. Scratches can be less obvious but cause fading.
Painted Plastic: Some trim pieces are painted to match the car body. These need paint-specific repair if scratched through the clear coat.
Unpainted Hard Plastic: Very durable but can still haze over time.
The Gentle Approach: Cleaning and Buffing
Before any major repair, a good clean is essential. Dirt and grime can hide scratches. They can also get in the way of repair products.
Use a good car wash soap. A soft brush or microfiber cloth works best. Get into all the nooks and crannies.
For stubborn dirt, a dedicated plastic cleaner can help. Follow the product instructions carefully.
Once it’s clean and dry, you can try a gentle buffing. This works well for very light scuffs. Use a microfiber cloth.
You can add a little bit of a plastic polish. This is not an abrasive cleaner. It’s more like a very fine polish.
Rub in a circular motion. Then wipe away the residue. You might see a slight improvement.
This step helps remove the top layer of haze.
Another method that sounds strange but can work is using a plastic cleaner that also has a light filling agent. These products are designed to fill in tiny imperfections. They create a smoother surface.
Apply a small amount to a microfiber applicator pad. Work it into the scratched area. Then buff off the excess with a clean cloth.
This can make minor scratches disappear.
Some people swear by baking soda paste. Mix baking soda with water. Make a thick paste.
Apply it gently to the scratch with a soft cloth. Rub in small circles. Then wipe it clean.
This is a very mild abrasive. It can help remove light hazing. Always test this on an inconspicuous area first.
You don’t want to make the problem worse.
Quick Tip: Microfiber is Your Friend
Always use clean microfiber cloths. They are soft. They won’t create new scratches.
Have a few on hand for cleaning, applying, and buffing. Fold them to use a clean side for each step.
Filling the Gaps: Trim Restorers and Fillers
When cleaning isn’t enough, it’s time for products that actually fill or smooth the scratch. There are many types of trim restorers. Some are liquid dressings.
Others are pastes or creams. They often contain oils or polymers. These fill the voids in the plastic.
They also darken the trim. This makes the scratch less visible.
For deeper scratches, you might need a specialized plastic filler. These are often two-part epoxies or putties. You mix them together.
Then you apply them to the scratch. They harden. You can then sand them smooth.
After sanding, you might need to re-texture or paint the area. This is a more involved repair. It’s best for larger damage.
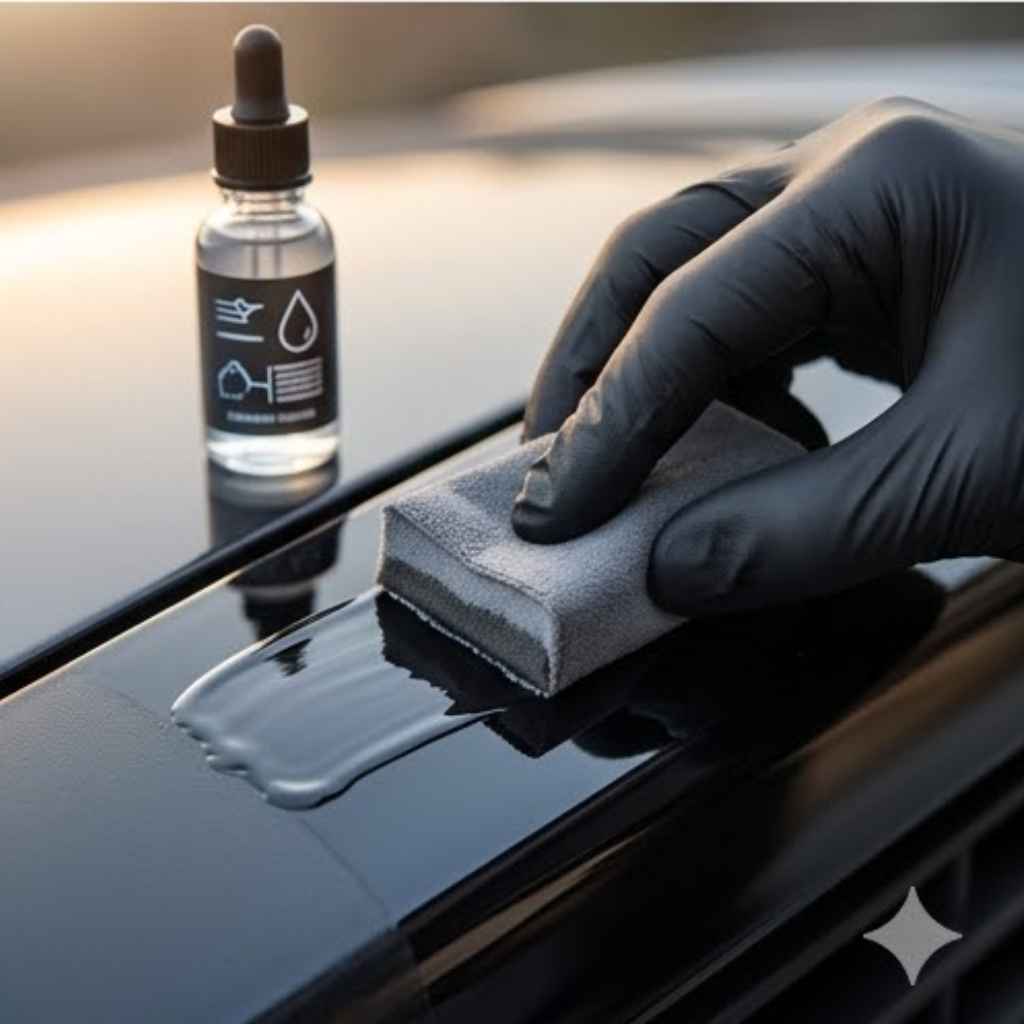
When using a trim restorer, follow the directions precisely. Most involve applying the product to a foam applicator. Then working it into the scratch.
Let it sit for a moment. Then wipe away any excess. You might need to repeat the process.
Some restorers offer a more permanent fix. Others need to be reapplied every few months.
I used a popular brand of trim restorer on my side mirror caps. They had faded to a chalky gray. The restorer brought back the deep black.
The tiny scuffs were much less noticeable. It looked like new. The key was applying it evenly.
I also made sure to wipe off all the excess. Any residue left behind can attract dust.
The type of restorer matters. Some are silicone-based. They provide a glossy look.
Others are water-based. They offer a more natural, matte finish. Choose one that matches the original look of your trim.
If you’re unsure, go for a product designed for a natural finish. You can always add a gloss enhancer later if you want.
Product Spotlight: Trim Restore & Protectant
What it does: Fills minor scratches and fades. Restores original color and luster. Often contains UV inhibitors to prevent future fading.
How to use: Apply to a clean, dry surface. Use a foam applicator. Work into the scratch.
Wipe off excess. May require multiple applications.
Best for: Light to moderate scratches, faded plastic.
The Heat Method: A Careful Touch
The heat gun method is powerful. It can revive heavily faded and lightly scratched plastic. It works by gently melting the surface layer of the plastic.
This smooths out the rough spots. It brings back the original color. But it needs extreme care.
Too much heat can warp or melt the plastic completely. This is not a fix; it’s a disaster.
You’ll need a heat gun. A variable temperature setting is ideal. Start on the lowest setting.
You’ll also need a cloth or a spray bottle of water. Keep water nearby to cool the area quickly if needed. Work in a well-ventilated area.
The plastic fumes can be strong.
Hold the heat gun at least 6 inches away from the trim. Move it constantly. Never hold it in one spot.
Wave it back and forth. Apply heat in short bursts. Watch the plastic closely.
You’ll see the color start to deepen. The haze will disappear. As soon as the color looks restored, move the heat gun away.
Immediately wipe the area with a damp cloth. This cools it down. It stops the plastic from overheating.
You might need to repeat this process on stubborn areas. But go slow. Patience is key here.
This method is very effective on textured plastic like that found on many car bumpers and trim pieces.
I tried this on my old pickup truck’s bumper. The plastic was completely white and chalky. It looked terrible.
I was nervous. I used my heat gun on the lowest setting. I kept it moving.
Within seconds, the black color reappeared. It was like magic. I had to do it in a few passes.
But the result was incredible. The bumper looked almost new. It was a game-changer.
It’s important to note that this method works best on unpainted plastic. If your trim has a clear coat or paint on it, this could damage that finish. Always test in an inconspicuous area first.
Even a small corner of a bumper can tell you if this method is right for your trim.
Heat Gun Safety First!
Ventilation: Always work outside or in a very open garage.
Temperature Control: Start low. Increase slowly only if needed.
Constant Motion: Never stop moving the heat gun.
Distance: Keep the gun at least 6 inches away.
Cooling: Have water or a damp cloth ready.
Test Area: Always test on a hidden spot first.
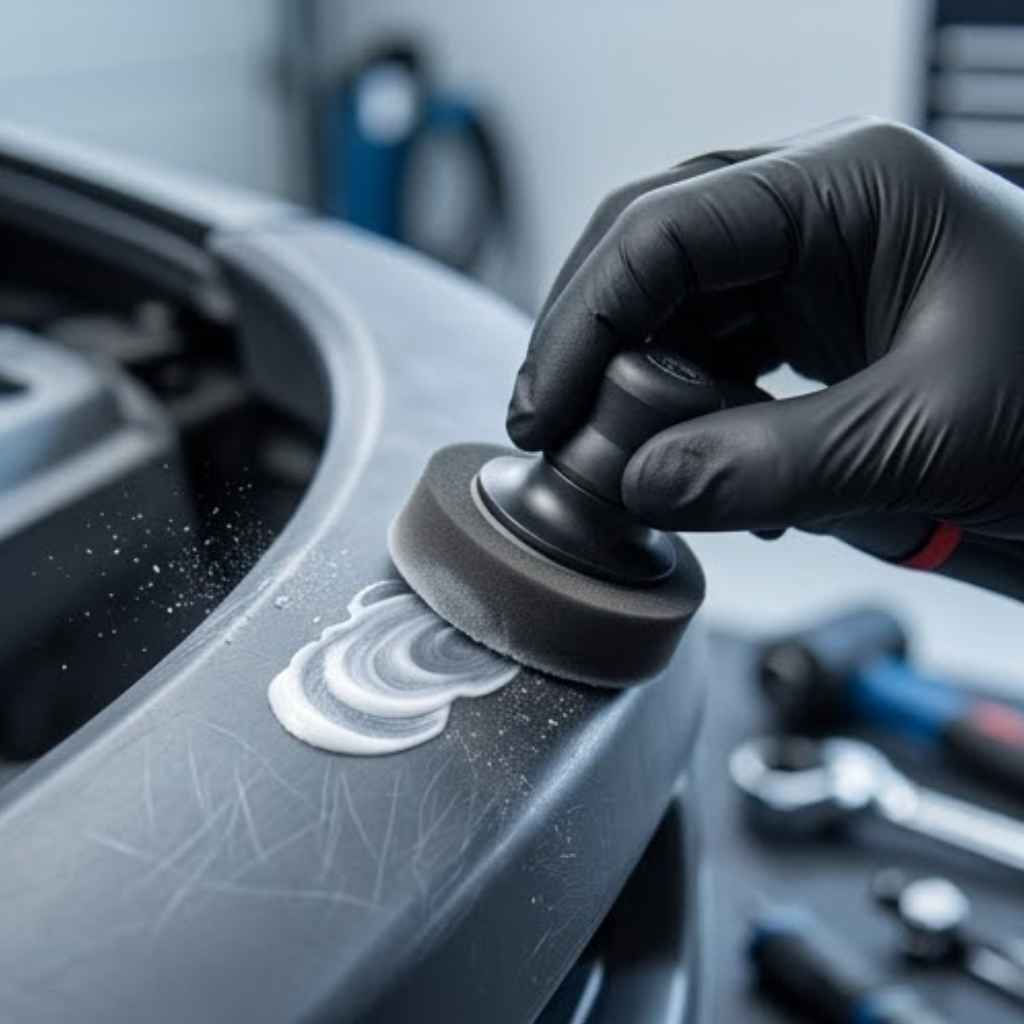
The Polishing and Compound Route
For scratches on smooth, glossy plastic, polishing is a great option. This is similar to how you would polish car paint. You’re essentially removing a very thin layer of plastic to smooth the surface.
You’ll need a plastic polish or a rubbing compound designed for plastic. Start with a less aggressive polish.
Apply a small amount of polish to a clean microfiber applicator pad. Work the polish into the scratch using firm, circular motions. Work in small sections.
You’ll feel the resistance change as the plastic becomes smooth. After a minute or two, wipe away the residue with a clean microfiber cloth. Inspect your work.
If the scratch is still there, you can try a more aggressive compound. Or, you can repeat the process. Be patient.
This method takes time. It’s very effective for removing fine swirl marks. It can also remove shallow scratches that aren’t too deep.
I once had a glossy black interior trim piece on my car. It got scratched from my watchband. It was a noticeable white line.
I used a plastic polish meant for headlights. It took about 10 minutes of steady buffing. But the scratch vanished.
The trim looked perfect. It’s a satisfying feeling when you can fix something like that yourself.
Remember that aggressive compounds can remove material. Overdoing it can thin the plastic. Or it could even create a slight depression.
So, always start with the least aggressive method. And work your way up if needed. For very deep gouges, this method might not be enough.
But for most everyday scratches, it’s a good bet.
Polishing vs. Compounding
Polish: A finer abrasive. Used for light scratches and swirl marks. Brings out shine.
Compound: A more aggressive abrasive. Used for deeper scratches. Removes more material.
Plastic-Specific: Always use products made for plastic. Household cleaners can damage it.
Dealing with Textured and Faded Trim
Textured plastic is common on bumpers and body cladding. It’s designed to be durable. But it still fades.
The texture can also hide minor scratches. However, when it fades, the whole area can look dull and gray. This is where the heat method often shines.
Gently heating the plastic brings out its natural oils. This restores the deep color.
Another great option for textured and faded trim is a dedicated plastic restorer. These products are often thicker than simple dressings. They are designed to penetrate the plastic.
They fill in the microscopic pores that have opened up due to UV damage and weathering. Many of these products also contain UV blockers. This helps prevent future fading.
When applying a restorer to textured trim, use a stiff brush or applicator. This helps to get the product into all the textured areas. Work it in thoroughly.
Then wipe away any excess with a microfiber cloth. You might need to reapply every few weeks or months, depending on the product and exposure.
I used a particular restorer on my old minivan’s side body trim. It was gray and dull. After cleaning, I applied the restorer.
It soaked in nicely. The black came back. It looked so much better.
It gave the whole car a cleaner look. The trick is to apply it evenly. Don’t leave streaks.
For extreme fading, some people use spray paints designed for plastic. This is a more permanent solution. But it requires more prep work.
You’ll need to clean the trim thoroughly. Then mask off any surrounding areas carefully. Apply several thin coats.
Make sure you use a paint specifically formulated for automotive plastic. Otherwise, it might peel or crack.
Restore vs. Dye/Paint
Restorers: Temporary to semi-permanent. Fill and darken. Easier to apply.
Dyes/Paints: Permanent. Change the color or re-coat. Require more skill and prep.
Choose Wisely: For most fading and light scratches, a good restorer is enough.
Protecting Your Trim After Restoration
Once you’ve restored your plastic trim, you want to keep it looking good. This means protecting it from future damage. The biggest enemy of plastic trim is the sun.
UV rays break down the polymers. This causes fading and hazing.
Applying a good quality protectant is key. These products often contain UV inhibitors. They also provide a barrier against dirt and grime.
Look for a protectant that doesn’t just make the plastic shiny. It should offer real protection. Some are ceramic-based coatings for plastics.
Others are advanced polymer sealants.
Apply protectants regularly. How often depends on the product and your climate. In hot, sunny areas, you might need to reapply every month or two.
In less extreme climates, every few months might be fine. This simple step can significantly extend the life of your restored trim.
I like to use a product that has a natural finish. It doesn’t leave a greasy or overly shiny residue. It just makes the plastic look clean and dark.
I apply it after washing the car. It’s a quick step that makes a big difference. It keeps my car looking sharper for longer.
Avoid harsh chemical cleaners on your restored trim. Stick to mild car wash soaps. If you spill something on the trim, clean it up right away.
Small efforts now can prevent big problems later. Protecting your trim is just as important as restoring it.
Daily Protection Habits
Wash Regularly: Use a pH-neutral car soap.
Apply Protectant: Use a UV-blocking product after washing.
Wipe Spills: Clean up any automotive fluids immediately.
Consider Ceramic Coatings: For long-term, durable protection.
When to Call a Professional
Sometimes, the damage is too severe for DIY methods. Deep gouges that go through the plastic material are hard to fix at home. If the plastic is cracked or broken, it likely needs replacement.
Trying to fill deep cracks can look worse than the original damage.
Also, if you’re not comfortable with the methods, like using a heat gun, it’s okay to seek help. Professional detailers have the tools and experience. They can restore trim without causing damage.
They can assess the damage accurately. They will know the best approach.
A professional detailer might have access to specialized fillers or paints. They can color-match painted trim perfectly. For very expensive or classic cars, professional restoration is often the safest route.
It ensures the job is done right.
Don’t feel discouraged if you can’t fix it yourself. Auto detailing is a skill. It takes practice.
Knowing when to hand it over to an expert is also part of being a smart car owner. A good detailer can work wonders.
Real-World Scenarios and Fixes
Let’s look at some common situations and how you might tackle them.
Scenario 1: Faded Black Bumper Trim
- Problem: The black plastic bumper trim is now a dull, chalky gray. No visible scratches, just faded color.
- Likely Cause: UV ray damage breaking down the plastic’s polymers.
- Best Fix: The heat gun method is often excellent here. Alternatively, a quality plastic restorer applied with a brush to get into the texture. Follow up with a UV protectant.
Scenario 2: Scratched Interior Door Panel
- Problem: A noticeable white scratch on a glossy black interior door panel, likely from a ring or keys.
- Likely Cause: Abrasion from a hard object.
- Best Fix: For glossy plastic, start with a plastic polish. Use a microfiber applicator and buff in circles. If that doesn’t work, try a plastic compound. For very fine scratches, a plastic cleaner with filler might suffice.
Scenario 3: Hazy Window Trim
- Problem: The plastic trim around the windows is hazy and white, especially near the bottom.
- Likely Cause: Water spots, mineral deposits, and UV damage.
- Best Fix: Thorough cleaning with a plastic cleaner. If that doesn’t work, try a plastic polish. For severe hazing, consider a headlight restoration kit, as they are designed for this type of plastic.
Scenario 4: Scuffs on Textured Fender Flares
- Problem: Light scuffs and white marks on the textured fender flares.
- Likely Cause: Bumps, scrapes, or debris hitting the flares.
- Best Fix: A good quality plastic restorer is usually the easiest and most effective. Apply it thoroughly to cover the textured surface. If scuffs are deep, gentle buffing with a plastic polish might help, but avoid excessive pressure on textured areas.
What This Means for Your Car
Restoring your plastic trim has several benefits. Firstly, it dramatically improves your car’s appearance. A car with clean, dark trim looks much newer and well-maintained.
This can even increase its resale value. People notice the details.
Secondly, it protects your car. Properly treated plastic is more resistant to the elements. It won’t fade as quickly.
It’s less likely to crack from sun exposure. This means you’ll spend less money on repairs or replacements in the long run.
Thirdly, it’s a rewarding DIY project. There’s a great sense of accomplishment in fixing something yourself. It shows you care about your vehicle.
And it saves you money compared to professional services.
Remember that consistency is key. A one-time fix might look great for a few weeks. But regular maintenance and protection will keep it looking that way for years.
Quick Fixes and Tips
Here are some quick tips to keep in mind:
- Always clean first. This is the most important step.
- Test in an inconspicuous area. Before applying any product or method to the whole piece, try a small, hidden spot.
- Use the right tools. Microfiber cloths and foam applicators are your best friends.
- Work in the shade. Applying products in direct sunlight can cause them to dry too quickly and leave streaks.
- Don’t overdo it. For methods like heat or polishing, less is often more.
- Read product labels. Always follow the manufacturer’s instructions.
Frequent Questions About Restoring Plastic Trim
Can I use olive oil or WD-40 to restore plastic trim?
While these can offer a temporary shine, they are not true restorations. Olive oil can attract dust and degrade over time. WD-40 offers a very short-term glossy look but doesn’t protect the plastic from UV rays and can sometimes cause cloudiness.
How long does a plastic trim restorer typically last?
The longevity varies greatly. Cheaper products might last a few weeks. Higher-quality, dedicated restorers, especially those with UV protection, can last for several months.
Regular reapplication is usually needed to maintain the look.
Is it safe to use a heat gun on car interior plastic?
It can be. However, interior plastics are often more delicate than exterior ones. You must use the lowest heat setting and keep the gun moving constantly.
Test in a hidden area first. Many interior plastics can melt or warp very quickly.
What’s the difference between a plastic restorer and a plastic protectant?
A restorer aims to fill in faded areas and minor scratches, bringing back the original color and depth. A protectant is applied afterward to shield the restored plastic from UV rays and environmental damage, helping to maintain its condition longer.
Can I paint over scratched plastic trim?
Yes, but proper preparation is crucial. You’ll need to clean the trim thoroughly, potentially scuff it for adhesion, and use a paint specifically designed for plastic. If the scratches are deep, they may show through the paint unless filled and smoothed first.
How can I tell if a scratch is too deep to fix?
If you can feel a significant indentation with your fingernail, or if the plastic is cracked or torn, the scratch is likely too deep for simple DIY methods. These types of damages often require professional repair or replacement of the trim piece.
Conclusion
Dealing with scratched plastic trim might seem daunting. But with the right knowledge and a bit of patience, you can restore it. From simple cleaning to careful heat application, there are many ways to make your car look its best.
Don’t let faded or scratched trim bring down your car’s appearance. You have the power to bring it back to life.