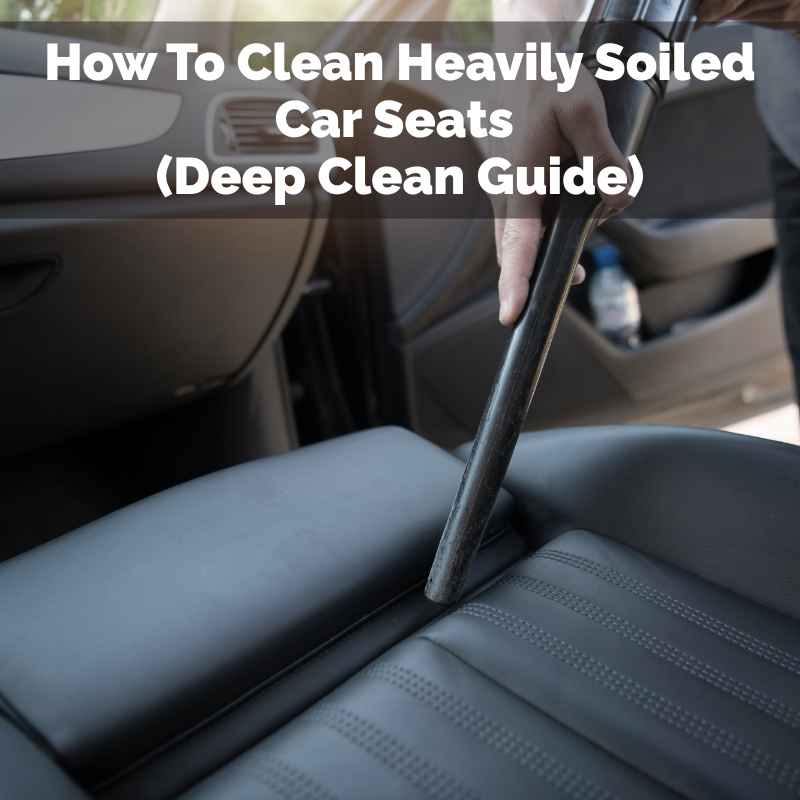
How To Clean Heavily Soiled Car Seats (Deep Clean Guide)
Dealing with car seats that look beyond help can feel overwhelming. Maybe it’s a sticky spill that won’t budge. Or perhaps muddy paw prints have made themselves a permanent home.
You might even see some fuzzy mold starting to grow. It’s enough to make anyone want to hide the car keys. But there’s good news.
Even the dirtiest car seats can often be brought back to life.
This guide will walk you through cleaning heavily soiled car seats, tackling common tough stains, odor, and even mold. We’ll break down the process step-by-step so you can feel confident and get your car interior looking and smelling fresh again.
What Makes Car Seats So Dirty?
Think about how much your car seats go through. They face constant daily use. People eat, drink, and sometimes spill things.
Kids track in dirt and snacks. Pets leave behind hair and dander. In humid climates or after leaks, moisture can lead to mold and mildew.
Over time, all these things build up. Dirt gets ground into the fabric. Stains set in.
Odors can linger. This makes the seats look old and feel unpleasant.
My Own Car Seat Nightmare
I remember one particularly rough summer. My golden retriever, Buddy, had just come back from a muddy hike. Without thinking, I let him jump straight into my car.
He shook, sending mud spray everywhere. Then, he rolled around, really working it into the upholstery. By the time I realized what had happened, it looked like a mud wrestling match had occurred.
I felt a wave of panic. My car was practically new! I thought I’d ruined the seats forever.
I spent hours scrubbing, but the muddy outlines just wouldn’t disappear. It was so frustrating. I felt embarrassed even letting friends ride in my car.
That’s when I decided I needed a better way. I learned that patience and the right tools make a huge difference.
Common Culprits of Heavy Soiling
Food and Drinks: Spilled coffee, soda, milk, and greasy fast food.
Dirt and Mud: From shoes, pets, and outdoor activities.
Pet Messes: Hair, dander, vomit, and accidents.
Body Oils and Sweat: These build up over time.
Ink and Dyes: From pens, markers, and clothing.
Mold and Mildew: Caused by moisture and poor ventilation.
Gathering Your Cleaning Arsenal
Before you dive in, grab the right supplies. Having everything ready saves time and effort. You’ll need a few key items.
These will help you tackle even the toughest grime. Having them on hand means you can start cleaning right away.
Essential Cleaning Supplies
- Vacuum cleaner: With crevice tools and brush attachments.
- Microfiber cloths: Several clean ones are best.
- Soft bristle brush: For scrubbing fabric.
- Stiff bristle brush: For very tough spots and floor mats.
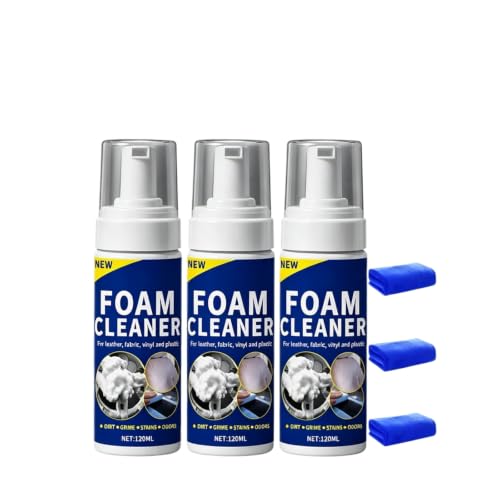
- Upholstery cleaner: Choose one for your seat material (fabric, leather, vinyl).
- All-purpose cleaner: A mild one for general cleaning.
- Stain remover: For specific tough stains like grease or ink.
- Diluted white vinegar: Great for odors and mold.
- Baking soda: Also helps with odors.
- Water: A spray bottle is useful.
- Bucket: For mixing cleaning solutions.
- Optional: Carpet extractor or wet/dry vac for deep extraction.
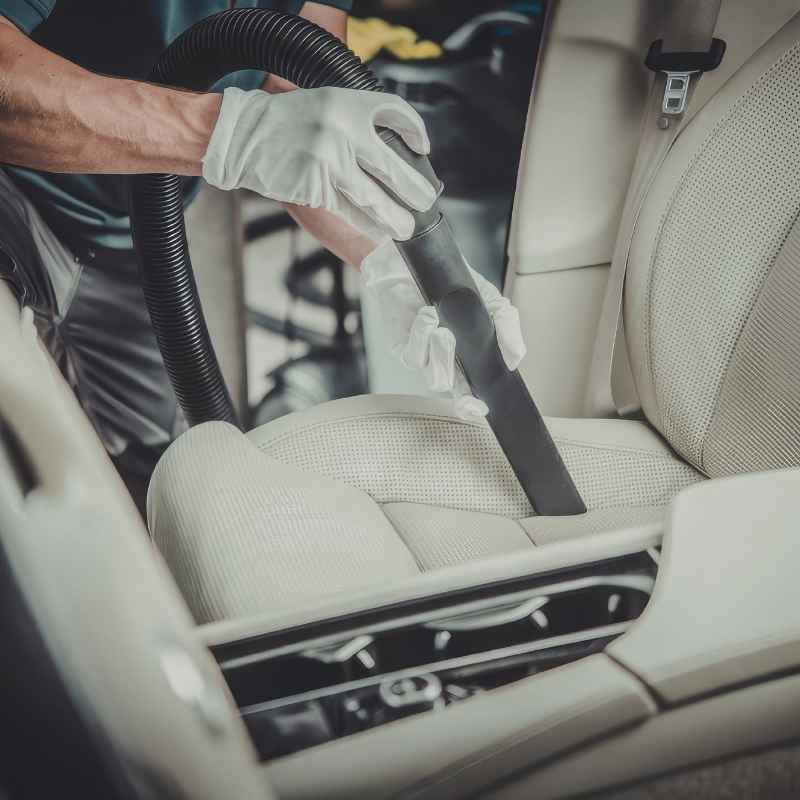
First Step: A Thorough Vacuum
This is crucial. You need to remove loose dirt and debris. This prevents them from turning into mud when you add water.
Pay close attention to seams and crevices. A good vacuuming makes the rest of the cleaning easier. Use your crevice tool for tight spots.
The brush attachment helps lift embedded dirt and pet hair. Don’t rush this part. It sets the stage for success.
Vacuuming Tips for Maximum Dirt Removal
Go slow: Let the vacuum do the work.
Multiple directions: Vacuum forward, backward, and sideways.
Focus on seams: Dirt loves to hide here.
Use attachments: Crevice tool and brush are your friends.
Don’t forget the floor: Car floor mats need a good vacuum too.
Understanding Your Seat Material
Different car seats need different care. Fabric seats are common. They can absorb stains easily.
Leather seats need specific conditioners. Vinyl seats are usually the easiest to clean. Always check your car’s manual or look for labels.
Knowing your material helps you pick the right cleaners. Using the wrong product can damage your seats. It could even make them look worse.
For instance, harsh chemicals on leather can cause cracking.
Seat Material Guide
Fabric Seats
Pros: Comfortable, good grip.
Cons: Prone to stains and odor absorption.
Care: Use fabric-specific cleaners. Blot spills immediately.
Leather Seats
Pros: Durable, easy to wipe clean.
Cons: Can dry out, crack, or stain if not conditioned.
Care: Use leather cleaners and conditioners. Avoid harsh chemicals.
Vinyl Seats
Pros: Very durable, easy to clean and waterproof.
Cons: Can feel less luxurious, may crack in extreme heat or cold.
Care: Mild soap and water usually work. Protectant sprays help.
The Deep Cleaning Process for Fabric Seats
Fabric seats often need the most attention. They soak up spills and dirt. We’ll start with general cleaning, then move to tough stains.
Step 1: Test Your Cleaner
Always test any cleaner. Pick an inconspicuous spot. This could be under the seat or on the back.
Apply a small amount. Wait a few minutes. Wipe it off.
Check for any color fading or damage. This simple step saves a lot of trouble later. It’s a habit you should always use with new products.
Step 2: Apply Upholstery Cleaner
Spray the cleaner evenly onto a section of the seat. Don’t soak it. Just make it damp.
Let the cleaner work for a few minutes. This allows it to break down dirt and grime. Follow the product instructions carefully.
Some cleaners need more dwell time than others. Always work in a well-ventilated area.
Step 3: Scrub Gently
Use your soft bristle brush. Gently scrub the fabric in circular motions. Work from the outside of the soiled area inward.
This helps prevent spreading the stain. For very stubborn spots, you might need a slightly stiffer brush. But be careful not to damage the fabric fibers.
Excessive scrubbing can cause fraying.
Step 4: Blot and Rinse
Take a clean, damp microfiber cloth. Blot the cleaned area. This lifts the dirt and cleaner out of the fabric.
Rinse your cloth frequently in clean water. Repeat blotting until the cleaner is mostly gone. You don’t want residue left behind.
It can attract more dirt.
Step 5: For Tough Stains
Some stains need special treatment. Grease stains often need a degreaser. Ink or marker stains might require an alcohol-based cleaner.
Test these stronger cleaners in a hidden spot first. For dried-on food, you might need to gently scrape away excess. Then apply the appropriate stain remover.
Let it sit for the time recommended on the bottle. Then scrub and blot as usual.
Step 6: Odor Removal
For lingering smells, baking soda is your friend. Sprinkle a generous amount over the fabric seats. Let it sit for several hours, or even overnight.
Then vacuum it up thoroughly. The baking soda absorbs odors. You can also use a diluted vinegar spray.
Mix one part white vinegar with one part water. Lightly mist the seats. Let it air dry.
The vinegar smell will disappear as it dries, taking other odors with it.
Step 7: Drying is Key
Allow the seats to air dry completely. Open windows and doors to speed this up. You can also use fans.
Do not use heat directly on the seats. This can damage the fabric. Make sure they are totally dry before putting seat covers back on or using the car heavily.
Damp seats can lead to new problems like mold.
Fabric Seat Cleaning Flow
1. Vacuum: Remove all loose debris.
2. Test Cleaner: Always on a hidden spot.
3. Apply Cleaner: Spray lightly, don’t soak.
4. Scrub: Gentle motions, work inward.
5. Blot/Rinse: Use damp cloths to lift dirt.
6. Stain Treatment: Use specialized removers for tough spots.
7. Odor Control: Baking soda or diluted vinegar.
8. Dry: Air dry completely.
Tackling Leather and Vinyl Seats
Leather and vinyl are more forgiving in some ways. But they still need care. Harsh chemicals can damage them.
It’s better to be gentle.
For Leather Seats
First, vacuum them well. Then, use a cleaner specifically made for leather. Apply it to a microfiber cloth, not directly to the seat.
Wipe down the seat. This removes surface dirt and oils. For tougher grime, you might need a leather brush.
Scrub gently. After cleaning, it’s vital to condition the leather. Use a good quality leather conditioner.
Apply it with another clean cloth. This keeps the leather soft and prevents cracking. It also adds a protective layer.
For Vinyl Seats
Vinyl is usually very straightforward. A mild soap and water solution is often enough. Mix a little dish soap with warm water.
Use a cloth to wipe down the seats. For tougher grime, you can use an all-purpose cleaner. Rinse with a clean, damp cloth.
Make sure to remove all soap residue. Let them air dry. You can use a vinyl protectant spray afterward.
This adds shine and protection against UV rays.
Dealing with Mold and Mildew
Mold and mildew are nasty problems. They smell bad and can be unhealthy. They usually happen because of moisture.
Leaky windows or wet carpets are common causes. The key is to kill the mold spores and remove the moisture.
Step 1: Identify the Source
Find out why the mold is there. Fix any leaks or sources of dampness. If your car has been wet, dry it out completely.
Open all doors and windows. Use fans or a dehumidifier if needed. This is the most important step.
Step 2: Ventilation is Crucial
Always clean mold in a well-ventilated area. Outdoors is best. Open all doors and windows of the car.
Wear gloves and a mask to protect yourself. Mold spores can be harmful.
Step 3: Use Vinegar or a Mold Remover
A solution of equal parts white vinegar and water is effective. Spray it generously onto the moldy areas. Let it sit for about 30 minutes.
Vinegar kills mold and mildew. You can also use a commercial mold and mildew remover designed for car interiors. Follow the product instructions carefully.
Step 4: Scrub and Wipe
Use a stiff bristle brush to scrub away the mold. Be firm but careful not to damage the upholstery. After scrubbing, wipe the area down with a clean, damp cloth.
Rinse the cloth often. You want to remove all the mold residue and cleaner.
Step 5: Dry Thoroughly
This is absolutely critical. The area must be completely dry. Use fans to speed up the drying process.
Ensure there’s no lingering dampness. If the mold was severe, you might need to repeat the process. Consider using baking soda to absorb any remaining odors.
Mold Cleaning Checklist
Safety First: Wear gloves and a mask.
Ventilate: Open all doors and windows.
Find the Cause: Fix any leaks or dampness.
Use Vinegar: Equal parts white vinegar and water spray.
Let it Sit: Allow 30 minutes for the vinegar to work.
Scrub: Use a stiff brush to remove mold.
Wipe Clean: Use damp cloths to remove residue.
Dry Completely: Use fans to speed drying.
Dealing with Pet Odors and Stains
Our furry friends are family. But they can leave behind odors and stains. Pet hair itself can be a challenge.
Pet Hair Removal
Start with a good vacuum. Use an upholstery attachment. A rubber glove can also work wonders.
Put on a rubber glove and rub your hand over the fabric. The hair will ball up and stick to the glove. You can then pick it off.
Rubber squeegees or specific pet hair removal tools are also effective. Once you’ve removed the bulk, vacuum again.
Pet Stains and Odors
For urine or vomit, act fast. Blot up as much liquid as possible with paper towels. Don’t rub.
Rubbing pushes the stain deeper. Then use an enzymatic cleaner. These cleaners are designed to break down organic matter and eliminate odors at the source.
Apply it generously to the affected area. Let it dwell for the time recommended. Then blot it up.
For general pet odors, baking soda is excellent. Sprinkle it on the seats, let it sit overnight, and vacuum it up.
Reviving Faded or Worn Seats
Sometimes seats don’t just get dirty; they look tired. Fading from sun exposure is common. For fabric seats, a good upholstery cleaner can help.
It will lift away dulling grime. For leather, conditioning is key. A good conditioner restores moisture and can bring back some of the natural sheen.
It won’t fix deep scratches, but it makes worn leather look much better. For very faded seats, consider seat covers if you want a dramatic change.
Professional Help vs. DIY
For everyday dirt and most common stains, a DIY approach works well. But some situations might need professional help. If you have severe mold growth, extensive water damage, or very delicate materials, a professional detailer might be best.
They have specialized equipment like steam cleaners or extractors. They also have access to a wider range of professional-grade cleaning products. But for most heavily soiled seats, you can achieve great results yourself with patience and the right methods.
It’s rewarding to see the transformation.
Preventing Future Soiling
Once your seats are clean, you’ll want to keep them that way. Prevention is much easier than deep cleaning. Regular vacuuming is your best defense.
Keep a small hand vacuum or brush in your car. Wipe up spills as soon as they happen. Use floor mats, especially in winter or if you have pets.
Consider a full set of seat covers for extra protection, especially for children or pets. Taking small steps can save you a lot of work down the road.
What This Means for You
Seeing heavily soiled car seats can feel like a lost cause. But it’s not. You have the power to transform them.
This guide gives you the tools and steps. You can tackle tough stains. You can get rid of bad smells.
You can even fight mold. Remember to be patient. Sometimes tough jobs take time.
It’s okay to go through steps more than once. The result is a cleaner, fresher car interior. It makes driving much more enjoyable.
When to Worry About Your Car Seats
Most dirt and stains are fixable. But there are times to be more concerned. If you notice persistent mold after cleaning, there might be hidden moisture.
This could be a sign of a bigger leak. If your car seats have a strange, chemical smell that doesn’t go away, it’s worth investigating. Damage to the seat structure or foam underneath is also a serious issue.
If you are unsure or the problem is severe, seeking professional advice is wise. Safety and full functionality are always the priority.
Simple Checks You Can Do
After a deep clean, do a quick check. Run your hand over the cleaned areas. Do they feel fresh?
Is the smell gone? Look closely for any remaining stains. Check under the seats and in crevices.
Ensure everything is completely dry. If you used a lot of water, leave windows open longer or use fans. A quick post-clean check ensures you’ve done the best job possible.
It also helps you spot any missed spots.
Quick Tips for Ongoing Care
Keep a small cleaning kit in your car. This could include a microfiber cloth and a travel-size upholstery cleaner. Address spills immediately.
Regular vacuuming, even a quick pass once a week, makes a huge difference. If you transport pets regularly, consider a durable pet seat cover. For family cars, waterproof seat protectors are a lifesaver.
Frequently Asked Questions
Can I use household cleaners on my car seats?
It’s best to use cleaners specifically made for car upholstery. Household cleaners can be too harsh. They might damage the fabric, leather, or foam.
Always test any cleaner in an inconspicuous spot first.
How do I get rid of that musty smell in my car?
A musty smell often means mold or mildew. First, find and fix any moisture sources. Then, clean the affected areas with a diluted vinegar solution or a mold cleaner.
Sprinkle baking soda on the seats and let it sit overnight to absorb odors. Ensure the car dries completely.
What is the best way to clean red wine stains from car seats?
Act quickly! Blot up as much wine as possible with a clean cloth. Then, use a specialized upholstery cleaner or a mixture of dish soap and water.
Gently blot the stain. For tough stains, a professional cleaner might be needed. Always test on a hidden area first.
How often should I deep clean my car seats?
This depends on usage. If you have kids or pets, or live in a dusty area, you might need to deep clean every 3-6 months. For lighter use, once a year might be enough.
Regular vacuuming and spot cleaning will extend the time between deep cleans.
Can I use a steam cleaner on my car seats?
Yes, steam cleaners can be very effective for fabric seats. They use hot steam to lift dirt and kill bacteria. However, be cautious with leather and vinyl.
Excessive heat can damage them. Always follow the steam cleaner’s instructions and test in a small area first.
My car seats have faded from the sun. Can I restore the color?
For fabric seats, a good deep clean can sometimes revive dullness. For leather seats, a good quality leather conditioner can restore some of the natural color and sheen. However, significant fading from sun damage may be permanent and might require seat covers for a uniform look.
Bringing Your Car Seats Back to Life
You’ve learned a lot about cleaning car seats. It can seem like a big job. But with the right approach, you can make a huge difference.
Remember to vacuum first. Know your seat material. Use the right cleaners.
Be patient with tough stains and odors. And always ensure things dry completely. Your car will feel so much better.
Enjoy your fresh, clean ride!
Products related to this article
Sponsored / affiliate links. As an Amazon Associate I earn from qualifying purchases. I may earn additional commission from eligible campaigns.