How to Legally Take Freon Out of a Car: Steps and Costs
You cannot legally vent Freon (refrigerant) from a car’s AC system into the air — federal law under the Clean Air Act’s Section 609 rules requires certified recovery equipment any time it’s removed, whether you do the job yourself or pay a shop. I’ve pulled refrigerant from my own vehicles more than once, including recovering it before replacing a failed compressor, and the process itself is straightforward once you have the right gear.
Below is exactly how it’s done safely and legally, what a shop charges if you’d rather not buy a recovery machine, and the one certification rule most DIYers get wrong. If you don’t have a recovery machine at all, our guide to removing refrigerant without one covers that alternative in depth.
What Is Freon and Why Remove It?
BEST FOR DIY FREON RECOVERY
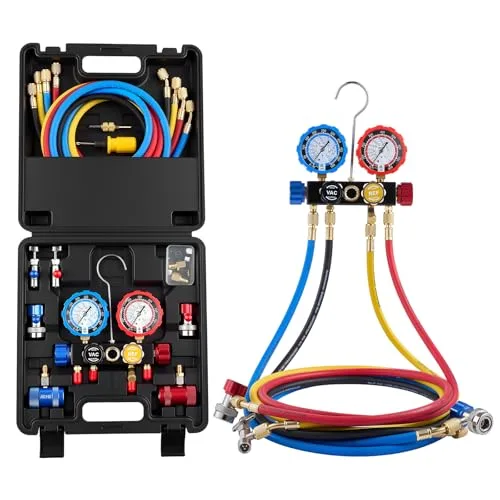 |
VEVOR 4-Way AC Manifold Gauge Set – $52.00 This is the gauge set used in the recovery steps below — it reads system pressure and connects your service ports to a recovery machine or tank.
|
Freon is a brand name for refrigerants, like R-134a or the older R-12, used in car air conditioning systems. It’s a chemical that absorbs heat to cool the air blowing into your car. I first learned about Freon when my SUV’s AC stopped working, and I had to figure out why. Removing Freon is sometimes necessary if you’re repairing the AC, replacing parts like the compressor, or scrapping an old car.
You can’t just let Freon leak out—it’s bad for the environment and illegal in the USA. I made the mistake of ignoring a leaky AC once, and it cost me a fine. Federal laws, like those from the EPA, regulate Freon because it can harm the ozone layer. So, you need to remove it properly to stay legal and keep your car’s AC in good shape.
Why Would You Need to Remove Freon?
I’ve run into a few situations where removing Freon was a must. Here’s what I’ve seen:
- AC Repairs: If you’re replacing parts like the condenser, evaporator, or hoses, you need to empty the Freon first. I had to do this when my compressor failed.
- System Leaks: A leaky AC system can release Freon. I found a pinhole leak in my sedan’s AC line and had to remove the refrigerant to fix it.
- Converting to a New Refrigerant: Older cars using R-12 need to switch to R-134a or other modern refrigerants. I helped a friend convert his classic car’s system, which meant removing the old Freon.
- Disposing of a Car: If you’re junking a car, the Freon must be removed properly. I learned this when I scrapped my old truck.
- Low Cooling Performance: If the AC isn’t cold, you might need to remove and recharge the Freon to fix underlying issues. My SUV needed this after years of weak cooling.
Knowing why you’re removing Freon helps you plan the process and avoid mistakes.
Is It Legal to Remove Freon Yourself?
This is the part most people get wrong, including an earlier version of this article. In the USA, the EPA regulates automotive refrigerant under the Clean Air Act’s Section 609 program — not Section 608, which covers stationary building AC and refrigeration instead. Section 609 certification is legally required for anyone servicing a motor vehicle AC system for payment. If you’re working on your own car for free, you don’t need the 609 card yourself, but two rules still apply no matter who’s doing the job: you must use EPA-certified recovery equipment, and you can never vent refrigerant into the air. I looked into this after a buddy got fined for venting Freon straight into the atmosphere.
There’s also a purchase rule that trips up DIYers: since January 1, 2018, buying more than 2 pounds of R-134a, R-1234yf, or R-12 requires showing a Section 609 certificate at the counter. Small self-sealing cans of 2 pounds or less — the kind sold as recharge kits at auto parts stores — are exempt, which is why you can buy refrigerant to add but can’t just walk in and buy a full recovery setup’s worth without the card. That said, you can still remove Freon yourself if you use certified equipment and never release it into the atmosphere. I’ve done it with a borrowed recovery machine, but it’s not cheap or simple, and if you’re not sure, taking your car to a professional is safer and often easier.
Source: EPA – Regulatory Requirements for MVAC System Servicing.
Tools and Equipment You’ll Need
Removing Freon isn’t a job for basic tools. I learned this when I tried to tackle it without the right gear. Here’s what I use now:
- Refrigerant Recovery Machine: This pulls Freon out safely and stores it. I borrowed one from a mechanic friend, but they cost $500-$2,000 to buy.
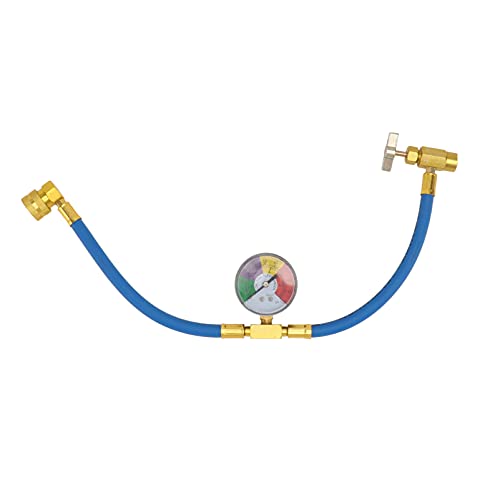
- Manifold Gauge Set: This checks the pressure in the AC system. I got a decent set for $50 at an auto parts store.
- Recovery Tank: A certified tank to store the Freon. I rented one for $20 at a shop.
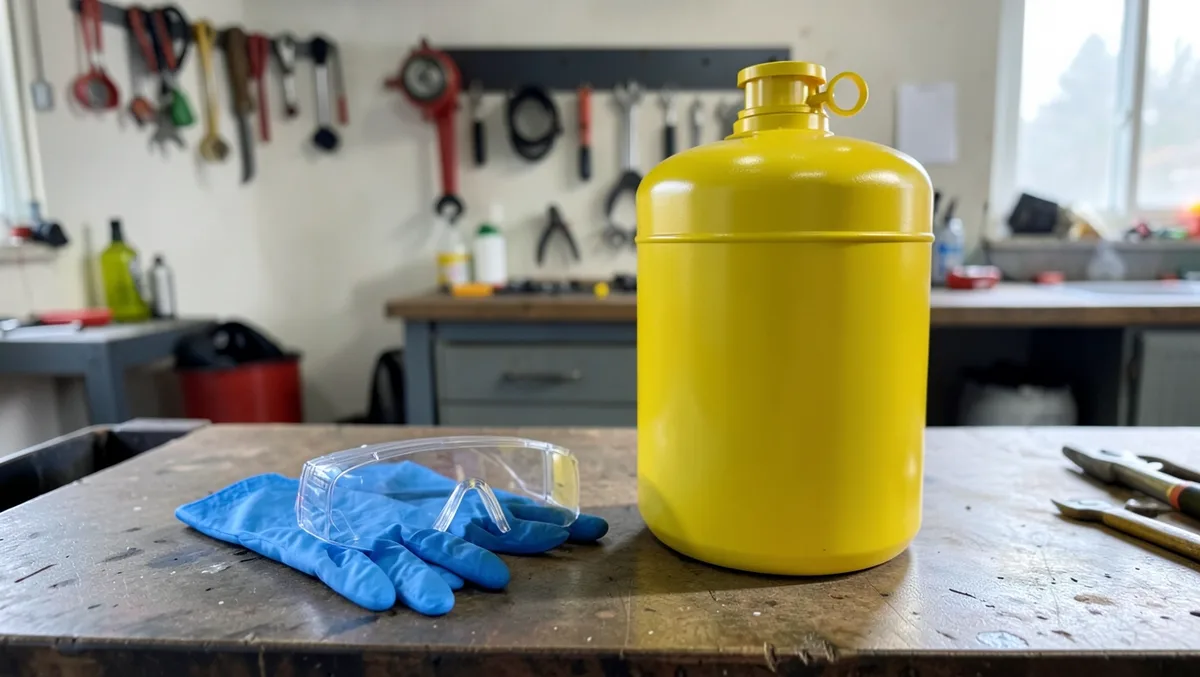
- Safety Gear: Gloves, safety glasses, and a mask to protect against leaks. I got frostbite on my hand once from a Freon leak—ouch!
- Wrenches and Screwdrivers: For accessing AC components. I keep a basic toolkit in my garage.
- Vacuum Pump: To evacuate the system after removing Freon. I borrowed one, but they’re about $100-$300.
Without these, you’re risking safety and breaking the law. I always double-check I have everything before starting.
How to Remove Freon from Your Car Safely
Here’s how I remove Freon based on my experience. It’s not quick, but it’s doable with care. Always work in a well-ventilated area—Freon fumes are no joke.
Step 1: Prepare Your Car
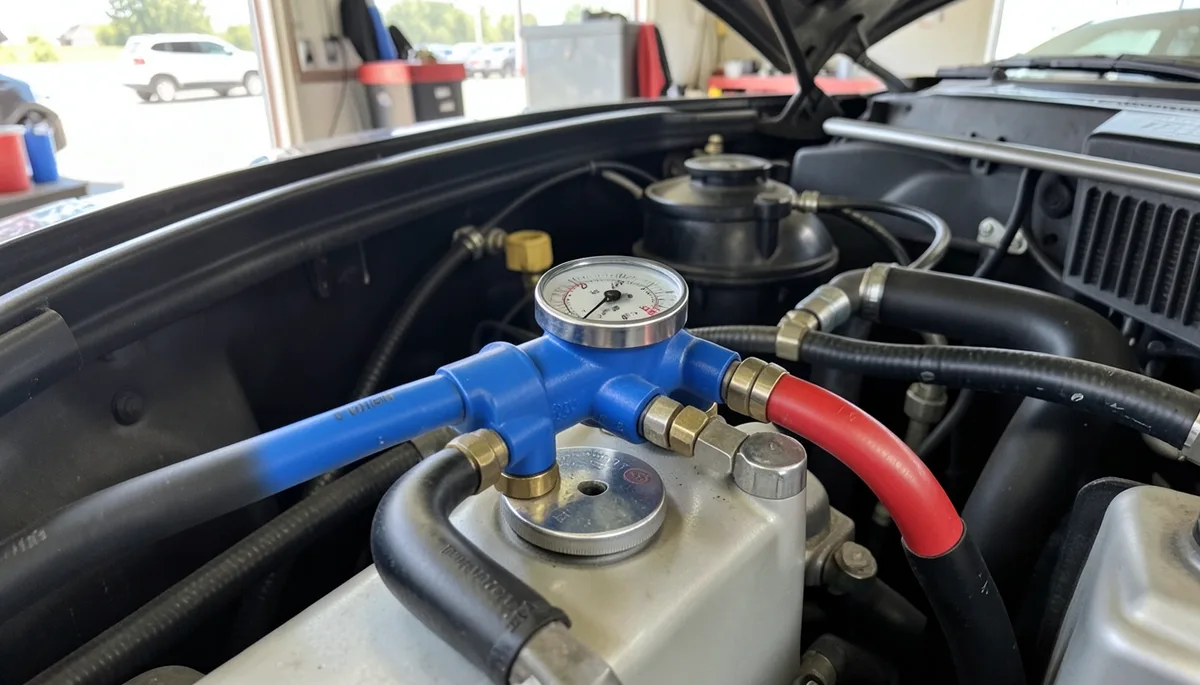
First, park your car on a flat surface and turn off the engine. I make sure the AC is off and the keys are out. Pop the hood and locate the AC system’s service ports. There’s a low-pressure port (usually blue) and a high-pressure port (usually red). I found mine near the compressor on my SUV. Check your owner’s manual if you’re not sure where they are.
Wear safety gear—gloves and glasses are a must. I skipped gloves once and regretted it when Freon sprayed my hand. Make sure your recovery tank is certified and empty before starting.
Step 2: Connect the Manifold Gauge Set
Hook up the manifold gauge set to the service ports. I attach the blue hose to the low-pressure port and the red hose to the high-pressure port. Tighten them carefully to avoid leaks. Then, connect the yellow hose to the recovery machine’s inlet. I double-check all connections because a loose hose can release Freon, which is illegal and dangerous.
Turn on the gauges and check the pressure. My SUV showed about 30 psi on the low side and 150 psi on the high side, which is normal for a warm day. If the pressure is zero, the system might already be empty, which happened with my old truck’s leaky AC.
Step 3: Set Up the Recovery Machine
Connect the recovery machine to the recovery tank. I make sure the tank’s valve is open and the machine is plugged in. Follow the machine’s instructions—mine has a “recovery” mode I select. Some machines need you to set the refrigerant type (R-134a for most modern cars). I messed this up once and had to start over, so read the manual carefully.
Step 4: Recover the Freon
Start the recovery machine. It’ll pull the Freon out of the AC system and into the tank. This can take 10-30 minutes, depending on the system. I watch the gauges to see the pressure drop to zero, which means the Freon’s out. My SUV took about 15 minutes to empty. Don’t rush—let the machine do its job to avoid releasing Freon.
Step 5: Evacuate the System
Once the Freon’s out, use a vacuum pump to remove any remaining air or moisture. I connect the pump to the manifold gauge set and run it for 20-30 minutes. This ensures the system is clean before repairs or recharging. I skipped this step once and ended up with a contaminated system that didn’t cool well.
Step 6: Store or Dispose of the Freon
Close the recovery tank’s valve and store it in a cool, safe place. I keep mine in my garage away from heat. You can’t reuse Freon unless it’s purified, which requires special equipment. I take my tank to a certified shop for proper disposal or recycling. Some shops charge $10-$20 per pound, but it’s worth it to stay legal.
Safety Precautions
Handling Freon is serious business. I’ve learned these safety tips the hard way:
- Wear Protective Gear: Freon can cause frostbite or eye damage. I always wear gloves and safety glasses.
- Work in a Ventilated Area: Freon fumes are harmful if inhaled. I do this outside or in an open garage.
- Avoid Sparks or Flames: Freon is flammable in some cases. I keep cigarettes and lighters far away.
- Don’t Vent Freon: Releasing it into the air is illegal and bad for the environment. I got a warning once for a small leak—don’t risk it.
- Check Equipment: Make sure your recovery machine and tank are in good shape. I inspect mine for leaks before starting.
These keep you, your car, and the environment safe.
Common Mistakes to Avoid
I’ve made plenty of blunders working on AC systems. Here’s what to watch out for:
- Venting Freon: Never release Freon into the air. I saw a friend get fined $500 for this.
- Using Wrong Equipment: Non-certified tanks or machines can leak. I rented a cheap tank once, and it caused a mess.
- Skipping the Vacuum Pump: Not evacuating the system can ruin your AC. I learned this after a recharge failed.
- Loose Connections: A loose hose can leak Freon. I tighten everything twice now.
- Ignoring Safety Gear: Freon burns hurt. I skipped gloves once and paid the price.
Avoiding these saves time, money, and headaches.
When to Call a Professional
Sometimes, DIY isn’t the best choice. I’ve called a mechanic when:
- I Don’t Have Equipment: Recovery machines are expensive. I paid a shop $100 to remove Freon once.
- Complex Repairs: If the AC compressor or lines need replacing, a pro is faster. I spent $300 to fix my SUV’s compressor.
- Legal Concerns: If you’re not certified, a shop ensures you’re EPA-compliant. I didn’t want to risk a fine.
- Persistent Issues: If the AC still doesn’t work after removing Freon, a mechanic can diagnose deeper problems. I had a hidden leak that took a pro to find.
Shops charge $50-$150 for Freon removal, but it’s worth it for peace of mind.
Recharging the AC After Repairs
Once you’ve removed the Freon and fixed the issue, you’ll need to recharge the system. I’ve done this on my sedan after replacing a leaky hose. Use a recharge kit with the right refrigerant (usually R-134a). Follow the kit’s instructions, and don’t overfill—I made that mistake and had to start over. A shop can recharge for $100-$200 if you’re not comfortable doing it.
Table of Freon Removal Methods and Costs
Here’s a table I made based on my experiences with Freon removal:
| Method | Description | Pros | Cons | Estimated Cost |
|---|---|---|---|---|
| DIY with Recovery Machine | Use a machine to pull and store Freon | Full control, reusable equipment | Expensive to buy, needs skill | $500-$2,000 (machine) + $20 (tank) |
| Professional Service | Shop removes Freon with certified equipment | Safe, legal, no equipment needed | More expensive, less hands-on | $50-$150 |
| Rent Equipment | Rent a recovery machine and tank | Cheaper than buying, still DIY | Rental fees, availability issues | $50-$100 (rental) |
This table helped me decide whether to DIY or go to a shop.
Preventing AC Problems
After dealing with Freon issues, I’ve learned how to keep my AC running smoothly:
- Check for Leaks: Look for oily spots under the car or weak cooling. I caught a leak early by checking my AC lines.
- Run the AC Regularly: I turn on my AC for 10 minutes every month, even in winter, to keep the system lubricated.
- Clean the Condenser: Dirt can clog the condenser. I hose mine down yearly to keep it efficient.
- Monitor Cooling: If the AC isn’t cold, get it checked before it’s empty. I ignored this once and had to replace the whole system.
- Use a Professional for Recharges: I let shops handle recharges to ensure the right amount of Freon.
These habits have kept my current car’s AC ice-cold for years.
My Personal Experience
I’ve tackled Freon removal a few times. My first try was a disaster—I didn’t have a recovery machine and almost vented Freon, which would’ve been illegal. After borrowing a machine from a mechanic friend, I successfully removed Freon from my SUV to replace a compressor. It took an hour, but I felt like a pro. Another time, I paid a shop $75 to handle it when I didn’t have the gear. Now, I always check my AC system regularly to avoid needing to remove Freon in the first place.
Conclusion
Taking Freon out of your car isn’t something you do every day, but it’s a skill worth learning if you’re handy. With the right tools, like a recovery machine and manifold gauges, you can do it safely and legally. I’ve been through the frustration of a broken AC and the hassle of dealing with Freon, so I know how important it is to get it right. Whether you DIY or call a pro, follow my steps to avoid mistakes and keep the environment safe. A cool car on a hot day is worth the effort, trust me! Got more questions? Check out the FAQs below for quick answers!
FAQs
Can I remove Freon without a recovery machine?
No, it’s illegal to vent Freon into the air. I tried working without one once and nearly got in trouble. Use a recovery machine or hire a shop.
How do I know if my car’s AC has Freon?
Check the pressure with a manifold gauge. My SUV had 30 psi on the low side, meaning it had Freon. Zero pressure means it’s empty.
Is it safe to handle Freon myself?
It’s safe if you use proper equipment and safety gear. I wear gloves and glasses to avoid frostbite from leaks.
Do I need EPA certification to remove Freon from my own car?
Not the Section 609 card itself, since that’s only legally required when you’re servicing an AC system for payment. But you still must use EPA-certified recovery equipment and you can never vent refrigerant into the air, certified or not.
How much does it cost to remove Freon professionally?
I’ve paid $50-$150 at shops. It depends on the car and location. Call around for quotes.
Can I reuse the Freon I remove?
Not usually—it needs to be purified first. I take mine to a shop for recycling to stay legal.
What happens if I release Freon into the air?
It’s illegal and can lead to fines, like the $500 my friend faced. It also harms the ozone layer, so always use a recovery tank.
Products related to this article
Sponsored / affiliate links. As an Amazon Associate I earn from qualifying purchases. I may earn additional commission from eligible campaigns.