How To Change Car Door Speakers In Under 30 Minutes
Changing car door speakers is a common DIY task. With the right tools and steps, you can replace them yourself in about 30 minutes per door. This guide covers what you need and how to do it easily.
Understanding Your Car Speakers
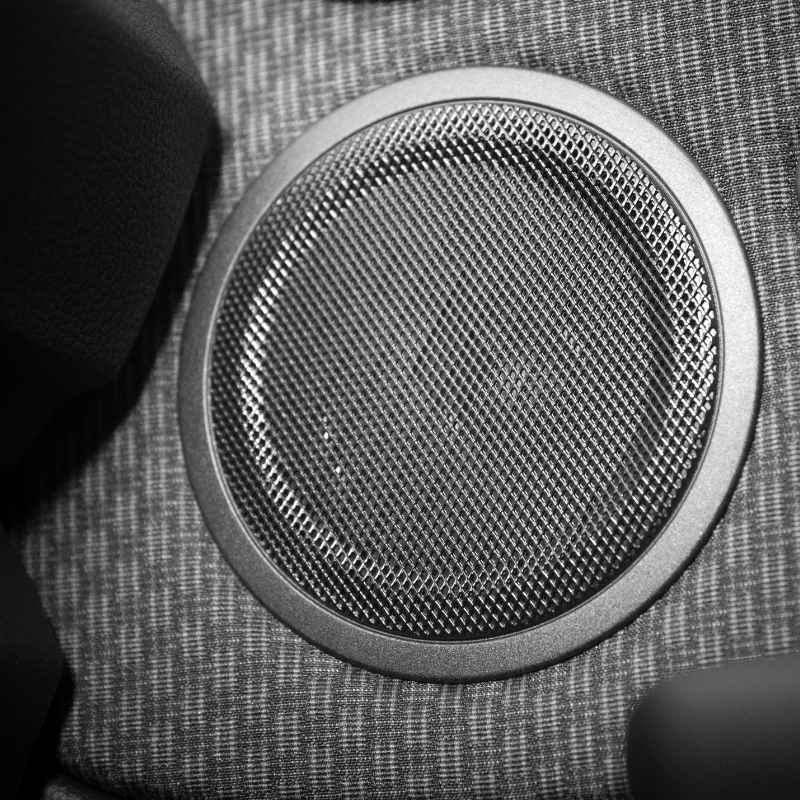
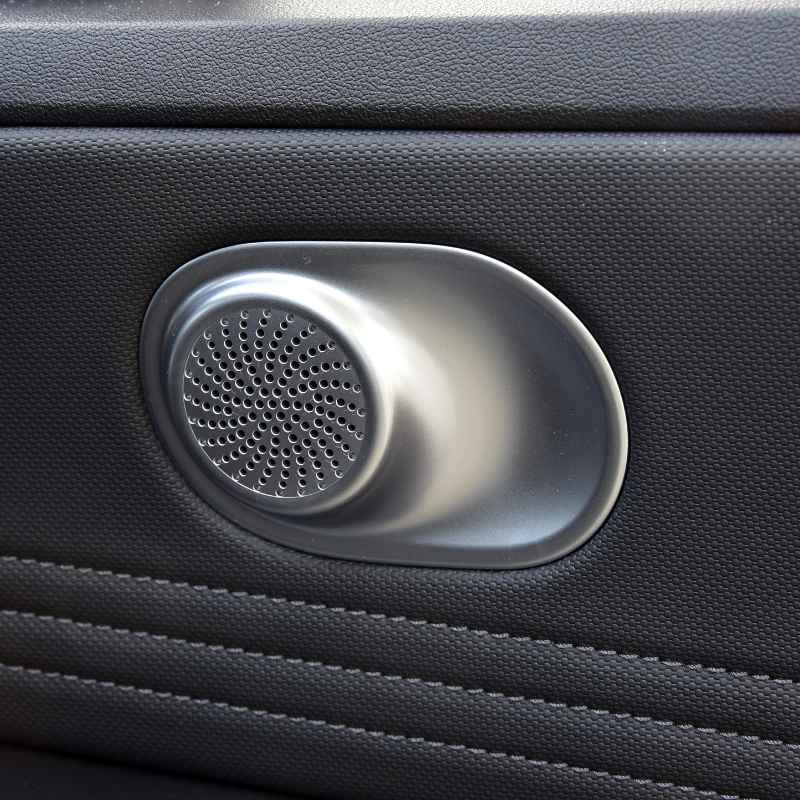
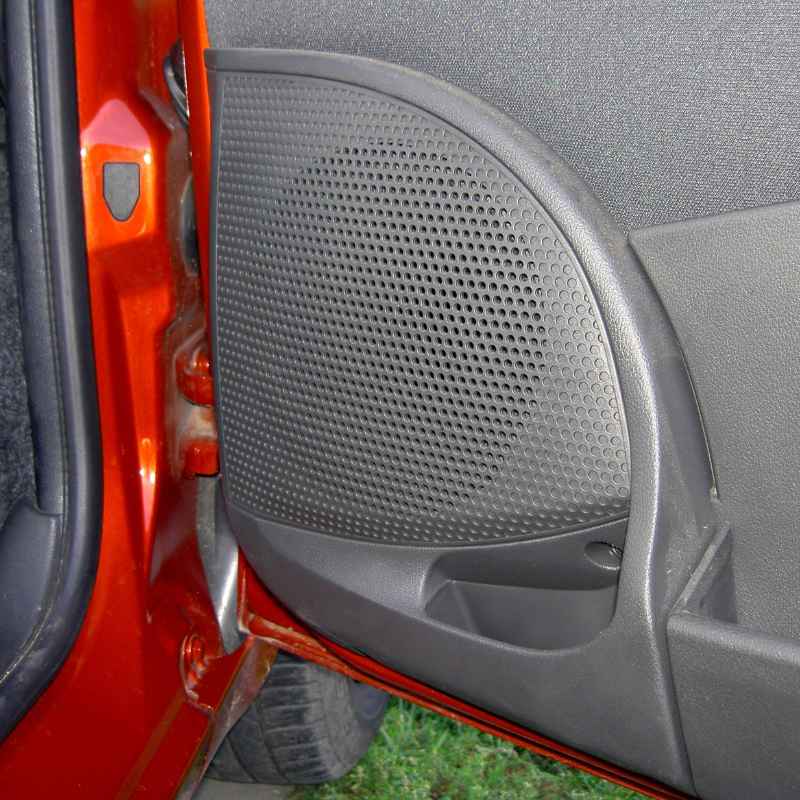
Car door speakers are essential. They bring your music to life. They are usually round.
Common sizes include 5.25 inches, 6.5 inches, and 6×9 inches. Your car has specific sizes that fit its openings. It’s important to get speakers that match these sizes.
The speaker is what makes the sound. It has a cone. It moves back and forth.
This creates sound waves. A magnet helps it move. Wires carry the music signal to it.
These wires connect to your car’s stereo system.
Over time, speakers can wear out. The cone can tear. The surround can crack.
The voice coil can burn out. When this happens, the sound quality suffers. You might hear buzzing or crackling.
Or, the speaker might stop working altogether. This is when you need new ones.
Why change them yourself? It saves money. It’s also a great way to learn about your car.
Most people can do this. You don’t need to be a car expert. Just follow the steps carefully.
The result is better sound.
Gathering Your Tools and Parts
Before you start, get everything ready. This makes the job smooth. It also saves you trips back and forth to the store.
You’ll want to have all your tools in one place.
First, you need new speakers. Make sure they are the right size. Check your car’s manual or look online.
Many car parts stores can tell you what fits. Consider the brand and type. Component speakers offer better sound.
They have separate tweeters. Coaxial speakers are simpler. They have the tweeter built-in.
Next, you’ll need tools. A basic set is usually enough. A Phillips head screwdriver is a must.
You might also need a flathead screwdriver. A trim removal tool set is very handy. These plastic tools help pry panels off without scratching.
They are a lifesaver.
You will likely need a socket set or wrench. This is for removing bolts that hold the speaker in place. It’s good to have a few different sizes.
A small container or magnetic tray is useful. You can put screws and bolts in it. This stops them from rolling away and getting lost.
Wire strippers might be needed. Some new speakers come with adapters. Others might need you to splice wires.
It’s good to have them just in case. Electrical tape is also useful. You can use it to secure wires.
Lastly, consider a clean cloth. You’ll want to wipe down the area. A flashlight can help you see in dark spots.
Having a friend help can make it even faster and easier. They can hold things or pass you tools.
Essential Tools Checklist
- New Car Speakers (correct size)
- Phillips Head Screwdriver
- Flathead Screwdriver
- Trim Removal Tool Set
- Socket Set or Wrenches
- Wire Strippers (optional, depending on speaker connection)
- Electrical Tape (optional)
- Small Container for Screws
- Clean Cloth
- Flashlight
Step-by-Step: Replacing Your Car Door Speakers
Let’s get started. Remember to work slowly and carefully. Don’t force anything.
If something feels stuck, double-check for hidden screws or clips.
Step 1: Prepare the Door Panel. Roll down the car window. This gives you more room to work.
You’ll need to remove the door panel to get to the speaker. Look for screws around the edges of the panel. Also, check near the door handle and armrest.
Some cars have a small plastic cap covering a screw. Gently pry these off with a small flathead or trim tool.
Step 2: Remove the Door Panel. Once screws are out, use your trim removal tools. Start at the bottom or sides.
Gently pry the panel away from the door frame. You will hear popping sounds. These are the clips releasing.
Work your way around the panel. Be careful not to yank it off. There are still wires connected to it.
These are for window controls and door locks.
Step 3: Disconnect Electrical Connectors. Once the panel is loose, carefully lift it slightly. You’ll see wiring harnesses attached to switches.
Press the release tab on each connector. Gently pull them apart. You can then set the door panel aside in a safe place.
Try to keep it clean and out of the way.
Step 4: Access the Old Speaker. Now you can see the old speaker. It’s usually mounted to a bracket or directly to the door frame.
You’ll see wires connecting to it. There might be a plastic cover over the speaker. Remove this if present.
Step 5: Disconnect the Speaker Wires. The wires connect to the speaker terminals. They might be spade connectors or a single plug.
Carefully disconnect them. If they are spade connectors, you might need to gently pull them off with pliers or a small screwdriver. If it’s a plug, press the release tab and pull.
Step 6: Remove the Old Speaker. You’ll see screws holding the speaker in place. Use your screwdriver or socket set to remove them.
Keep these screws safe. Once all screws are out, lift the old speaker out of its mounting hole. It might be a tight fit.
Step 7: Install the New Speaker. Take your new speaker. Align it with the mounting holes.
Make sure it fits snugly. If your new speakers didn’t come with adapters, you might need to connect the car’s wires to the new speaker terminals. Use wire strippers to expose a little wire if needed.
Connect them securely. Use electrical tape to cover any bare wires for extra safety.
Step 8: Secure the New Speaker. Use the screws you removed (or new ones if provided) to mount the new speaker. Tighten them firmly, but don’t overtighten.
You don’t want to crack the speaker cone or mounting bracket.
Step 9: Reconnect Speaker Wires. Plug the wires into the new speaker terminals. Make sure they are on the correct terminals (+ and -).
Most speakers have these marked.
Step 10: Reattach the Door Panel. Carefully bring the door panel back into position. Reconnect all the electrical connectors for the switches.
Align the panel with the door frame. Push it back into place until the clips snap in. Make sure it’s flush all around.
Reinstall any screws you removed earlier. Put the plastic caps back on.
Step 11: Test the New Speakers. Start your car. Play some music.
Check if the new speakers are working. Listen for clear sound. Make sure there’s no buzzing or distortion.
Test all speakers to be sure.
Quick Speaker Swap Guide
Goal:
Time: About 30 minutes per door.
Key Steps:
- Remove door panel (unscrew, unclip).
- Disconnect panel wires.
- Access old speaker.
- Disconnect speaker wires.
- Unscrew and remove old speaker.
- Connect new speaker wires.
- Mount new speaker.
- Reattach door panel.
- Test sound.
My Own Speaker Swap Story
I remember the day I decided to tackle this myself. My old Honda Civic had speakers that sounded like a tin can full of gravel. It was painful.
Every song felt like a chore. I listened to podcasts mostly. One Saturday, I’d had enough.
I found a set of decent coaxial speakers online. They were a perfect fit for my car.
I laid out my tools on a clean tarp in the driveway. My hands were a bit shaky. I started on the driver’s side door.
I found the screws first. One was hidden under a small plastic piece near the handle. It popped off with a tiny bit of effort.
Then came the prying. The door panel creaked and groaned as I worked my trim tool around the edge. It felt like I was breaking it, but then I heard the satisfying pop of the clips releasing.
Once the panel was hanging loose, I saw the mess of wires. My heart did a little flip. Would I mess this up?
I took a deep breath and gently unplugged the window switch. Setting the panel aside, I saw the speaker. It looked old and sad.
The wires came off easily enough. The mounting screws were simple. Out came the old speaker.
The new speaker was so shiny and new! I connected the wires. They clicked into place.
I screwed it in. Then came the part I was nervous about: putting the door panel back. I lined it up, reconnected the wires, and pushed.
Pop, pop, pop. It all snapped back into place. I put the screws back.
I started the car and turned up the radio. The sound was amazing! Clear, crisp, and full.
It took me about 40 minutes that first time. But I learned so much.
I felt a huge sense of accomplishment. I had upgraded my car’s sound system myself! It wasn’t scary at all.
It just took a little patience and the right tools. I felt so proud. That drive home was the best.
Every song sounded brand new. It made me want to upgrade the other doors right away.
Common Speaker Installation Challenges
Sometimes, things don’t go as smoothly as planned. I’ve learned a few things the hard way. Knowing these can save you frustration.
Myth vs. Reality: Speaker Upgrades
Myth: You need professional tools and skills.
Reality: Basic hand tools and patience are usually enough for most cars.
Myth: All speakers fit all cars.
Reality: Speaker size and mounting depth matter. Always check compatibility.
Myth: Upgrading speakers requires an amplifier.
Reality: Many aftermarket speakers sound great with your car’s factory stereo.
One common issue is door panel removal. Some cars have very tight clips. Or, there might be more screws hidden than you expect.
I once spent twenty minutes looking for a screw that was behind a tiny plastic cup holder.
Another challenge is speaker fitment. Even if the diameter is right, the mounting depth can be an issue. The speaker might hit the window mechanism when the window is rolled down.
Always measure the depth of your old speaker and compare it to the new one. Or, check online forums for your specific car model.
Wiring can also be tricky. Some cars use unique connectors. You might need an adapter harness.
These are specific to car brands and models. Without one, you might have to cut and splice wires. This is more time-consuming.
It also makes it harder to go back to stock later.
Finally, vibration is a common problem. New, powerful speakers can make the door panel vibrate. This causes rattling sounds.
It can be annoying. Sometimes, adding sound-deadening material to the door helps. You can also ensure all panel clips are secure.
When to Consider Professional Help
While most speaker changes are DIY-friendly, there are times to call a pro. If your car has a complex sound system, like a premium brand system with many speakers and an external amplifier, it’s best left to experts. These systems have intricate wiring.
They often require special tools and knowledge.
Also, if you’re uncomfortable with car electronics, don’t push it. Shorting wires can damage your car’s stereo or other electrical systems. The cost of repair could be far more than professional installation.
If your car’s door panels are damaged or brittle, prying them off can cause them to break. A professional installer has experience with all types of panels. They know how to handle delicate or aged parts without causing more damage.
If after reading this, the process still seems daunting, that’s okay! There’s no shame in seeking help. Many car audio shops offer speaker installation services.
They can do it quickly and correctly. They also have access to a wide range of adapter parts and sound-deadening materials. They can offer advice on the best speakers for your specific vehicle and budget.
Quick Scan: DIY vs. Pro Install
| Feature | DIY | Professional |
|---|---|---|
| Cost | Low (parts only) | Moderate to High (parts + labor) |
| Time | 30-60 mins per door | 1-2 hours total (for all doors) |
| Skill Level | Beginner to Intermediate | Expert |
| Risk of Damage | Low to Moderate | Very Low |
| Warranty | None (on labor) | Often includes labor warranty |
What This Means for Your Drive
Upgrading your car door speakers can transform your driving experience. You’ll notice the difference immediately. Music will sound richer and clearer.
Podcasts will be easier to understand. Even GPS navigation prompts will be crisper.
Think about your daily commute. Do you spend an hour in the car each day? That’s two hours a day you could be enjoying better sound.
Or, two hours where you’re struggling to hear over road noise.
It’s not just about louder music. It’s about better fidelity. You’ll hear subtle details in your favorite songs that you never noticed before.
The bass will be more defined. The highs will be sharper without being harsh. This makes listening to music much more engaging and enjoyable.
For many people, a simple speaker swap is the most cost-effective way to improve their car’s audio. It’s a practical upgrade that pays dividends every time you turn on the radio. It’s a project that gives you tangible results quickly.
It also boosts your confidence if you’re new to car maintenance.
Quick Tips for Better Sound
Even with new speakers, other factors affect sound quality. Here are a few quick tips.
Check Speaker Polarity: Make sure the positive (+) and negative (-) wires are connected correctly. If they are reversed, the speaker will sound weak and out of phase.
Tighten Everything: Loose screws on the speaker mount or door panel can cause buzzing. Ensure everything is snug.
Add Sound Deadening: For a more significant improvement, add sound-deadening material to the inside of the door panel and the door frame. This reduces rattles and road noise. It makes the speaker sound much better.
Upgrade Your Head Unit: If your car’s stereo (head unit) is very old, it might not be powering your new speakers effectively. Upgrading the head unit can also make a big difference.
Consider Component Speakers: If you want the best possible sound, component speakers are a step up. They have separate woofers and tweeters. This allows for better sound imaging and clarity.
Installation can be more complex, though.
Frequently Asked Questions
What size speakers do I need for my car doors?
Speaker sizes vary by car model. Common sizes are 5.25 inches, 6.5 inches, and 6×9 inches. You can find the exact size for your car in the owner’s manual, by searching online for your car’s make and model, or by measuring the existing speaker.
Can I install new speakers myself?
Yes, in most cases. Changing car door speakers is a common DIY project. It usually requires basic tools like screwdrivers and trim removal tools.
Patience and following instructions are key.
How long does it take to change car door speakers?
It typically takes about 30 minutes to an hour per door. This includes removing the door panel, swapping the speaker, and reassembling. If it’s your first time, it might take a bit longer.
Do I need special adapters for new speakers?
Sometimes, yes. New speakers may come with wiring adapters, or you might need to purchase them separately. These adapters help connect your car’s factory wiring to the new speakers without cutting wires.
Will new speakers make my music sound better with the factory stereo?
Yes, replacing old or blown speakers with new ones will almost always improve sound quality. However, for the best results, consider upgrading your car’s stereo head unit as well.
What if my new speakers don’t fit?
If the diameter is correct but the mounting depth is an issue, you might need speaker adapter plates. These spacers can raise the speaker slightly or allow for a different mounting pattern. Always check mounting depth specifications before buying.
How do I know if my car speakers are blown?
Signs of blown speakers include crackling, popping, distortion at any volume, or no sound at all from a specific speaker. You might also notice a rattling sound from the speaker enclosure.
Final Thoughts on Your Speaker Upgrade
Swapping out your car door speakers is a rewarding project. It’s achievable for most car owners. You can significantly improve your car’s sound without breaking the bank.
Remember to get the right parts and tools. Take your time with the door panel. And enjoy the amazing sound that follows!