How to Clean a Corroded Car Fuse Box: Cleaner, Grease & Test
A corroded car fuse box can usually be cleaned with electrical contact cleaner, a soft wire brush, and dielectric grease — but only after the negative battery terminal is disconnected first. Skipping that step risks a short circuit, and corrosion on the fuse block housing itself, not just the fuses, often means the box needs replacing instead. This guide covers safe disconnection, the right cleaning products, and how to test continuity with a multimeter before you reconnect the battery.
Quick Answer
To clean a corroded car fuse box: disconnect the negative battery terminal, remove the affected fuses, and spray electrical contact cleaner on the corroded contacts. Scrub gently with a small wire brush, let it dry, then coat the contacts with dielectric grease before reassembling. Test continuity with a multimeter before reconnecting the battery. Heavy corrosion on the housing itself usually means replacement, not cleaning.
Signs of Corrosion in a Car Fuse Box
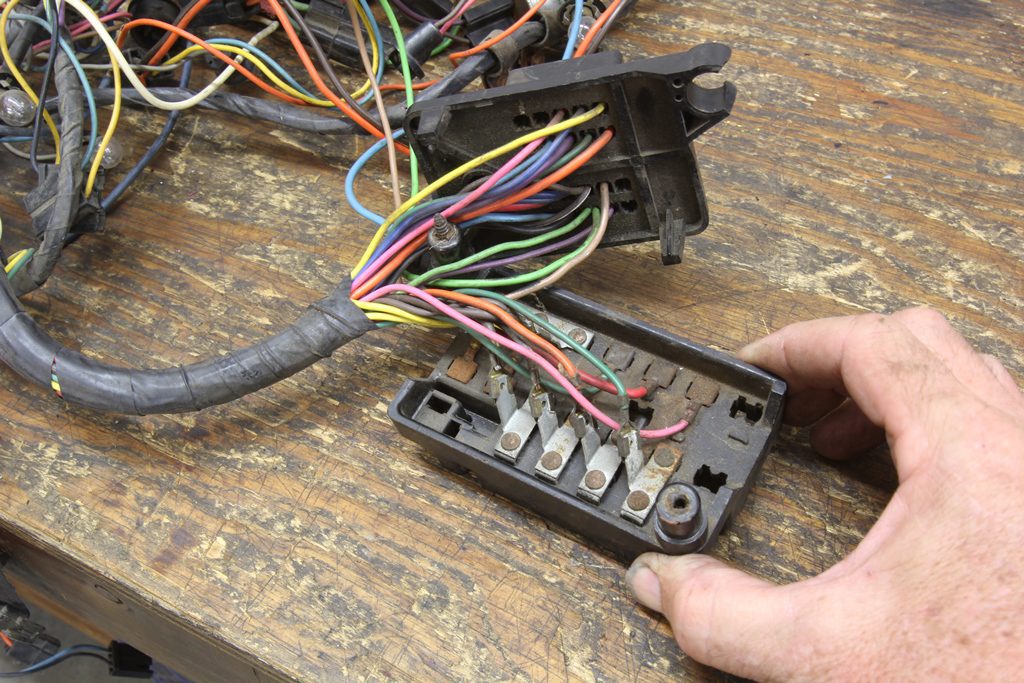
Rusty spots on the metal fuse contacts, or a green or white powdery residue inside the box, are the clearest signs of corrosion. Burn marks or discolored plastic around a fuse socket point to a more serious problem than surface corrosion alone and should be inspected before you clean anything.
Corrosion also shows up as symptoms elsewhere in the car. Flickering lights, accessories that stop working intermittently, or fuses that blow again shortly after replacement all point back to a poor connection at the fuse box rather than the fuse itself.
What Causes Corrosion in a Car Fuse Box?
Fuse box corrosion is almost always caused by moisture reaching the metal contacts. Water can seep in through a cracked seal, a gap left by a missing cover, or condensation that forms after the car sits in humid weather. Once inside, that moisture reacts with the metal and forms the green or white residue described above.
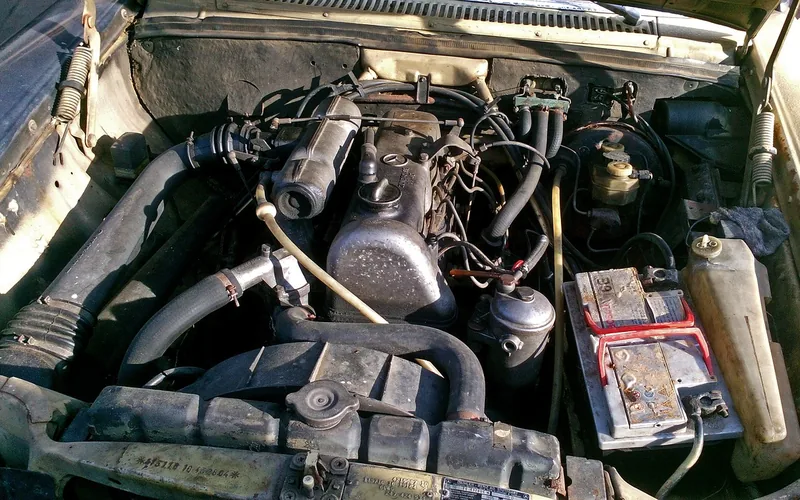
Battery acid vapor is a second, less obvious cause. According to AAA, volatile chemicals and gases can escape through small cracks around a battery terminal and condense on nearby conductive metal — the same electrolyte-vapor process that corrodes battery posts also reaches fuse box grounds and connectors mounted close to the battery. Road salt, general age, and a fuse box that has simply never been cleaned add to the buildup over time. Corroding battery terminals are frequently the first sign that the same moisture or vapor problem is reaching the fuse box too.
📊 AAA recorded roughly 7 million battery-related roadside service calls in 2024 — battery issues and towing combined made up about 74% of all its calls that year. — Source: AAA Newsroom, 2025
Tools and Materials Needed
Gather these before you start so you are not reaching for tools mid-job with a disconnected battery:
- Wrench or socket set (to remove the battery terminal)
- Screwdriver (to open the fuse box cover)
- Fuse puller or small pliers (to remove fuses without bending the prongs)
- Electrical contact cleaner spray — the actual cleaning agent, not water or vinegar
- Small non-metallic wire brush or an old toothbrush
- Dielectric grease, to seal the contacts against future moisture once they’re clean
- Insulated gloves and safety glasses
- A flashlight or work light
- A digital multimeter, to test continuity once the fuse box is back together
Skip baking soda paste, vinegar, and abrasive sanding on fuse box contacts. Water-based pastes and vinegar leave moisture and residue behind on live electrical contacts, which can restart the same corrosion you’re trying to remove, and sandpaper can gouge soft copper terminals or scratch the plastic housing. A purpose-made electrical contact cleaner is formulated to evaporate fully and leave nothing behind — that’s what actually protects the connection.
Best Fuse Box Cleaning Pick
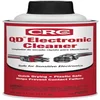
CRC 05103 QD Electronic Cleaner, 11 oz
A fast-evaporating, plastic-safe spray built for exactly this job — corroded contacts, sockets, and relay connectors.
- Best for: spraying directly into a corroded fuse socket or terminal
- Why we picked it: dries residue-free, so it won’t attract new moisture the way water or vinegar can
- Main drawback: the fumes need ventilation and it isn’t meant for painted surfaces
Compare more fuse box cleaning options
 Option 1 Permatex 22058 Dielectric Tune-Up Grease, 3 oz
|
 Option 2 VANTRONIK Fuse Puller / Relay Puller Tool, 6.5″
|
 Option 3 AstroAI True RMS Digital Multimeter, 6000 Counts
|
As an Amazon Associate we earn from qualifying purchases.
Preparation: Disconnect the Battery Safely First
Put on gloves and safety glasses, work in a well-lit and ventilated area, and make sure the car is off and parked on a flat surface. This is a live 12V DC electrical job, so treat the disconnect order as a safety step, not a formality.
- Turn the car off completely. Do not work on the fuse box with the ignition on.
- Loosen and remove the negative (black, “–”) battery terminal first. This breaks the circuit and prevents a spark if a tool accidentally bridges a live connection — see what cable goes on a car battery first for why the order matters both ways.
- Remove the positive terminal next and set both cables apart so they can’t touch each other or the terminal posts.
- Open the fuse box cover with a screwdriver and confirm no dashboard lights or accessories are drawing power before you touch anything inside.
How to Clean the Corroded Fuse Box Contacts
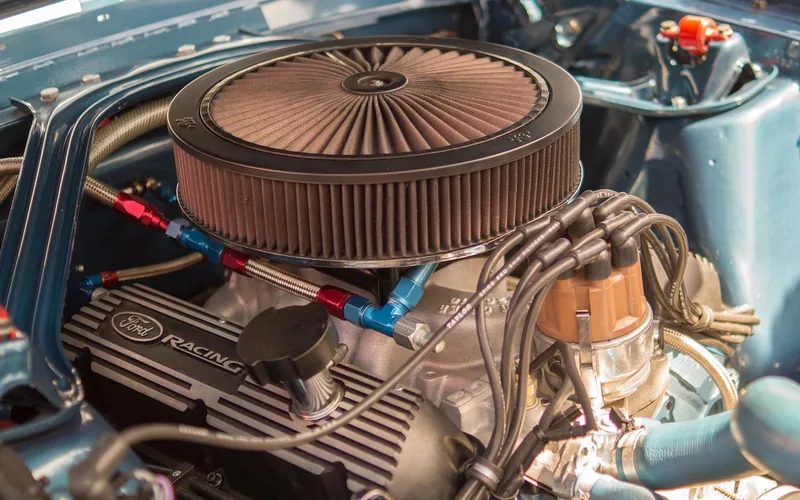
With the battery disconnected, pull each corroded fuse with a fuse puller or pliers, working gently so you don’t break the plastic body. Lay them out in order on a clean surface — a phone photo of the layout first is an easy way to avoid mixing them up later.
Spray a light amount of electrical contact cleaner directly onto the corroded metal socket. It’s normal to see it fizz slightly as it breaks down the buildup. For heavier deposits, gently work the contact with a small wire brush — a rotary tool with a soft wire wheel attachment also works well for stubborn spots, according to hot-rod writer Jeff Smith, who recommends cleaning “all of the connections that look corroded” rather than just the worst one. Let the contacts air-dry for 10–15 minutes so no moisture is trapped when you reassemble the box.
Once everything is dry, apply a thin coat of dielectric grease to each cleaned contact with a cotton swab. This doesn’t conduct electricity itself — it seals out the moisture that caused the corrosion in the first place, which is the same protective step Smith recommends: “place a small amount of oil on each terminal — this will keep the connections from corroding again.”
When Should You Replace the Fuse Box Instead of Cleaning It?
Cleaning restores a corroded socket or fuse contact, but it can’t fix damage to the fuse box housing itself. Replace the fuse box, rather than clean it, if you see any of the following:
- Melted, warped, or discolored plastic around a socket — a sign of past overheating, not just corrosion
- Cracks in the housing that let water in repeatedly, no matter how often you clean it
- Corrosion on the internal circuit board or bus bars, rather than just the fuse contacts
- The same fuse keeps blowing again shortly after a clean and a fresh fuse are installed
If you’re only seeing surface corrosion on individual fuse contacts and the housing itself is intact, cleaning is usually enough. If the corrosion recurs within a few months of cleaning, or you’re chasing an intermittent electrical short that a clean didn’t fix, a replacement fuse box is the more reliable repair.
Reassembly: Replacing Fuses and Reconnecting the Battery
Replace any fuse that was damaged, blown, or too corroded to reuse — always with the same amperage rating, never a higher one. Insert each fuse back into its original slot so it seats snugly, then close the fuse box cover.
Reconnecting the battery is the reverse of removal: attach the positive cable first, then the negative cable, and tighten both clamps securely by hand and then with a wrench. A loose terminal clamp can mimic the same intermittent power loss that corrosion causes, so check that neither cable moves when you tug on it gently.
How to Test Continuity After Cleaning (Before You Reconnect the Battery)
Testing continuity confirms the cleaning actually restored a good connection instead of just making the contact look clean. Do this before you reconnect the battery, with the fuses still out of their sockets.
- Set your multimeter to continuity or resistance (ohms) mode. Most meters beep on a good continuity reading.
- Touch one probe to a cleaned fuse socket contact and the other to its matching contact or ground point. Hold both probes steady against bare metal, not the plastic housing.
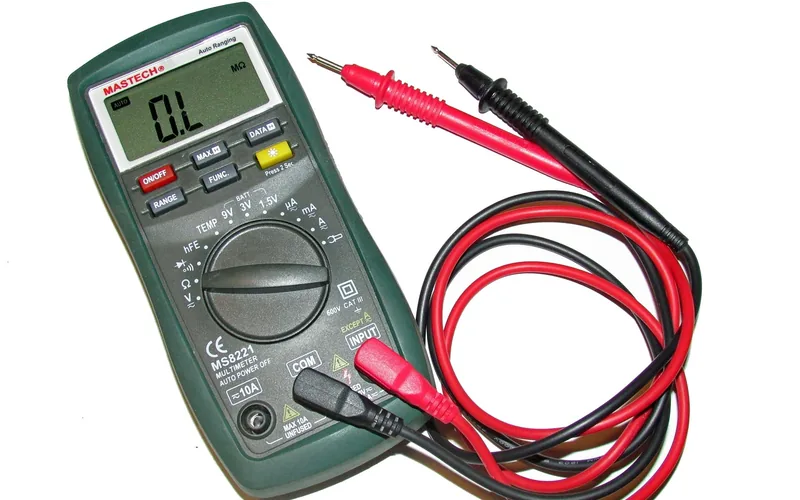
- Read the result. A good, clean contact reads close to 0 ohms (the meter beeps in continuity mode). A high resistance reading, or “OL” (overload/open) on the display, means the contact still isn’t making a solid connection and needs more cleaning or replacement.
- Repeat for each socket you cleaned before reinstalling the fuses.
- Reconnect the battery only after every cleaned contact tests good. Then turn the key to accessory or run the engine briefly and confirm the electrical symptoms from the “Signs of Corrosion” section are gone.
For a full walkthrough of the fuse-removal and reassembly steps side by side with photos, see our companion step-by-step fuse box cleaning guide — this page focuses on the causes, product choices, and the continuity check that guide doesn’t cover.
Testing and Final Checks
Checking Electrical Systems
Start the engine and check that dashboard lights, headlights, and tail lights are all operational. Turn on the radio, verify the air conditioning blows air properly, and check the wipers for smooth operation. Test the horn to make sure it sounds loud and clear, and confirm the battery indicator shows a full charge.
Ensuring Secure Connections
Inspect all wire connections to make sure they’re tight and secure, and confirm the fuse box cover is properly closed. Ensure no wires are loose or exposed, and tighten any loose screws or bolts with a screwdriver. Examine the battery terminals one more time — they should be clean and tight, with no fresh signs of corrosion.
Preventive Measures
Keep the fuse box dry and check it every few months for early buildup. Make sure the fuse box cover is fully seated and its seal is intact — this keeps water out in the first place. A thin coat of dielectric grease on the contacts, reapplied whenever you’re already in the fuse box for another reason, is the single most effective way to keep corrosion from coming back.
Because battery acid vapor is one of the causes of fuse box corrosion, keeping the battery itself clean matters too — see our guide on how to check car battery health for a routine check you can run at the same time.
Frequently Asked Questions
What causes corrosion in a car fuse box?
Corrosion in a car fuse box is caused mainly by moisture — water entering through cracked seals or a loose cover — and by battery acid vapor condensing on nearby metal contacts. Road salt and general age add to the buildup over time. Regular inspection catches it before it disrupts electrical connections.
Can I clean a corroded fuse box myself?
Yes. Disconnect the negative battery terminal first, then clean the corroded contacts with electrical contact cleaner and a small wire brush. Let everything dry fully, coat the contacts with dielectric grease, and test continuity with a multimeter before reconnecting the battery.
What tools are needed for cleaning a fuse box?
You need a screwdriver to open the fuse box cover, a fuse puller, electrical contact cleaner, a small non-metallic brush, dielectric grease, insulated gloves, and a multimeter to confirm continuity afterward. Skip water, vinegar, and sandpaper — they can leave residue or damage the contacts.
How often should a fuse box be checked?
Check your fuse box every six months, or sooner if you notice flickering electronics, a burning smell, or a fuse that blows repeatedly. Regular inspection catches corrosion while it’s still limited to the fuse contacts, before it spreads to the housing or wiring.
What’s the difference between dielectric grease and contact cleaner?
Electrical contact cleaner is a spray solvent that dissolves and lifts existing corrosion off a metal contact, then evaporates completely. Dielectric grease is applied after cleaning — it doesn’t remove corrosion, but its non-conductive, waterproof coating keeps new moisture from reaching the contact and starting the process again.
Is it safe to use water or WD-40 to clean a fuse box?
No. Water and water-based pastes like baking soda leave moisture behind on live electrical contacts, which can restart corrosion or cause a short. General-purpose WD-40 is a light lubricant, not a true electrical contact cleaner, and can leave an oily film that attracts dust. Use a product labeled specifically as an electrical or electronic contact cleaner instead.
How do I test a fuse box after cleaning it?
Set a multimeter to continuity or resistance mode and touch the probes to each cleaned contact before reinstalling the fuses. A good connection reads close to 0 ohms or triggers the meter’s continuity beep; a high resistance reading or “OL” display means the contact needs more cleaning before you reconnect the battery.
Conclusion
Cleaning a corroded car fuse box comes down to three things done in order: disconnect the negative battery terminal first, clean with a real electrical contact cleaner instead of water or vinegar, and test continuity before you reconnect. Watch for housing damage that cleaning can’t fix, reapply dielectric grease every so often, and a fuse box problem that looked serious usually turns into a 20-minute fix.
Products related to this article
Sponsored / affiliate links. As an Amazon Associate I earn from qualifying purchases. I may earn additional commission from eligible campaigns.