How to Fix Peeling Paint on a Car Hood: 7-Step DIY Repair
Peeling paint on a car hood comes from rust, UV breakdown, or a bad paint job — and painting over it without sanding to bare metal first guarantees it peels again. Left untreated, exposed metal rusts and flying paint chips can strike other vehicles. This guide covers the 7-step repair process, the tools you need, and when a $50 DIY fix beats a $500+ body shop visit.
Quick Answer
To fix peeling paint on a car hood, scrape and sand away every loose flake down to bare metal or solid paint, feather the edges, then apply etching primer, color-matched paint, and clear coat in thin layers. Skipping the sanding step is why most DIY repairs fail — new paint will not bond to old, peeling paint.
Why Does Car Paint Peel?
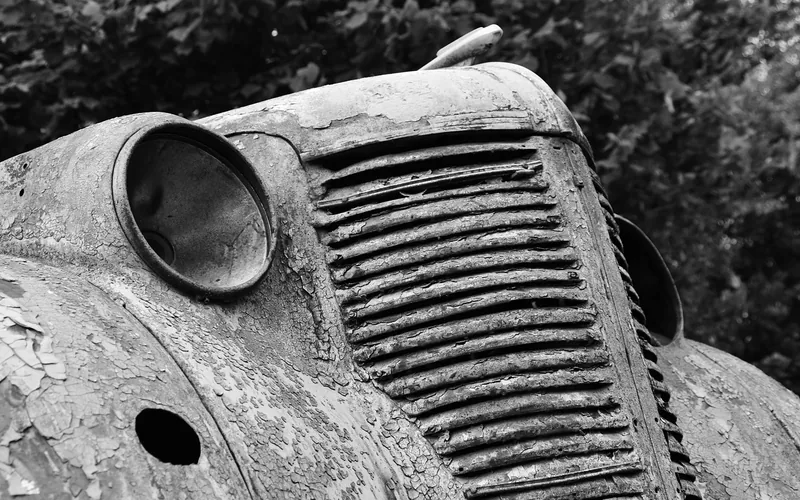
Understanding why your car’s paint is peeling can help you prevent it from happening again. The most common culprit is moisture. When water gets under the paint, it can cause the metal beneath to rust. This rust expands, pushing the paint away and causing it to bubble and peel. Exposure to harsh elements like the sun’s UV rays, extreme temperatures, chemicals, and even road salt can also break down the paint over time. If the car wasn’t properly prepared before painting, or if the primer wasn’t applied correctly, the paint simply won’t adhere well and will start to lift and peel.
Is it Safe to Drive with Peeling Paint?
Driving with peeling paint isn’t just an aesthetic issue; it can lead to more significant problems. The exposed metal can quickly start to rust, which is a structural concern and can be much more expensive to fix later. Rust can spread, weakening the car’s body. Additionally, loose paint chips can fly off while you’re driving, posing a hazard to other vehicles. It’s best to address peeling paint as soon as you notice it to protect your car’s integrity and appearance.
Essential Tools and Materials
Before you begin, gather your supplies. Having everything ready makes the job much smoother. Here’s a list of what you’ll likely need:
- Safety Gear: Safety glasses, chemical-resistant gloves, and a respirator mask are crucial to protect yourself from dust and fumes.
- Cleaning Supplies: Car wash soap, water, clean cloths or microfiber towels, wax and grease remover.
- Sanding Tools: Various grits of sandpaper (e.g., 180-grit for initial rough sanding, 320-grit for smoothing, 400-grit for final prep). Sanding blocks can help with even pressure.
- Scraping Tools: A putty knife or scraper to gently remove loose paint flakes.
- Priming and Painting Supplies: Automotive primer (etching primer is great for raw metal), color-matched automotive paint (often available in spray cans from auto parts stores), clear coat spray.
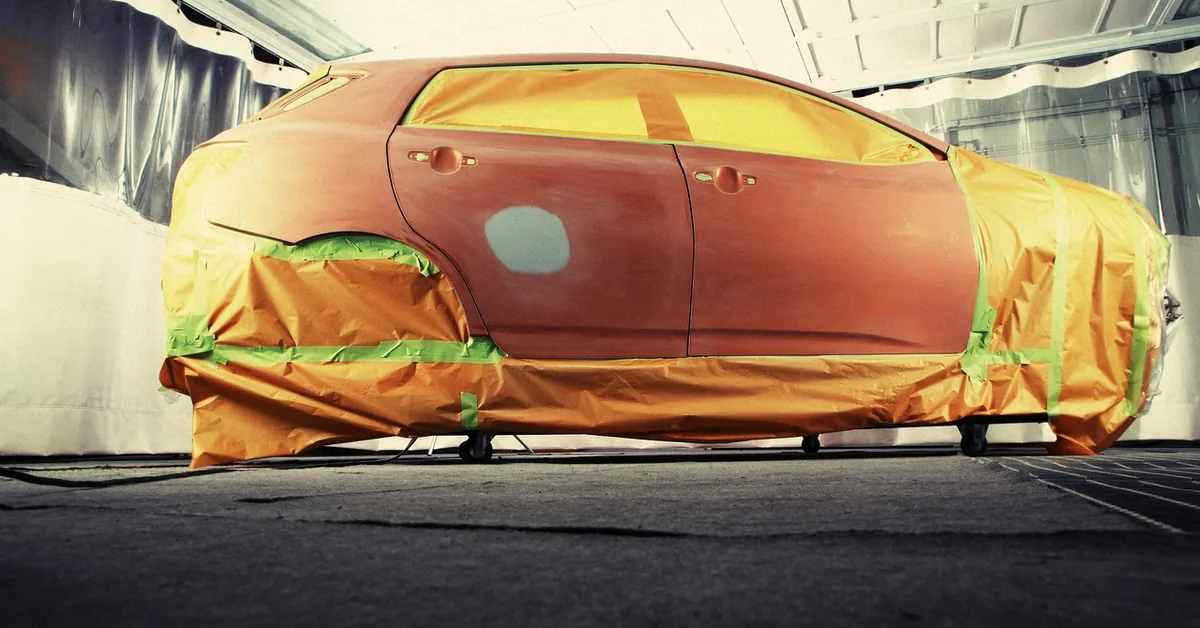
- Masking Materials: Masking tape and paper or plastic sheeting to protect undamaged areas.
- Rubbing Compound and Polish: To blend the new paint with the old.
- Optional Tools: An orbital sander can speed up the sanding process, but careful hand sanding is often better for precision.
Best Peeling Paint Repair Pick
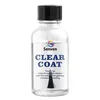
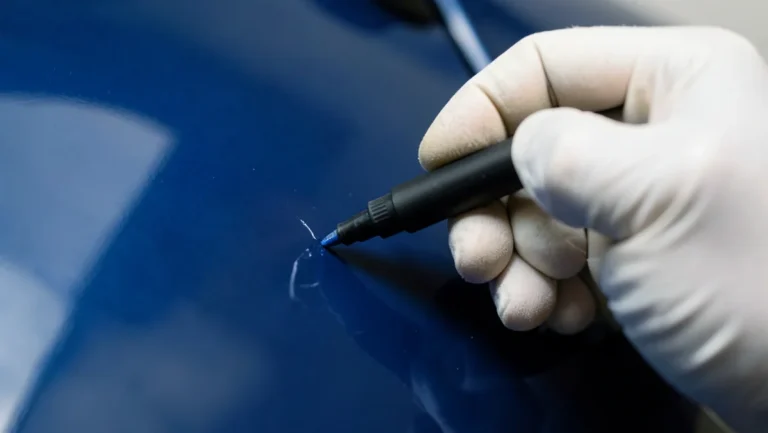
SENVERN Automotive Peeling Repair Clear Coat Pen (1.5 oz)
A pen-format clear coat built specifically for small peeling spots — no spray gun or booth needed.
- Best for: Chip-sized to a few inches of peeling, once primer and color coat are already down
- Why we picked it: Matches this guide’s Step 6 (clear coat) without committing to a full aerosol can
- Main drawback: Not enough volume for a full panel — use a spray can for anything larger than a few inches
Compare more peeling-paint repair supplies
 Option 1 SprayMax 1K Self Etching Primer Filler
|
 Option 2 SprayMax 2K High Gloss Clear Coat Spray
|
 Option 3 Meguiar’s Ultimate Compound Pro-Grade Polish
|
As an Amazon Associate we earn from qualifying purchases.
Step-by-Step Guide to Fixing Peeling Paint on Your Car Hood
Let’s get your car looking its best again! Follow these steps carefully:
Step 1: Clean the Area
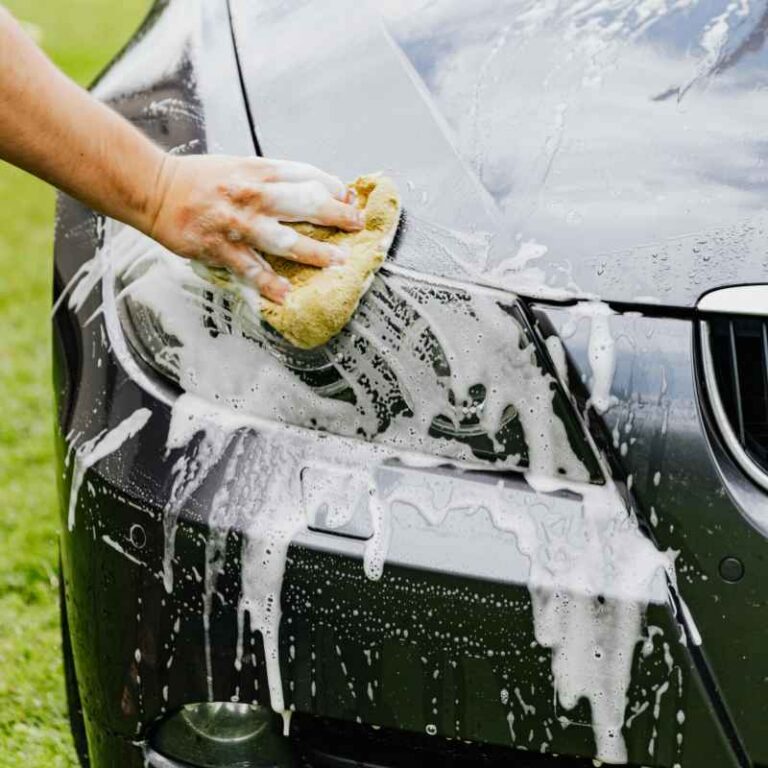
Start by giving the entire car hood a thorough wash with car wash soap and water. This removes dirt, grime, and road debris that could interfere with the repair process and get into your new paint. Rinse it well and dry it completely with clean microfiber towels. Once dry, use a wax and grease remover on the peeling area and a few inches around it. This ensures a clean surface for sanding and painting.
Step 2: Remove Loose Paint
Using a putty knife or scraper, gently but firmly scrape away all the loose, bubbling, or peeling paint. You want to get down to a solid layer of paint or, if necessary, down to the bare metal. Be patient and try not to force the scraper, which could create deeper gouges. After scraping, vacuum up all the paint debris.
Step 3: Sand the Area
Now it’s time to smooth things out and prepare the surface for primer. Start with a coarser grit sandpaper, like 180-grit, around the edges of the peeled area and any rough spots. Feather the edges of the old paint by sanding outwards in a wider circle. You want to create a smooth transition between the bare metal or primer and the existing paint. Gradually move to finer grits, such as 320-grit, and then 400-grit, to create a very smooth surface. The goal is to remove any sharp edges and ensure the new paint will adhere properly. Wipe away all sanding dust with a clean cloth and tack cloth.
Step 4: Apply Primer
Mask off any areas you don’t want to paint using masking tape and paper or plastic sheeting. This is crucial for protecting the surrounding paintwork. Next, apply a thin, even coat of automotive primer. An etching primer is often recommended for bare metal as it helps the paint adhere better. Follow the instructions on the primer can for drying times. You might need to apply 2-3 thin coats, allowing each to dry. After the final coat, lightly sand the primed area with very fine sandpaper (e.g., 400-grit or higher) to make it perfectly smooth. Clean off all dust again.
Step 5: Apply Color-Matched Paint
This is where your car starts to look whole again! Shake the can of color-matched automotive paint very well. Hold the can about 8-12 inches away from the surface and apply thin, even coats. Avoid applying too much paint at once, as this can lead to drips and runs. Work in a well-ventilated area, ideally between 60-80°F (15-27°C). Allow each coat to flash off slightly (usually a few minutes, check the can) before applying the next. You’ll likely need 2-3 coats to achieve good coverage. Feather the edges into the surrounding paintwork as you go.
Finding the correct color code for your car is essential for a seamless repair. You can usually find this code on a sticker inside the driver’s side doorjamb, in the glove box, or under the hood. If you’re unsure, your local auto parts store or dealership can help.
Step 6: Apply Clear Coat
Once the color coat has dried according to the manufacturer’s instructions (usually within an hour), it’s time for the clear coat. This protects the paint and provides a glossy finish. Apply 2-3 thin, even coats of clear coat, just like you did with the color paint. This step seals the color and helps blend the new paint into the existing finish. Again, proper application involves holding the can at the correct distance and using smooth, overlapping strokes.
Step 7: Buff and Polish
After the clear coat has fully cured (this can take 24-72 hours, so be patient!), you’ll likely see a slight difference in texture between the new paint and the old. This is normal. To blend the edges, you can use a rubbing compound. Apply a small amount to a clean applicator pad and rub it in a circular motion over the edges where the new and old paint meet. This will help smooth out the transition. Follow up with a fine automotive polish using a clean microfiber cloth to restore shine and help the repaired area blend seamlessly. Finally, apply a coat of wax to protect your work.
Why Do Hoods Peel Before Other Body Panels?
A hood is horizontal, so it takes UV rays head-on at a much steeper angle than a vertical door or fender ever does. It also sits directly over a hot engine bay, so it cycles through more heat expansion and contraction than the rest of the body. That combination of direct UV exposure and thermal cycling is why hoods, roofs, and trunk lids are almost always the first panels to show peeling paint on an otherwise healthy car.
Touch-Up or Full Repaint? Diagnosing Your Hood’s Peeling
Not every peeling hood needs the full 7-step process above. Use this table to match what you’re looking at to the right level of repair before you buy supplies.
| What You See | Likely Cause | Best Fix | Typical DIY Cost |
|---|---|---|---|
| Small chip or spot under an inch, no rust | Clear coat failure only | Touch-up paint pen or clear coat pen | $10 – $25 |
| A few inches of peeling, bare metal showing, no rust yet | Poor adhesion or early UV breakdown | Spot sand, prime, paint, clear coat (this guide) | $50 – $150 |
| Spreading patch with visible surface rust at the edges | Moisture reached bare metal | Remove rust, treat, then follow all 7 steps | $100 – $300 |
| Large area, bubbling paint, or rust eating through metal | Long-term neglect or hidden rust-through | Professional body shop — metal repair needed first | $500 – $1,000+ per panel |
If your hood matches the last row, stop before you spend money on paint. A DIY repaint over rust-through metal won’t hold, and you’ll be redoing it within a year. A full cost breakdown by damage layer — clear coat, base coat, primer, or rust-through — is covered in the FAQ below.
Understanding Paint Types and Their Durability
Knowing a bit about paint types can help you choose the right products and understand how they perform. Here’s a quick look:
| Paint Type | Description | Pros | Cons |
|---|---|---|---|
| Single-Stage | Contains color and gloss in one layer. Often used on older vehicles or for less demanding jobs. | Simpler to apply, fewer steps, generally less expensive. | Less durable than basecoat/clearcoat, may fade faster, not as deep a gloss. |
| Basecoat/Clearcoat | Two-stage process: a colored basecoat followed by a clear topcoat for protection and shine. Standard on most modern cars. | Highly durable, excellent gloss and depth, resists UV damage better, widely available. | More complex application, requires more steps and drying time, typically more expensive. |
| Primer | Applied before paint to ensure adhesion and protect the substrate. Etching primers are vital for bare metal. | Improves paint adhesion significantly, provides a uniform surface, can highlight imperfections before painting. | Adds an extra step and cost, needs to be sanded smooth before painting. |
When to Call a Professional
While many peeling paint issues can be tackled at home, there are times when professional help is the better option. If the peeling is extensive and covers a large area, or if rust has caused significant damage to the metal, a professional body shop has the specialized tools and expertise to handle it properly. If your car has a complex or high-end finish (like a metallic flake or pearl paint that’s hard to match perfectly), a professional detailer or body shop might be necessary to achieve flawless results. For classic cars or highly valuable vehicles, it’s often best to invest in professional restoration. Expect professional single-panel repairs to run roughly $500 to $1,000, versus $50 to $300 for materials on a DIY spot repair.
Preventing Future Paint Peeling
The best offense is a good defense! Here are tips to keep your car’s paint looking great for years to come:
- Regular Washing: Wash your car frequently to remove dirt, bird droppings, tree sap, and road salt, which can all damage the paint.
- Waxing: Apply a coat of quality car wax every few months. Wax acts as a barrier, protecting the paint from UV rays and environmental contaminants.
- Parking Smart: Whenever possible, park your car in a garage or shaded area to limit its exposure to direct sunlight and harsh weather.
- Address Chips and Scratches Promptly: Small damages can be entry points for moisture. Touch up minor chips and scratches as soon as you notice them.
- Consider a Ceramic Coating or Paint Protection Film (PPF): These offer a more durable, long-term protection layer against the elements.
📊 Ford Motor Company tests clear coat durability at 750, 1,500, 3,000, and 4,500 hours inside an accelerated UV weathering chamber — a schedule chosen because it correlates to roughly 1, 2, 4, and 6 years of natural Florida sun exposure, the harshest UV environment used for U.S. automotive testing. — Source: Christopher M. Seubert, PhD, Ford Motor Company — UV+EB Technology Magazine, 2019
“To achieve more than 90% customer satisfaction at 10 years in service, an automotive coating must be durable for at least eight years of Florida exposure for vehicles sold in the US.”
For more on paint care, Consumer Reports’ guide to washing your car offers excellent advice on maintaining your vehicle’s exterior without stripping wax or creating swirl marks.
FAQ: Your Peeling Paint Questions Answered
How long does it take to fix peeling paint?
For a small area, you can often complete the repair in a single day, though you’ll need to wait for paint and clear coat to fully cure before waxing (24-72 hours). Larger or more complex repairs will take longer.
Can I just paint over peeling paint?
No, this is a common mistake. You must remove all loose paint, sand the area smooth, prime it, and then paint. Painting over peeling paint will only result in the new paint peeling off along with the old.
Do I need a special primer for my car?
Yes, using an automotive-specific primer is important. If you’re applying paint to bare metal, an etching primer is highly recommended for the best adhesion. For areas that are already painted but sound, a good quality automotive primer will work.
How do I match the paint color perfectly?
The best way is to find your car’s paint color code (usually on a sticker in the doorjamb or under the hood) and purchase paint with that specific code. Auto parts stores can mix custom spray cans, or you can buy them online based on your code. Some minor blending into the old paint might be needed.
What if I see rust under the peeling paint?
If you find rust, you must remove it completely before priming and painting. Use a wire brush or sandpaper to expose clean metal. You may then need to apply a rust converter to neutralize any remaining rust before priming. Significant rust damage might require professional attention.
Can I fix peeling paint in cold weather?
It’s not recommended. Most automotive paints and primers require temperatures between 60-80°F (15-27°C) to cure properly. Cold temperatures can lead to improper curing, poor adhesion, and a weak finish.
How much does it cost to fix peeling paint on a car?
DIY spot repairs typically run $50 to $300 in materials for sandpaper, primer, paint, and clear coat. A professional single-panel repair, like one hood, runs about $500 to $1,000, and a full repaint can reach $5,000 to $10,000 or more. For a detailed cost breakdown by damage layer, see our layer-by-layer paint peeling repair guide.
Conclusion
Peeling car hood paint is a manageable DIY project as long as you sand every flake down to solid ground before you prime or paint — that one step is what separates a repair that lasts from one you’ll be redoing next season. Match the fix to the damage: a chip needs a touch-up pen, a spreading patch with rust needs the full 7-step process above, and rust-through metal needs a body shop. Stay on top of waxing and prompt chip repair afterward, and the fresh paint should hold for years.
Products related to this article
Sponsored / affiliate links. As an Amazon Associate I earn from qualifying purchases. I may earn additional commission from eligible campaigns.