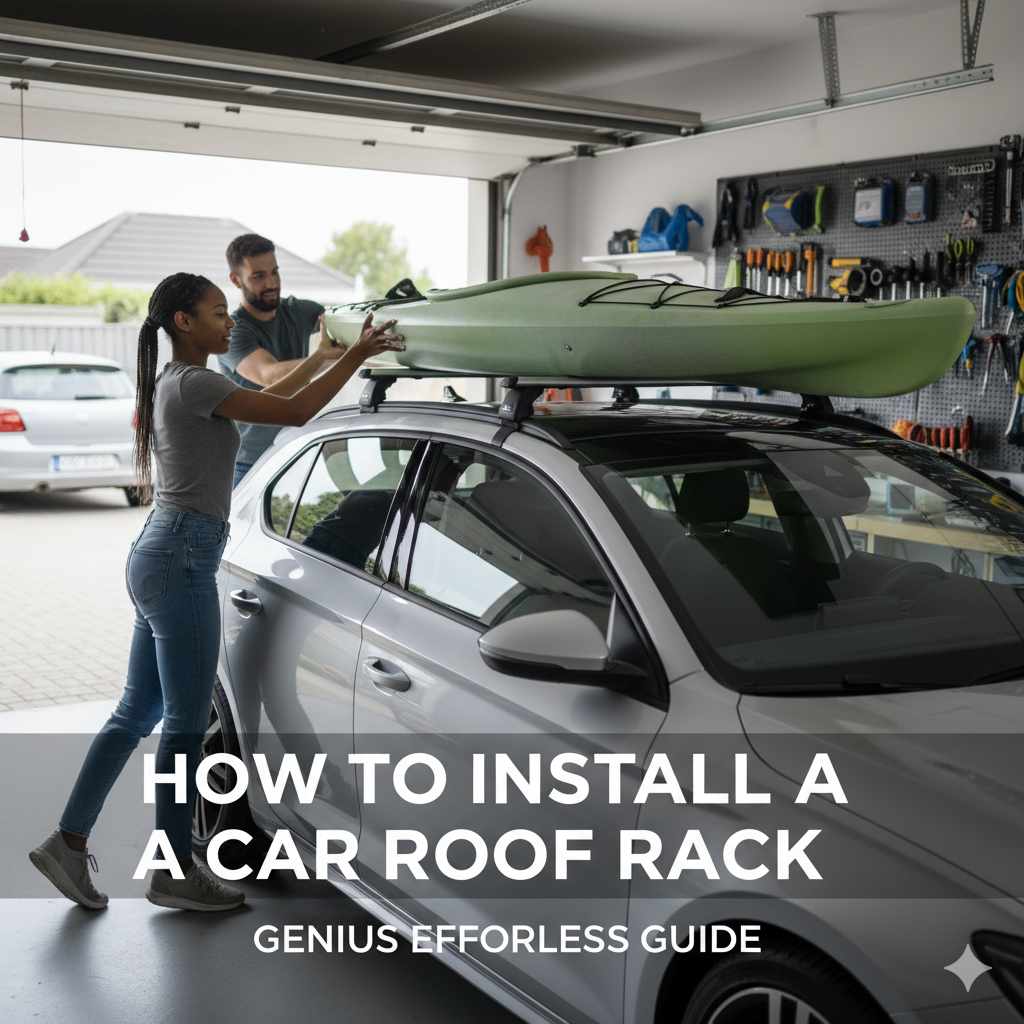
How To Install A Car Roof Rack: Genius Effortless Guide
Installing a car roof rack is a straightforward DIY project. This guide provides simple, step-by-step instructions to help you securely attach a roof rack, enhancing your vehicle’s cargo capacity for any adventure, making it effortless.
Hey there, fellow drivers! Are you tired of playing Tetris with your luggage every time you plan a road trip? Or maybe you dream of hitting the open road with your kayak, surfboard, or bike, but your car’s interior just isn’t cutting it. A car roof rack can be a game-changer, giving you that much-needed extra space. But if you’ve never installed one before, it might seem a little daunting. Don’t worry! I’m here to walk you through it, step-by-step, making the process super easy and stress-free. You’ll be ready to haul your gear in no time!
In this guide, we’ll cover everything from picking the right rack for your car to the final tightening. We’ll break down each stage into simple actions. By the end, you’ll feel confident and ready to tackle this helpful car upgrade yourself.
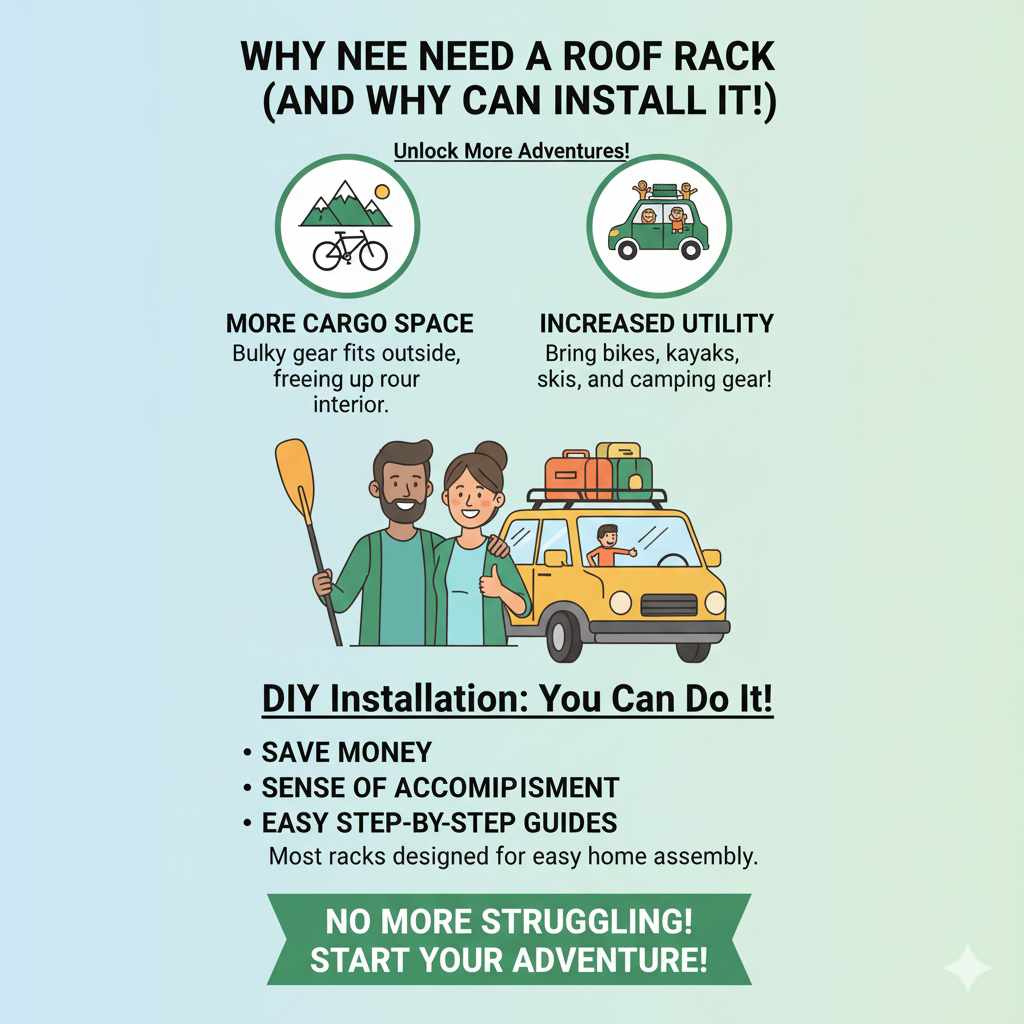
Why You Need a Roof Rack (And Why You Can Install It!)
A roof rack isn’t just an accessory; it’s an upgrade that unlocks a whole new level of utility for your vehicle. Think about it: no more struggling to fit bulky items inside, no more sacrificing passenger comfort for cargo space. Whether you’re a weekend warrior heading to the mountains, a cyclist hitting your favorite trails, or a family planning a camping trip, a roof rack frees up your interior and lets you bring more of what you need.
Many people assume installing a roof rack is a job for a professional mechanic. While some complex systems might require expert help, most common roof rack installations are designed for the average car owner. Manufacturers understand that you want to use their products, so they often simplify the installation process. With the right guidance and a little patience, you can absolutely do this yourself. It’s a fantastic way to save money on installation fees and gain a real sense of accomplishment.
Choosing the Right Roof Rack System
Before we get to the installation, it’s crucial to select the right type of roof rack for your car and your needs. There are a few main systems, and understanding them will make the installation process much smoother.
Types of Roof Racks
- Base Roof Rack Systems (Crossbars): This is the most common type. It consists of two or more bars that span across your roof. These are the foundation for carrying various accessories like cargo boxes, bike racks, or kayak carriers. They attach directly to your car’s roofline, frame, or existing mounting points.
-
Specific Mount Roof Racks: These are designed for particular vehicle types or existing roof features. Examples include:
- Factory-Mounted Rails: If your car already has side rails running the length of the roof, you’ll need crossbars that clamp onto these rails.
- Fixed Points: Some cars have specific threaded mounting points hidden under small covers on the roof. The rack feet attach directly to these.
- Rain Gutter Mounts: Older vehicles might have a rain gutter along the edge of the roof. Special clamps attach to this gutter.
- Bare Roof Mounts (Clip/Clamp Systems): This is the most versatile type, designed for cars without any existing roof-rack features. These racks use special clips that hook into the door jambs and rubber padding to protect your car’s paint.
- Accessories: Once you have a base rack, you can add accessories like cargo boxes (also known as roof boxes or pods), bike carriers, ski racks, or kayak/canoe carriers.
Factors to Consider When Buying
- Your Vehicle Type: The make, model, and year of your car are the most important factors. Roof rack manufacturers provide fit guides to ensure compatibility.
- Your Needs: What will you be carrying? A roof box for family vacations? A bike rack for weekend adventures? A ski rack for winter sports? The intended use will influence the type and weight capacity you need.
- Weight Capacity: Always check the maximum weight your roof can safely support (consult your car’s owner’s manual!) and the weight capacity of the rack system itself.
- Ease of Installation: Some systems are “no-drill” and can be installed with basic tools, while others might require minor drilling (though this is less common for DIY-friendly racks).
- Budget: Prices can vary significantly based on brand, material, and features.
A good starting point is to visit the website of a reputable roof rack manufacturer like Thule or Yakima. They usually have a “fit finder” tool where you enter your car’s details to see compatible systems.
Essential Tools and Materials
The beauty of most beginner-friendly roof rack installations is that they require minimal tools. You’ll primarily be working with hand tools, and often the rack kit itself will include most of what you need. It’s always best to check the specific instructions included with your rack, but here’s a general list of what you might need:
- The Roof Rack System: This includes the feet, towers, crossbars, and any specific mounting hardware for your vehicle.
- Measuring Tape: Crucial for ensuring correct placement of bars and feet.
- Torque Wrench: Essential for tightening bolts and clamps to the manufacturer’s specified tightness. Over-tightening can damage your car or the rack; under-tightening can be dangerous.
- Hex Keys (Allen Wrenches): Usually included with the rack, but having a good quality set is always useful.
- Small Pry Tool or Flathead Screwdriver: For gently lifting caps or covers on your car’s roof that may conceal mounting points.
- Soft Cloth or Microfiber Towel: To clean your car’s roof and protect the paint during installation.
- Gloves (Optional): To keep your hands clean and improve grip.
- Step Stool or Small Ladder (Optional): If your car is tall, this can make accessing the roof much easier and safer.
- Your Car’s Owner’s Manual: This will often contain information on roof weight limits and any specific roof rack instructions or warnings.
Always double-check the contents of your roof rack box against the parts list in the manual. Make sure all pieces are accounted for before you begin.
Step-by-Step Guide: Installing Your Car Roof Rack
This guide assumes you have a common clip-on or fixed-point base rack system. The exact steps can vary slightly depending on the brand and model, so always refer to your specific instruction manual. However, the general process follows these principles.
Step 1: Preparation is Key
Clean Your Car’s Roof: This is super important! Use a mild soap and water solution to wash your car’s roof, especially in the areas where the rack’s feet or clips will make contact. Dry it thoroughly with a soft cloth. This prevents any dirt or grit from scratching your car’s paint during installation.
Inspect Your Car’s Roof: Look for any existing mounting points, rails, or indentations that the rack is designed to connect to. If your system uses clips that attach to the door frame, ensure the door frames are also clean. For systems that use factory-fixed points, you might need to gently pry off a small plastic cover to reveal the mounting holes. Be very careful not to damage these covers.
Unpack and Identify Parts: Lay out all the components of your roof rack system. Familiarize yourself with each piece: feet/towers, crossbars, clips, hardware (bolts, nuts), and any included tools. Match them against the instruction manual’s parts list.
Step 2: Attaching the Feet/Towers to the Crossbars
Many roof rack systems come with the feet (also called towers) that attach to the crossbars. The exact method varies:
- Integrated Systems: Some crossbars have the feet built into them.
- Separate Feet: In other cases, separate feet slide onto or bolt to the ends of the crossbars.
Follow your manual precisely here. You’ll likely be inserting a crossbar into a designated slot on the foot. Ensure it’s seated correctly and securely. Some systems might have a locking mechanism or require initial fasteners to be loosely attached at this stage.
Step 3: Positioning the First Crossbar on Your Car
This step requires precision, especially for the front crossbar. The distance between the front and rear crossbars is crucial for load distribution and stability. Your manual will specify the correct placement.
- Measure Carefully: Use your measuring tape. The manual will likely give you a measurement from a specific point on your car (like the center of a door frame, or a specific body line) to the center of the crossbar or foot. For the front bar, a common measurement is often around 24-32 inches (60-80 cm) from the windshield’s base, but this varies greatly.
- Place the Feet: Position the first crossbar assembly (with feet attached) onto the roof of your car. Place the feet on the designated spots or in the correct door jambs according to the manual’s diagram.
- Initial Clamping: For clip-on systems, loosely attach the clips to the car’s roofline/door jam. For fixed-point systems, loosely thread the bolts into the mounting points. Do not tighten anything fully yet.
Tip: It’s often easiest to install the rack with car doors open. This allows better access to the mounting points.
Step 4: Securing the First Crossbar
Now it’s time to get the first bar snug, but not fully tightened.
- Even Pressure: If using clips, you’ll typically have a tightening mechanism (often a screw or clamp). Tighten these evenly on both sides of the car.
- Torque Specifications: If your system uses bolts that thread into fixed points, use your torque wrench. The manual will specify the torque setting (e.g., 5 Nm, 10 Nm). If you don’t have a torque wrench, tighten as per the manual’s description (e.g., “snug” or “firm”), but avoid brute force.
- Check for Stability: Gently try to wiggle the bar. It should feel secure, but you should still be able to make minor adjustments.
Step 5: Positioning and Securing the Second Crossbar
This is where the spacing measurement becomes critical.
- Measure Spacing: The manual will tell you the correct distance between the front and rear crossbars. This is often a measurement from the center of the front crossbar to the center of the rear crossbar. For example, it might be 30 inches (76 cm).
- Place and Attach: Position the second crossbar assembly on the roof, making sure it’s the correct distance from the first bar. Ensure it’s centered on the roof. Attach the feet or clips loosely, as you did with the first bar.
-
Final Tightening: Once both bars are in place and the spacing is correct, it’s time for the final tightening.
- Torque Wrench is Key: Use your torque wrench to tighten all mounting bolts or clamps to the manufacturer’s exact specifications. Work from one side to the other, then switch sides, ensuring even pressure.
- Check for Levelness: Visually inspect to ensure the crossbars are parallel to each other and level on the roof.
Important: Some systems have a “crossbar spread” specification, which is the distance between the two crossbars. Others specify the distance from a point on the car. Always refer to your specific manual.
Step 6: Final Checks and Testing
You’re almost there! This is the most important part for safety.
- Double-Check All Fasteners: Go around every single bolt, nut, and clamp. Ensure each one is tightened to the specified torque or as instructed.
- Test for Security: Gently push, pull, and wiggle both crossbars. They should feel solid and immovable. There should be no play or looseness.
- Test Drive: Before loading anything up, do a short test drive, ideally at different speeds. Drive on a quiet street first. Listen for any unusual noises (like whistling wind noise, which is common, or rattling).
- Load Test (Optional but Recommended): If possible, and if you followed weight limit guidelines, load a light, bulky item onto the rack and drive again. This helps identify any issues under a slight load.
Note on Whistling: Some roof racks can create wind noise, especially at higher speeds. Often, this can be mitigated by adding a fairing (a curved shield that attaches to the front of the rack) or by slightly adjusting the position of the crossbars if your system allows for it.
Table: Common Roof Rack Components and Their Functions
| Component | Function | Description |
|---|---|---|
| Feet / Towers | Connects the crossbar to the car’s roof. | These are the parts that make direct contact with your vehicle’s roofline, rails, or door jambs. Their design is specific to the mounting type (rails, fixed points, bare roof). |
| Crossbars | The main horizontal bars that span the roof. | These are what accessories (like bike racks or cargo boxes) attach to. They come in various shapes (square, round, airfoil) and materials (steel, aluminum). |
| Clips / Fit Kits | Secures the feet to the vehicle’s body. | Custom-shaped metal or plastic parts that hook into door frames or specific roof indentations for bare roof systems. |
| Hardware | Bolts, nuts, screws, and washers. | Used to assemble the rack components and attach them to the vehicle. Always use the hardware provided with your specific rack system. |
| Torque Wrench | Ensures fasteners are tightened to the correct spec. | A specialized tool that clicks or indicates when a set tightness is reached, preventing over- or under-tightening. |
| Locking Cores | Secures the rack against theft. | Optional cylinders with keys that lock the feet to the crossbars or the crossbars to the feet, deterring casual theft. |
Maintaining Your Roof Rack
Once your roof rack is installed, a little maintenance will ensure it stays safe and functional for years to come.
- Regular Inspections: Before and after using the rack, especially for long trips or carrying heavy loads, quickly check that all bolts are tight and that there’s no visible damage or looseness.
- Listen for Noises: Pay attention to any new sounds your car makes, especially after installing the rack or after a period of disuse. Rattling or excessive whistling could indicate a loose component.
- Clean it: Wash the rack periodically with mild soap and water, especially if it’s exposed to salt (from roads in winter or coastal areas) or road grime. Rinse thoroughly and dry.
- Check Torque Settings: Once a season or annually, re-check the torque specifications on your rack’s mounting hardware. Think of it like changing your oil; it’s a good periodic check-up to ensure everything is safe.
- Store Properly (If Removable): If your rack system is designed to be easily removed, store the components in a clean, dry place when not in use. This protects them from the elements and prevents accidental damage.
By performing these simple checks and maintenance tasks, you significantly increase the lifespan and reliability of your roof rack system, ensuring it’s always ready for your next adventure.
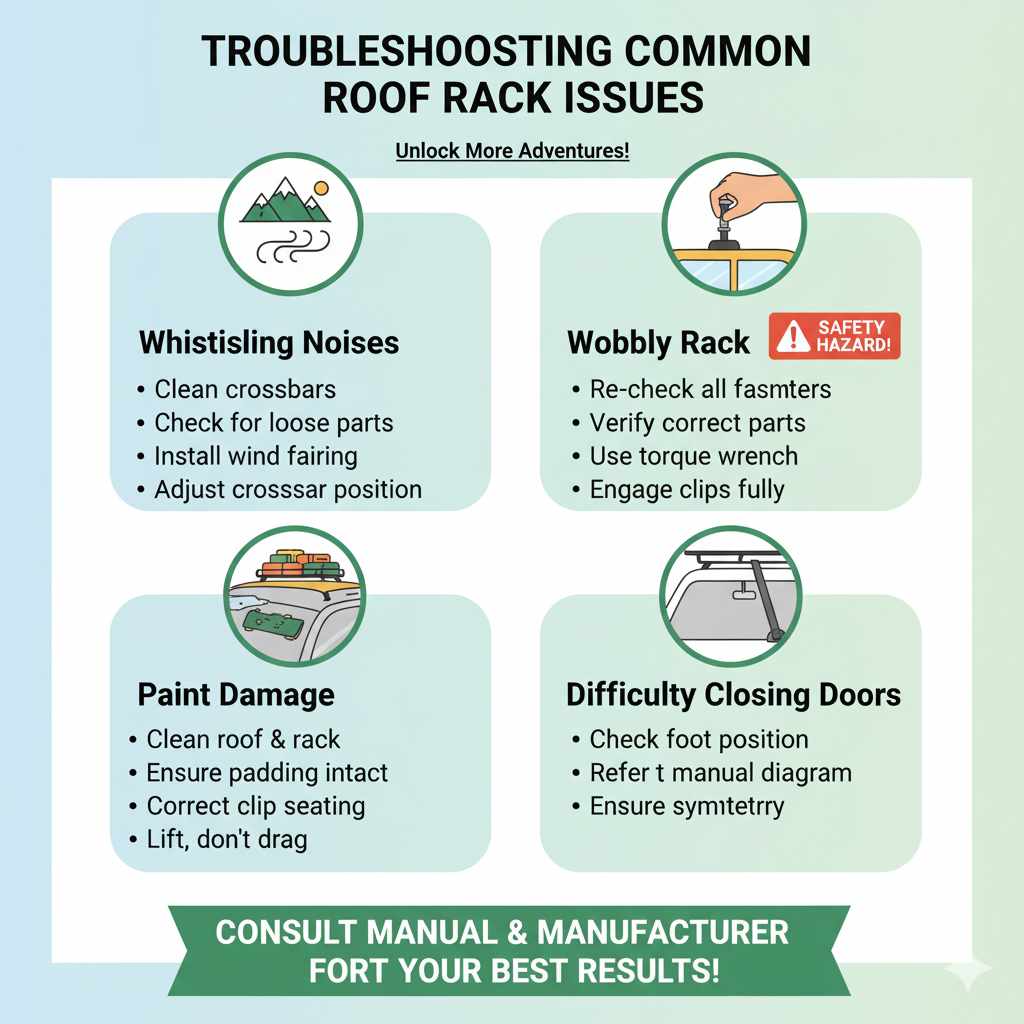
Troubleshooting Common Issues
Even with the best intentions, you might run into a hiccup. Here are a few common problems and their simple solutions:
Whistling Noises
Problem: Annoying wind noise at speed.
Solution:
- Ensure crossbars are clean.
- Check for any loose components.
- Consider installing a wind fairing (a curved shield that attaches to the front bar).
- Slightly adjust the position or angle of the crossbars if your system allows. Sometimes a millimeter difference can change the airflow.
Wobbly Rack
Problem: The rack feels loose or moves. This is a safety hazard!
Solution:
- Immediately re-check all fasteners. This is the most common cause.
- Ensure you are using the correct parts for your vehicle and the rack system.
- Verify that you are using an accurate torque wrench and have tightened to the manufacturer’s specifications.
- If using clips, ensure they are fully engaged in the door jamb and the door is closed firmly.
- If the problem persists, contact the manufacturer or a professional installer. Do not use the rack until it is fully secure.
Paint Damage
Problem: Scratches or dents on the car’s roof after installation or removal.
Solution:
- Always clean both the car’s roof and the rack components thoroughly before installation.
- Ensure padding on the rack feet/towers is in good condition and properly seated.
- For clip-on systems, make sure the clips are seated correctly in the door jambs and don’t rub against exposed paint.
- When removing the rack, be careful not to drag components across the painted surfaces.
- Never force components into place; they should fit smoothly.
Difficulty Closing Doors
Problem: Doors don’t close properly after installing the rack.
Solution:
- This usually means the rack feet are not positioned correctly in the door jamb.
- Refer to your manual’s diagram for exact placement.
- Ensure the rack is symmetrical on both sides of the car.
- Some adjustment in spacing or positioning might be needed.
Frequently Asked Questions (FAQ)
How do I know if my car can have a roof rack?
Most cars can be fitted with a roof rack. The key is choosing the right type of rack system for your vehicle’s specific roof. Check your car’s owner’s manual for any roof weight limits. Reputable roof rack brands have online fit-finder tools where you enter your car’s make, model, and year to find compatible options.
Do I need a special tool to install a roof rack?
Often, the roof rack kit will include all necessary tools, typically hex keys (Allen wrenches). However, a torque wrench is highly recommended for precise tightening and is usually not included. Always check the specific instructions for your rack model.
How tight should I make the bolts on my roof rack?
You should tighten them to the manufacturer’s specified torque setting using a torque wrench. Over-tightening can damage your car or the rack, while under-tightening can be dangerous. If you don’t have a torque wrench, follow the manual’s instructions for tightening, aiming for a firm but not excessive tightness.
Will a roof rack damage my car’s paint?
When installed correctly and maintained properly, a roof rack should not damage your car’s paint. Always clean your car’s roof and the rack components before installation to remove grit. Ensure all padding is in place and that clips or feet seat correctly without rubbing against the paint. Regular inspection and gentle handling can prevent scratches.
How do I know where to place the crossbars?
Your roof rack’s instruction manual will provide specific measurements for the placement of the front and rear crossbars. This is usually given as a distance from a particular point on your car (like the windshield base or door frame) to the center of the crossbar or foot. Proper placement is crucial for stability and load distribution.
Can I install a roof rack myself, or should I get professional help?
Most modern roof rack systems are designed for DIY installation. If you follow the instructions carefully, use the right tools, and prioritize safety, you can absolutely install it yourself. Professional installation is usually only necessary for very complex systems or if you are uncomfortable with any part of the process.
What is the weight limit for a roof rack?
The weight limit for a roof rack system is determined by three factors: the maximum weight your car’s roof can support (check your owner’s manual!), the weight capacity of the rack itself, and the weight capacity of any accessories you attach. Always stay within the lowest of these limits.
Conclusion
There you have it! Installing a car roof rack might seem like a big task at first, but as we’ve seen, it’s a manageable and rewarding DIY project. By taking your time, carefully following the instructions, and using the right tools, you can confidently add this versatile accessory to your vehicle.
Remember, preparation is key – a clean roof means a scratch-free finish! Precise measurements ensure stability, and a final check of all fasteners is your guarantee of safety. You’ve gained extra cargo space, opened up possibilities for new adventures, and learned a valuable car maintenance skill.
So, go ahead, choose the rack that suits your needs, and get ready to explore the world with more gear and less hassle. Happy travels!