How to Make Your Car Stereo Louder (Amp Gain & EQ Settings)
A louder car stereo almost always comes down to three things: how the head unit’s volume and EQ are set, whether an amplifier is doing the real work of driving the speakers, and whether the gain on that amp is set correctly in the first place. Cranking the factory volume knob past about 75-80% just adds distortion, not real volume, which is why so many stock systems hit a wall long before they sound “loud.” I’ve tinkered with my own car audio system for years, from free settings tweaks to a full amp-and-subwoofer build, and I’m laying out exactly what actually moves the needle, starting with the free fixes and working up to the upgrades worth paying for.
Why Isn’t Your Car Stereo Loud Enough?
Before we get to the fixes, let’s talk about why your stereo might not be loud enough. I’ve found a few common reasons in my cars. Factory stereos are often designed for basic sound, not booming bass or crystal-clear highs. They lack the power to drive big speakers or handle heavy music genres. I noticed this with my old sedan—stock speakers sounded flat, especially with hip-hop tracks.
Other issues could be poor speaker placement, low-quality components, or even a weak head unit. Sometimes, it’s as simple as bad wiring or settings that aren’t optimized. When I first started upgrading my system, I realized my speakers were underpowered, and that was holding me back. Understanding the problem helps you choose the right solution, so let’s explore how to make your stereo louder.
Assessing Your Current Audio System
BEST FOR A REAL VOLUME BOOST
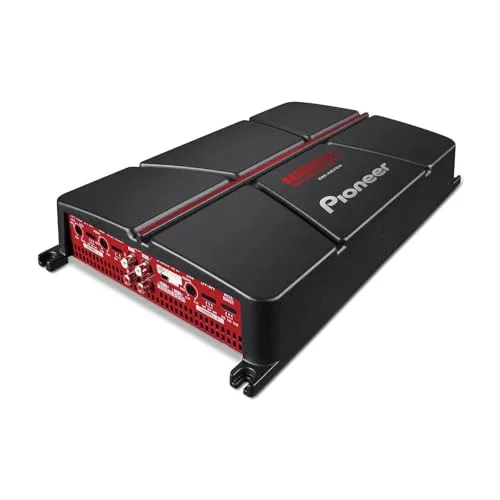 |
Pioneer GM-A6704 4-Channel Amplifier – $140.00 A dedicated amp is the single biggest, most reliable volume jump this guide covers — it powers your existing speakers properly instead of relying on a maxed-out, clipping head unit.
|
I always start by checking what I’m working with. Pop the hood, check the trunk, or peek behind door panels to see your setup. Here’s what I look for:
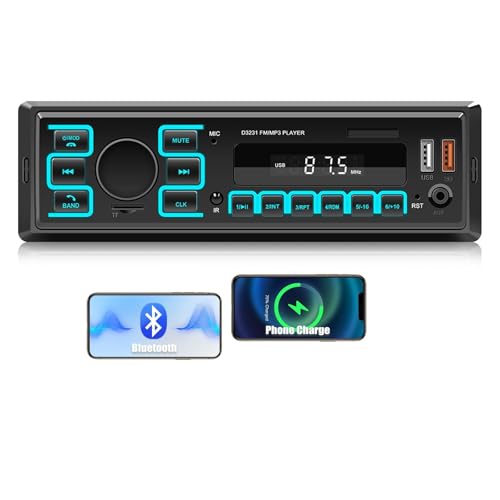
- Head Unit: The radio or receiver controls your audio. My stock head unit was basic, with limited power output. Aftermarket ones often have better wattage and features.
- Speakers: Factory speakers are usually cheap and small. I found 6.5-inch speakers in my doors, but they lacked bass.
- Amplifier: Most stock systems don’t have one. I added an amp to boost power, and it made a huge difference.
- Wiring: Thin or old wires can weaken sound. I replaced mine with thicker gauge wires for better performance.
- Subwoofer: If you want deep bass, a subwoofer is key. My first car didn’t have one, and the sound felt flat without it.
Take note of what you have. I used a flashlight to check my door speakers and wiring, and it helped me plan upgrades. If you’re not sure, your car’s manual or a quick online search can tell you about your stock system.
Ways to Make Your Car Stereo Louder
There are several ways to boost your stereo’s volume, from quick tweaks to full upgrades. I’ve tried most of these, and they all have their place depending on your budget and goals. Let’s break them down.
Adjust Your Head Unit Settings
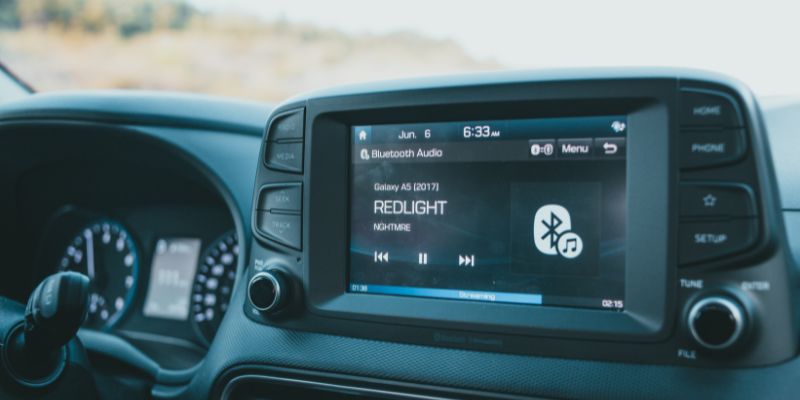
The easiest fix is tweaking your head unit. I spent an afternoon playing with my radio’s settings, and it made a noticeable difference. Here’s what I do:
- Increase Volume and Bass: I turn up the bass and treble in the equalizer settings. Most head units have presets like “Rock” or “Pop” that boost certain frequencies.
- Balance and Fade: I adjust the balance (left-right) and fade (front-back) to center the sound. My car sounded better when I shifted more sound to the front speakers.
- Turn Off Limiters: Some head units have volume limiters. I found one in my settings and disabled it for a louder output.
- Check Audio Sources: Bluetooth or AUX inputs can sound quieter than CDs or USB. I switched to a USB drive for clearer, louder sound.
These tweaks are free and take minutes. But there’s a right way and a wrong way to use the equalizer: cranking bass and treble to maximum doesn’t make a system louder, it just makes it distort sooner. A tighter approach is to cut the 60-100Hz range slightly if bass sounds boomy or one-note in a small cabin, then nudge up the 2-4kHz “presence” range a touch — the human ear reads that band as louder even when the actual output level barely changes, so it’s an easy way to make vocals and mids feel punchier without adding real strain. And watch the volume knob itself: most head units start clipping the signal somewhere around 75-80% of max, so pushing past that point just adds harsh distortion, not usable volume.
Upgrade Your Speakers
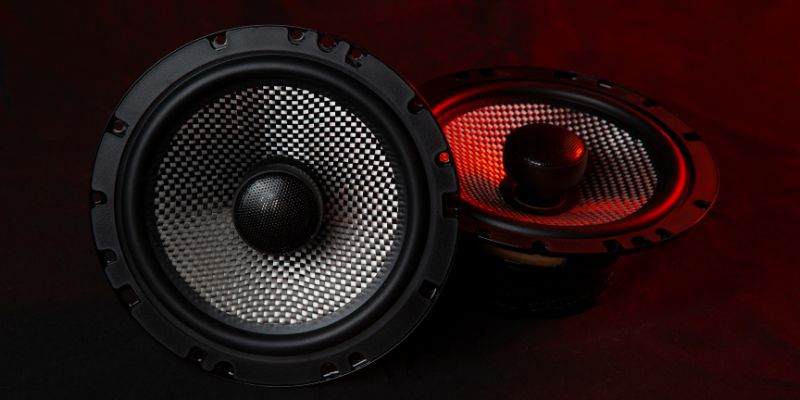
If your speakers are weak, like my old factory ones, upgrading them is a game-changer. I swapped mine out for aftermarket speakers, and the sound got louder and clearer. Here’s what I learned:
- Choose the Right Size: Match the speaker size to your car’s openings (like 6.5-inch or 6×9). I checked my manual to confirm sizes.
- Look for Power Handling: Speakers with higher RMS wattage handle more power. My new speakers are rated at 60W RMS, way better than the stock 20W.
- Pick Quality Brands: I went with brands like Pioneer and JBL for crisp sound. My $100 speaker upgrade was worth every penny.
- Consider Component Speakers: These have separate tweeters for better highs. I installed them in my front doors for a sharper sound.
Swapping speakers took me a Saturday afternoon with basic tools like a screwdriver and panel remover. It’s a moderate DIY job, but a shop can do it for $50–$150.
Add an Amplifier
An amplifier was the biggest boost for my system. It gives speakers the power they need to get loud without distortion, and it’s also the only real way to add more speakers than your stereo came with — most factory head units only have four channels (front and rear pairs), so if you want a second pair of speakers or a subwoofer running, you need an amp with enough channels to feed them, not just a louder radio. I added a 4-channel amp to my setup, and it was like night and day. Here’s what to know:
- Match Amp to Speakers: My amp delivers 75W per channel to match my speakers’ RMS rating. Overpowering can damage speakers, so check the specs.
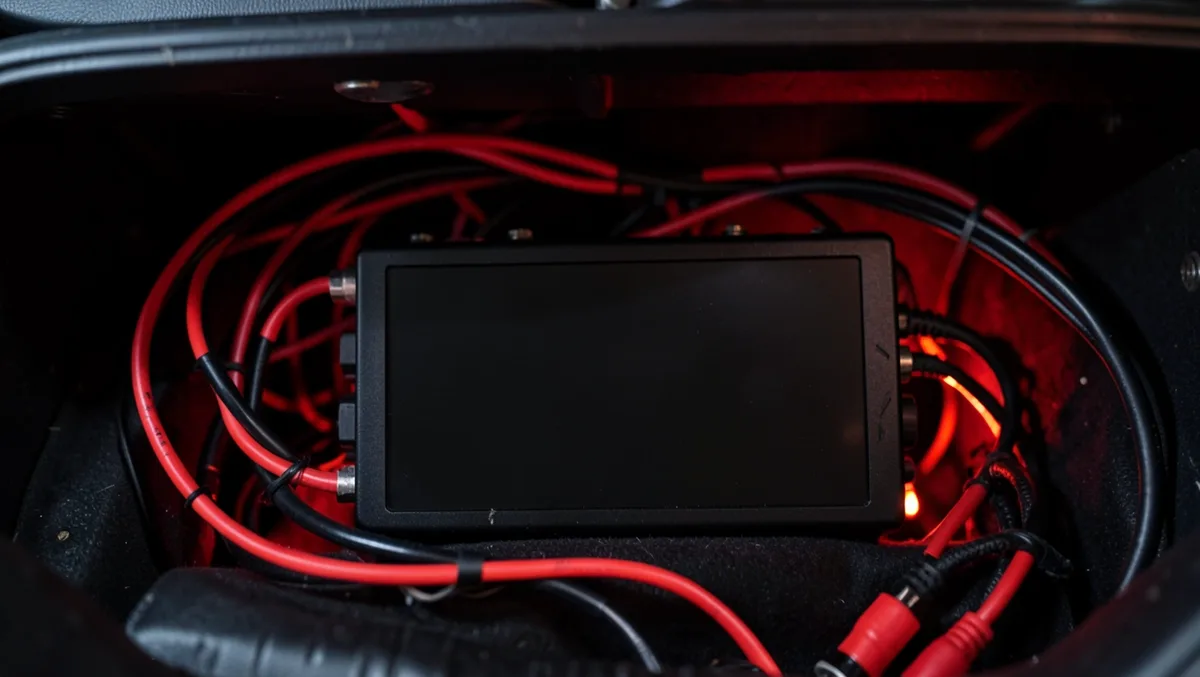
- Choose a Compact Amp: I tucked mine under the passenger seat to save space. Some fit in the trunk or glovebox.
- Wiring Is Key: I used 8-gauge power and ground cables for my amp. Thin wires can cause power loss.
- Professional Help: I wired my amp myself, but it’s tricky. A shop charged me $100 to install one in my friend’s car.
My amp cost $150, but prices range from $100 to $500. It’s a must for loud, clear sound.
Set the Amplifier Gain the Right Way (It’s Not a Volume Knob)
This is the step most DIY installs get wrong, and it’s the reason a lot of amplified systems don’t sound as loud as they should. Gain doesn’t control volume — it matches the amplifier’s input sensitivity to the voltage coming out of the head unit’s preamp outputs. Treat it like a volume knob and turn it up to get more sound, and all that happens is the amp starts clipping the signal way before the speakers are actually working hard, which sounds harsh, wastes power as heat, and is one of the fastest ways to blow a tweeter or a subwoofer voice coil.
The basic DIY method: turn the amp’s gain all the way down, set any bass boost on the amp to zero, then turn the head unit’s volume up to around 75-80% of maximum (the point right before it starts clipping on its own). Play a track you know well at that volume, then slowly turn the amp’s gain up until you just start to hear distortion or harshness on the loudest peaks, and back it off slightly from there. That’s the correct setting — it usually lands well short of the gain knob’s maximum. Shops that do this with an oscilloscope and a test tone (a steady 50Hz sine wave for subs, 1kHz for mids) can dial it in more precisely using the amp’s rated RMS wattage and the speaker’s impedance, but the by-ear method gets you most of the way there for a home install.
Why Won’t My Amp or Subwoofer Turn On Until I Crank the Volume?
If your amp or sub only kicks in once the stereo is turned up loud, the amp is almost never actually broken — it’s a wiring issue. Factory head units don’t have a dedicated remote turn-on wire, so a lot of installs (especially ones using a line output converter to tap into a stock system) rely on a signal-sensing turn-on circuit instead. That circuit watches the audio signal and only switches the amp on once the voltage crosses a set threshold, which means a quiet recording or a low volume level can leave it switched off entirely. Most of these adapters have a small turn-on sensitivity dial that can be turned down so the amp engages sooner. The more reliable fix is skipping signal sensing altogether and wiring the amp’s remote turn-on lead to a real switched 12V source — an accessory wire behind the fuse box, or a factory amp turn-on wire many cars already have — so the amp powers up with the ignition every time, no matter how loud the volume is set.
Install a Subwoofer
If you love bass, a subwoofer is the way to go. I added a 10-inch sub to my trunk, and it made my music feel alive. Here’s what I did:
- Pick the Right Size: 10-inch or 12-inch subs are common. My 10-inch fits my small trunk and delivers deep bass.
- Choose Powered or Passive: Powered subs have built-in amps, which are easier to install. I went with a passive sub and paired it with my amp.
- Enclosure Matters: I used a sealed box for tight bass. Ported boxes are louder but need more space.
- Secure the Sub: I bolted my sub box to the trunk to keep it from sliding. It’s also safer in a crash.
My sub and enclosure cost $200, and installation took a few hours. A shop can install one for $50–$200.
Improve Wiring and Connections
Bad wiring can choke your system’s power. I learned this when my old wires caused crackling sounds. Here’s how I fixed it:
- Use Thick Wires: I upgraded to 8-gauge power and ground wires for my amp and 16-gauge for speakers.
- Check Connections: Loose or corroded connections can weaken sound. I cleaned my terminals with a wire brush.
- Add a Capacitor (Optional): For big systems, a capacitor stabilizes power. I added a 1-farad capacitor for $50 to prevent dimming lights.
Better wiring made my system louder and clearer. It’s a small investment for big results.
Sound Deadening
I was surprised how much road noise drowned out my music. Adding sound-deadening material to my doors and trunk made my stereo sound louder and cleaner. Here’s what I did:
- Apply to Doors: I put sound-deadening mats inside my door panels. It reduced road noise and made my speakers punchier.
- Cover the Trunk: I added mats around my subwoofer to stop rattles. It tightened the bass.
- Use Quality Material: I used brands like Dynamat, which cost $100 for my car. Cheaper options work but aren’t as effective.
This took a weekend but made my car feel like a concert hall. A shop can do it for $200–$500.
Tools and Materials You’ll Need
Here’s what I used for my upgrades:
| Item | Purpose |
|---|---|
| Screwdrivers/Panel Removers | Removes door panels and head unit for speaker or amp installation. |
| Wire Cutters/Crimpers | Cuts and connects wires securely. |
| Speaker Wire (16-gauge) | Sends an audio signal to the amp. |
| Power/Ground Cable (8-gauge) | Powers the amplifier. |
| RCA Cables | Checks the voltage and connections. |
| Fuse and Fuse Holder | Protects the system from electrical faults. |
| Sound-Deadening Mats | Reduces noise for clearer sound. |
| Multimeter | Checks voltage and connections. |
| Zip Ties/Electrical Tape | Secures and insulates wiring. |
I spent about $50 on tools and $200–$300 on materials, depending on the upgrade.
Common Mistakes to Avoid
I’ve made some blunders upgrading my system. Here’s what to watch out for:
- Overpowering Speakers: Too much amp power can blow speakers. I matched my amp to my speakers’ RMS rating.
- Poor Wiring: Thin or cheap wires caused power loss in my first setup. I upgraded to thicker gauge wires.
- Ignoring Sound Deadening: I skipped this at first, and road noise drowned out my music. Mats made a big difference.
- Wrong Settings: Incorrect equalizer settings made my system sound muddy. I tweaked them for balance.
- Skipping Fuses: A fuse protects your system. I forgot one once and risked a fire.
Avoiding these mistakes keeps your system safe and loud.
Maintaining Your Upgraded Audio System
Once my system was loud, I learned to keep it in top shape:
- Check wiring connections monthly for corrosion or looseness.
- Clean speakers and subwoofers with a soft cloth to remove dust.
- Test battery voltage to ensure it’s handling the extra load.
- Adjust equalizer settings when switching music genres.
- Inspect sound-deadening mats for wear over time.
These habits keep my music booming without issues.
When to Call a Professional
I love DIY, but some upgrades are tricky. If you’re wiring an amp or installing a complex subwoofer system, a pro might be worth it. I paid $100 for a shop to wire my amp cleanly. Professional installation costs $50–$300, depending on the job. If you’re not comfortable with electrical work, it’s safer to let experts handle it.
Cost of Making Your Car Stereo Louder
Here’s what I spent on my upgrades:
- Speakers: $50–$200
- Amplifier: $100–$500
- Subwoofer and Enclosure: $100–$400
- Wiring and Accessories: $50–$150
- Sound Deadening: $50–$200
- Professional Installation (optional): $50–$300
My total was around $500 for speakers, an amp, and sound deadening. You can start small with just speakers for $100 or go all out for $1,000+.
My Personal Experience
Let me share my story. A few years ago, my car’s stock stereo sounded weak, especially with bass-heavy music. I started with new speakers, which helped, but it wasn’t enough. Adding an amp and a subwoofer was a game-changer—my music hit so hard I could feel it in my chest! I spent a weekend installing everything, made a few wiring mistakes, and learned as I went. Now, my car’s a rolling concert, and I get compliments at every car meet. It was work, but the loud, clear sound is worth it.
Conclusion
Making your car stereo louder is totally achievable, whether you’re tweaking settings or adding a full-blown subwoofer system. I’ve learned through trial and error that small changes like better speakers or sound deadening can make a big difference, while amps and subs take it to the next level. With the right tools, a bit of patience, and my tips, you can turn your car into a sound powerhouse without breaking the bank. I hope my experience inspires you to crank up the volume and enjoy your music like never before. Grab a screwdriver, pick your upgrades, and let’s make your car stereo sing!
Frequently Asked Questions
How can I make my car stereo louder for free?
I tweaked my head unit’s equalizer and balance settings. It boosted volume without spending a dime.
Do I need an amplifier to make my stereo louder?
Not always, but it helps a lot. My amp made my speakers way louder and clearer.
Can I install new speakers myself?
Yes, I did it with a screwdriver and panel remover. It took a few hours, but it’s doable.
How much does it cost to make my stereo louder?
I spent $500 on speakers, an amp, and sound deadening. You can start with $50–$100 for speakers alone.
Will a louder stereo drain my battery?
It can. My lights dimmed until I added a capacitor. A second battery or upgraded alternator helps for big systems.
Why won’t my subwoofer turn on until I turn the volume way up?
That’s usually a signal-sensing remote turn-on, not a broken amp. The adapter is waiting for the audio signal to cross a set voltage threshold before it switches on. Turn down the turn-on sensitivity dial if the adapter has one, or wire the amp’s remote lead to a real switched 12V source so it turns on with the ignition instead.
Does sound deadening help?
Absolutely. I added mats to my doors and trunk, and my music sounds louder and cleaner with less road noise.
Products related to this article
Sponsored / affiliate links. As an Amazon Associate I earn from qualifying purchases. I may earn additional commission from eligible campaigns.