How to Put Snow Chains on a Car Step by Step
Lay the chains flat, drape them over the drive tires, fasten the inner side first, then the outer side, and roll 50 to 100 feet to recheck tension. A bad install can damage tires, body panels, brakes, or wheel wells, and loose chains can fail when you need grip most. This guide covers fit checks, a step-by-step install, and quick fixes for the three most common chain problems before you drive.
This guide is part of our Winter Car Care: The Complete Cold-Weather Guide series.
What snow chains do

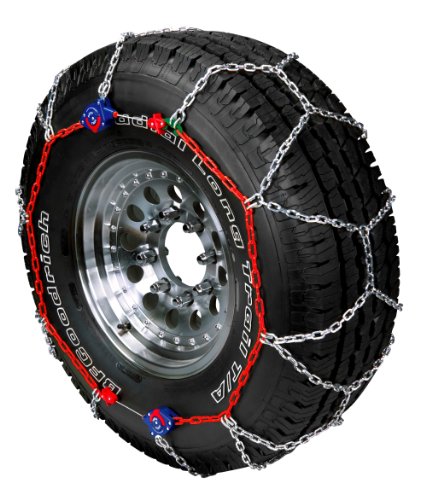
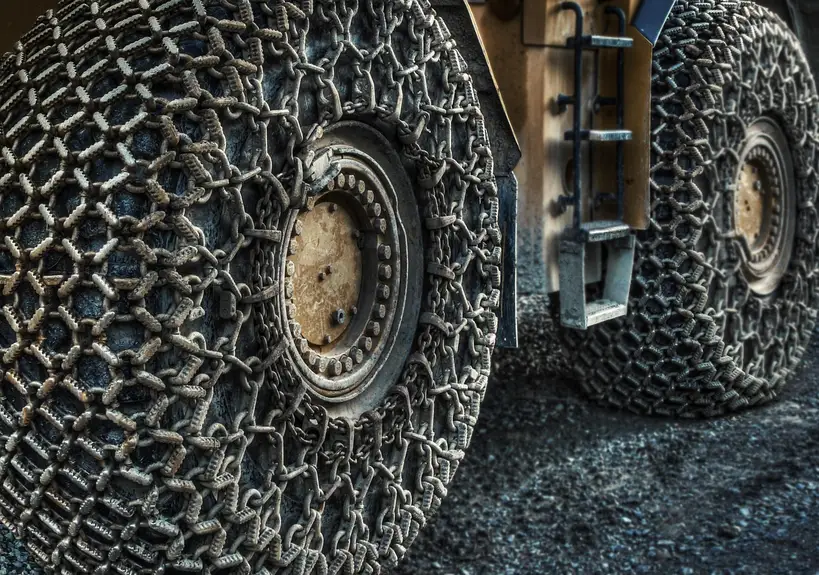
Snow chains are a metal or cable traction device commonly sold in pairs for snow and ice. They help the tire bite into packed snow and slick surfaces. They are generally not intended for bare pavement, and they typically work correctly when the chain size matches the tire size on the sidewall and the package.
Why tire size matters before you buy
Start with the tire size on the sidewall, then match that exact size to the chain packaging. Width and diameter both matter. If the package lists a range of compatible sizes, your tire must fall inside that range without forcing the chain to fit too tight or too loose.
Suppose a tire reads 205/55R16. A chain labeled for 205/55R16, or a package that explicitly includes that size, is a fit candidate. A chain that skips the width or diameter match can sit crooked, rub, or leave slack that the tensioner cannot remove.
When chains are not the right choice
Chains are the wrong answer on dry pavement or bare pavement. They are also a poor choice if your vehicle manual forbids them on a particular axle, or if the wheel well is too tight for metal links. In those cases, snow socks or cable chains may fit better.
Which wheels get chains?
Which wheels get chains depends on the drivetrain and the owner’s manual. Front-wheel drive vehicles use chains on the front wheels. Rear-wheel drive vehicles use chains on the rear wheels. All-wheel drive or four-wheel drive may need chains on all four wheels, but some manuals restrict chain use to a specific axle.
Front-wheel drive
For front-wheel drive, install chains on the front wheels. Those are the drive wheels that need the extra bite. If the manual allows only one axle, follow the manual first. Do not guess based on what seems symmetrical.
Rear-wheel drive
For rear-wheel drive, install chains on the rear wheels. The goal is to improve traction where power goes to the road. If a truck or car manual gives axle-specific instructions, follow that guidance rather than using all four just because the vehicle sits high.
4WD and AWD exceptions in the owner’s manual
All-wheel drive and four-wheel drive are not all the same. Some systems want chains on all four wheels. Others allow one axle only, and some prohibit certain chain styles because of clearance or drivetrain limits. Check the manual before you buy, especially on newer SUVs and pickups.
Where and when to install them
Install chains in a safe, open space rather than in the road. A level shoulder, a plowed pull-off, or a driveway works far better than traffic lanes. Practice at home before a storm so the first install is not happening in wind, cold, or blowing snow.
What to check before you start
Set the parking brake, turn on hazard lights if you are on the roadside, and keep insulated gloves on hand to protect against frostbite. Lay out the chains first. Untangle twists before the chain goes near the tire. Check that the inner and outer fasteners, tensioner, or keeper are present and working.
A common first-timer mistake is leaving the chains bundled on the ground and trying to sort them after the vehicle is half on the shoulder. That adds cold, time pressure, and a bigger chance of installing a twist that shows up only after you roll forward.
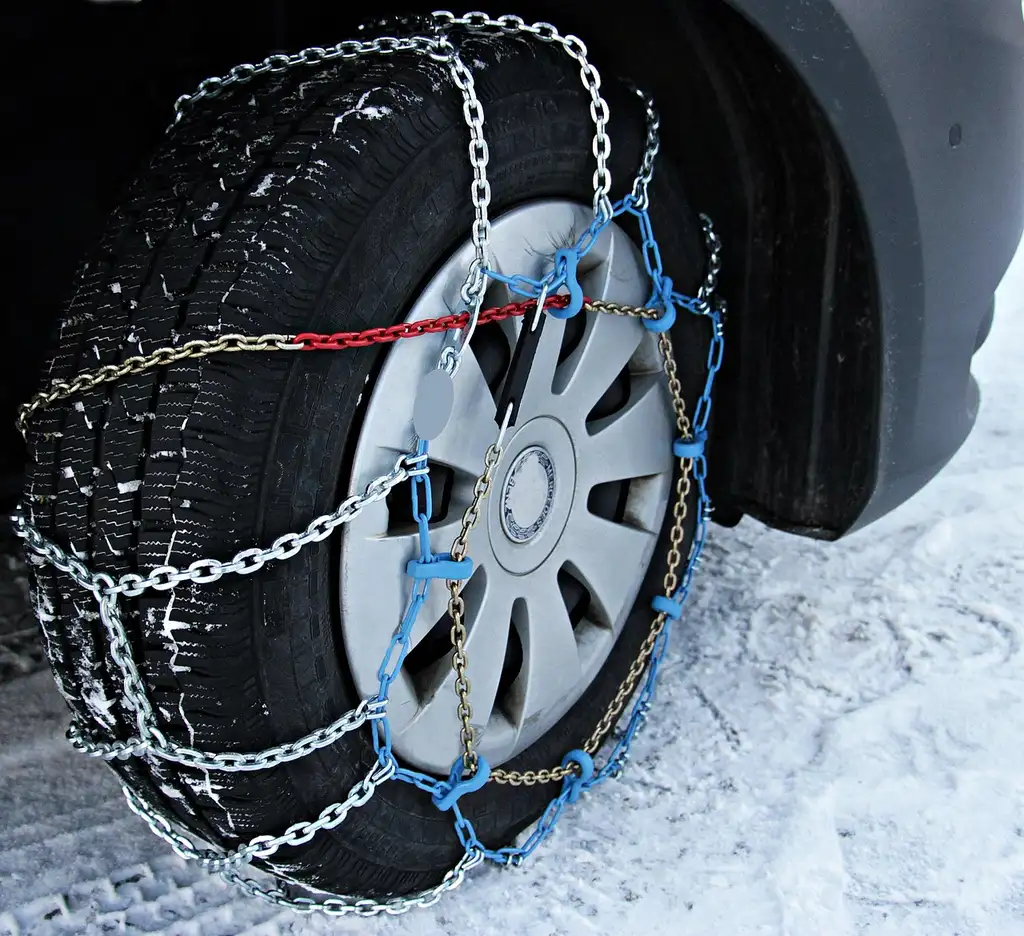
Start with the pair laid flat and untwisted, then drape each chain over the tire so the metal sits centered on the tread. Fasten the inner side first, because that side is usually hardest to reach. Finish the outer side, then move the vehicle slightly and tighten again.
- Lay both chains out flat and remove every twist or cross-over.
- Center the chain over the tire tread, not the sidewall.
- Connect the inner fastener first, reaching behind the tire.
- Connect the outer fastener and make the chain snug by hand.
- Move the vehicle 50 to 100 feet so the tire can settle into the chain.
- Stop, recheck both sides, and tighten with the built-in device or separate keeper.
Lay out and untangle the pair
Most chain failures begin on the ground. A twisted section can sit under the tire and pull the chain off center. Separate the pair, identify the inside face, and make sure the cross links lie evenly across the width of the tire.
Drape and connect the inner side first
Reach to the back side of the tire and secure the inner fastener first. That side is usually the harder one to access, especially on low-clearance cars and some SUVs. Once the inside is seated, the outer side becomes easier to align and close.
Move the car and finish the outer side
After the first connection, roll the vehicle a short distance so the unseated section rotates into view. Then close the outer fastener and recheck that the chain lies flat across the tread. This is the moment to spot a crossed link or a hanging hook before you accelerate.
Add tensioner or keeper adjustment
Use the built-in tightening device, if the chain set has one, or add a separate tensioner or keeper. That step removes slack and helps the chains stay centered. Without tension, the chain can walk to one side and rub the fender, brake line, or suspension.
| Symptom | Likely cause | Immediate fix | When to stop driving |
|---|---|---|---|
| Chain will not close around the tire | Mis-size; tire and package do not match in width or diameter | Remove it, confirm the sidewall size, and get the correct size | Stop at once if the chain will not seat without force |
| One section sits crossed or lumpy | Twist left in the chain before mounting | Pull off, lay it flat, and untwist the links before reinstalling | Stop if the twist remains after a slow roll and retighten |
| Chain slaps the wheel well or feels loose | Loose tension; keeper or tensioner not set | Tighten the keeper or add the tensioner, then recheck after moving | Stop if slack persists or the chain strikes bodywork |
| Metal touches the liner, brake line, or suspension | Low-clearance rub | Remove the chains and switch to a cable chain or snow sock if allowed | Stop immediately if any rubbing is heard or seen |
| Chains fit the wrong axle | Wrong-wheel placement for the drivetrain or manual guidance | Move the chains to the correct wheels per the manual | Stop if traction is unpredictable or handling feels unstable |
How fast can you drive with chains?
Keep speeds low after installation. Not driving faster than 25 mph with chains, and another editorial guide puts the ceiling at 30 mph or so. Les Schwab says tire chains or socks should not exceed 25 mph. Treat those numbers as a ceiling, not a target.
Braking and cornering change
With chains on, braking distance gets longer and cornering becomes less forgiving. Slow down before turns, avoid sharp steering inputs, and leave extra room for stops. The goal is controlled traction, not normal winter driving at normal speed.
Say your sedan has 195/65R15 tires and you install correctly sized chains on the front wheels. On a packed-snow street, the car may still need more distance to stop than it did before. That means earlier braking, gentler turns, and no sudden lane changes.
When to retighten after the first mile
After moving a short distance, stop and recheck the chains. Tighten them again if the links have settled or shifted. That first recheck matters because slack that seems minor in the driveway can become a wheel-well strike once the tire spins under load.
Snow socks and cable chains
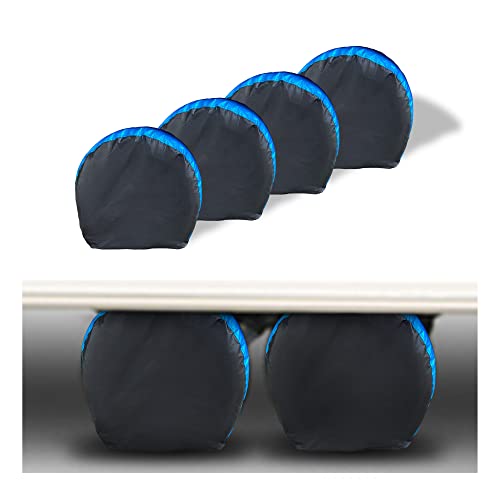
Low-clearance vehicles sometimes need an alternative. Cable chains and snow socks take up less space than bulky link chains, and some tire socks are made for vehicles that prohibit chains or cables. Textile options are mounted on the driving wheels and can be installed quickly in a three-step process.
How textile options differ from metal chains
Snow socks are fabric traction covers, not metal chains. AutoSock says its textile snow chains take three minutes to install and use a three-step mounting process. They are not the answer for every vehicle, but they can be the better fit when the wheel well leaves too little room for links.
Picture a compact crossover with a tight front wheel arch and a manual that warns against certain chain styles. A sock-style traction device may fit where a metal chain would rub the strut or liner. That is a fit question first, not a brand preference question.
When chains are mandatory versus recommended
Road rules vary by region. In some places, chains are mandatory during active winter controls, while in others they are recommended only when conditions demand extra traction. If a chain-control sign is posted, follow that local rule before you continue. If you are unsure, check the current road notice before departure.
Removal and storage basics
Take chains off as soon as pavement clears or when the road no longer requires them. Do not keep driving on bare pavement. After removal, dry the chains, coil them neatly, and store them with any tensioners or keepers so they are ready for the next storm.
Products related to this article
Sponsored / affiliate links. As an Amazon Associate I earn from qualifying purchases. I may earn additional commission from eligible campaigns.