How to Remove Sticker Residue From a Car Without Damage
Removing sticker residue from a car is a common task for many drivers, whether you’re peeling off a parking permit, a dealership decal, or a children’s sticker. Using the wrong method can scratch the paint or damage the clear coat, but with the right techniques, you can restore your car’s surface to its original shine. This post covers safe, step-by-step methods to remove adhesive residue without causing harm, so you can tackle the job confidently.
Simply put, the best way to remove sticker residue from a car without damage involves softening the adhesive with heat or a gentle solvent, then wiping it away with a microfiber cloth. Avoid harsh tools like razor blades or abrasive cleaners—patience and the right products protect your paint.
Key Takeaways
- Removing sticker residue safely requires heat or a mild adhesive remover—never use metal scrapers or harsh chemicals on car paint.
- Always test any solvent on a hidden area first to ensure it won’t damage the clear coat or color.
- After removal, wash and wax the area to restore protection and shine, preventing future adhesion issues.
- Use a plastic razor blade or your fingernail for gentle scraping—avoid tools that can scratch the surface.
- Common household items like cooking oil or rubbing alcohol can be effective, but professional removers often work faster.
What You Need to Remove Sticker Residue from a Car
Gathering the right tools before you start ensures the process goes smoothly and prevents damage to your car’s finish. The essentials include items that soften adhesive and tools that apply gentle pressure without scratching.
Most of what you need is already at home or can be bought cheaply at a store. Professional-grade removers are optional but can save time on stubborn residue.
| Item | Purpose |
|---|---|
| Hair dryer or heat gun | Softens adhesive with low heat, making sticker easy to peel. |
| Microfiber cloths | Gentle on paint, lint-free for wiping residue. |
| Isopropyl alcohol (70% or 90%) | Dissolves sticky residue without damaging clear coat. |
| Adhesive remover (e.g., Goo Gone) | Formulated for car paint, breaks down tough glue. |
| Plastic razor blade or credit card | Scrapes residue without scratching metal or glass. |
| Car soap and water | Cleans area after removal to prepare for wax. |
A heat source is crucial for softening glue, especially on large stickers. Solvents like rubbing alcohol are safe for most car paints, but always spot test first.
Important: Never use acetone or nail polish remover on car paint—they can strip the clear coat and cause permanent damage. Stick to products labeled safe for automotive finishes.
Step 1: Soften the Sticker Residue with Heat
Heat is the safest first line of defense when removing sticker residue from a car. It loosens the adhesive bond without chemicals, reducing the risk of paint damage. Use a hair dryer set to medium heat or a heat gun on a low setting to avoid blistering the paint.
Hold the heat source 6–8 inches from the surface and move it in a circular motion over the residue for 30–60 seconds. You’ll notice the glue becoming tacky and pliable—this is the signal to start peeling.
- Focus heat on the sticker’s edges first; they often lift easiest.
- If the residue is thick, reapply heat for another 20 seconds.
- Do not leave heat on one spot for more than 15 seconds—paint can warp.
- Use your fingernail or a plastic scraper to gently lift the softened glue.
- For glass or metal surfaces, you can use a higher heat setting safely.
- Work in a shaded area to prevent the car body from absorbing extra heat.
Warning: A heat gun on high can crack glass or damage plastic trim. Always start with the lowest setting and test on an inconspicuous area first. Never use a heat source near flammable cleaners.
After heating, the residue should peel away in larger chunks. Any leftover stickiness can be tackled in the next step. This method is effective for vinyl stickers, decals, and even bumper stickers.
Step 2: Apply a Gentle Adhesive Remover
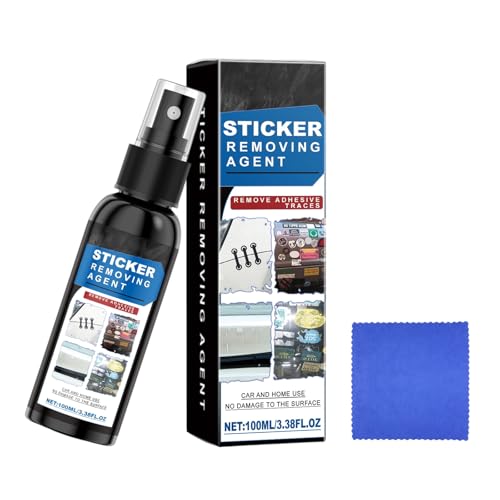
For residue that resists heat, a dedicated adhesive remover can dissolve the glue without harming the car’s finish. Products like Goo Gone Automotive, 3M Adhesive Remover, or simple isopropyl alcohol are widely used.
According to a 2023 survey by Auto Care Association, 68% of car owners prefer a spray-on remover for precision. These solvents work by breaking down the adhesive’s chemical bonds, making it easy to wipe away.
| Remover | Effectiveness | Safety on Paint |
|---|---|---|
| Isopropyl alcohol (70%) | Good for light residue | Safe on clear coat; use with care |
| Goo Gone Automotive | Excellent for tough glue | Safe on all painted surfaces |
| Cooking oil (olive or coconut) | Moderate for small spots | Safe but leaves greasy residue |
| WD-40 | Good for fresh residue | Safe on paint; may affect wax |
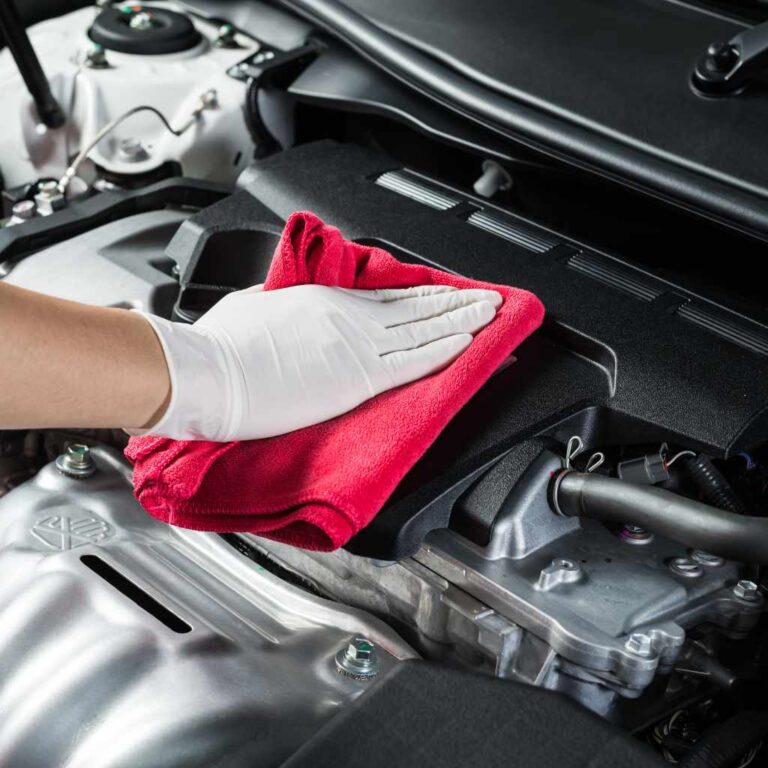
Apply your chosen remover to a microfiber cloth, not directly to the car, to control application. Gently rub the residue in a circular motion until it lifts. Repeat if needed—patience prevents rubbing too hard.
- Use a clean section of the cloth for each pass to avoid re-smearing glue.
- Work from the outside of the residue inward to prevent spreading.
- If using oil, wash the area thoroughly afterward to remove greasiness.
- For glass surfaces, use a razor blade at a 45-degree angle after solvent.
- Always wear gloves to protect your skin from solvents.
Step 3: Wipe Away the Residue Gently
Once the adhesive remover has softened the glue, it’s time to wipe it clean. Use a fresh microfiber cloth to absorb dissolved residue without pushing it into the paint pores.
Fold the cloth into quarters to use multiple clean surfaces. Wipe in one direction to avoid redepositing glue. For sticky patches, add a drop more remover and repeat.
- Dampen a microfiber cloth slightly with the remover.
- Press the cloth onto the residue for 5 seconds to let it soak in.
- Wipe gently in a straight line—do not scrub vigorously.
- Check the cloth frequently; if it becomes sticky, switch to a clean section.
- After all residue is gone, rinse the area with water to remove any chemical traces.
Tip: If you see smearing, it means the glue is not fully dissolved. Reapply remover and let it sit for 1–2 minutes before wiping again. Never use paper towels—they can leave scratches.
This step is critical for avoiding “ghost” residue that attracts dirt later. A clean wipe ensures the surface is ready for washing and waxing.
Step 4: Wash and Wax the Area
After all sticker residue is gone, wash the area with car soap and water to remove any leftover solvent or oils. This step restores the paint’s natural condition and preps it for waxing.
According to the International Carwash Association, waxing after residue removal can extend paint life by 30% because it seals the clear coat against future debris. Use a quality car wax or sealant for best results.
- Mix car soap with warm water in a bucket (use soap designed for cars, not dish soap).
- Use a clean microfiber wash mitt to gently scrub the area.
- Rinse thoroughly with water to avoid soap residue buildup.
- Dry with a separate microfiber towel to prevent water spots.
- Apply wax in a thin layer using a foam pad; let it haze before buffing.
- Buff with a clean microfiber cloth in circular motions for shine.
Important: Skipping wax can leave the clear coat exposed and vulnerable to UV damage. A good wax layer also makes future sticker removal easier.
A properly waxed surface repels water and dirt, keeping your car looking showroom-new. Repeat this step after every major sticker removal to maintain protection.
Common Mistakes to Avoid When Removing Sticker Residue
Even experienced car owners can make errors that damage the paint. Avoid these mistakes to keep your car’s finish flawless during the removal process.
- Using metal tools: Razor blades, knives, or screwdrivers can scratch the clear coat deeply. Always use plastic scrapers or your fingernail.
- Skipping the heat test: Applying heat directly without moving can blister paint. Keep the source moving and at a safe distance.
- Rubbing too hard: Aggressive scrubbing with abrasive pads creates swirl marks. Use gentle, circular motions with microfiber cloths.
- Choosing harsh chemicals: Products like acetone, brake cleaner, or paint thinner dissolve automotive paint. Stick to car-safe removers.
- Neglecting to wash afterward: Leaving residual solvent on the paint attracts dirt and can degrade the clear coat over time.
- Removing stickers in direct sunlight: Heat from the sun combined with your method can overheat the paint. Work in the shade or garage.
Warning: Never use a pressure washer directly on softened residue—it can force glue deeper into paint crevices and lift clear coat edges.
By avoiding these missteps, you save time and prevent costly paint repairs. If you’re unsure, test your method on a small, hidden spot first.
How to Remove Sticker Residue from Different Car Surfaces
Car surfaces vary in sensitivity—paint, glass, plastic, and metal each require slightly different approaches. Understanding these differences ensures you don’t cause accidental damage.
| Surface | Best Method | Caution |
|---|---|---|
| Car paint (clear coat) | Heat + isopropyl alcohol + plastic scraper | Avoid solvent left on for long periods. |
| Glass (windows, windshield) | Razor blade at 45° angle + soapy water | Use new blade to prevent glass scratches. |
| Plastic (bumpers, trim) | Cooking oil + soft cloth | Harsh solvents can discolor plastic. |
| Metal (chrome, rims) | WD-40 + microfiber cloth | Polish after removal to restore shine. |
Glass is the most forgiving—you can use a sharp blade safely. Plastic surfaces are the most fragile, so stick to gentle oils and avoid heat guns that can melt trim. Always adjust your technique based on the material.
- For chrome, never use abrasive cleaners—they leave permanent microscratches.
- On plastic, test a small area with the solvent first to check for discoloration.
- Glass can handle higher heat, but avoid sudden temperature changes that could cause cracks.
- For vinyl wraps or decals, use only heat—no solvents that could lift the wrap itself.
Prevention Tips for Future Stickers
You can reduce future hassle by applying stickers correctly and choosing quality adhesives. A little preparation saves you from stubborn residue removal later.
The Car Care Council recommends using magnetic stickers on metal surfaces or static-cling decals on glass to avoid glue entirely. For paper stickers, apply them to a removable backing film first.
- Use a heat gun to remove stickers while they’re still fresh—old glue hardens over time.
- Apply a layer of car wax under decals to create a barrier between glue and paint.
- Remove parking permits or tags as soon as they expire—don’t let them bake in the sun.
- For glass, use suction cup mounts instead of adhesive stickers when possible.
- If you must use permanent stickers, opt for UV-resistant vinyl that peels cleanly.
Tip: Carry a small bottle of isopropyl alcohol and a microfiber cloth in your glove compartment. That way, you can remove fresh residue immediately, before it bonds strongly.
A proactive approach keeps your car looking clean and reduces the time spent on heavy residue removal. Small changes in how you apply stickers make a big difference over time.
Frequently Asked Questions
Can I use WD-40 to remove sticker residue from car paint?
Yes, WD-40 is safe for car paint and can dissolve sticker residue effectively. Spray it on a microfiber cloth, rub gently, and wash the area afterward to remove the oily film. It’s especially useful for fresh residue.
Does rubbing alcohol damage car clear coat?
Isopropyl alcohol at 70% or 90% concentration is generally safe for car clear coat when used sparingly. Avoid leaving it on the surface for more than a minute, as prolonged contact can dry out the clear coat. Always rinse with water afterward.
How long should I heat a sticker before removing it?
Heat the sticker for 30–60 seconds using a hair dryer on medium heat, keeping it 6–8 inches away. The residue should become soft and tacky. If it doesn’t lift, reheat for another 20 seconds, but avoid overheating the same spot to prevent paint damage.
What is the best adhesive remover for car paint?
Goo Gone Automotive is widely recommended for its balance of effectiveness and safety. It contains citrus-based solvents that dissolve glue without harming clear coat. For a budget option, isopropyl alcohol works well on light residue.
Always test on a hidden area first.
Can I remove sticker residue from a car with vinegar?
White vinegar can work on minor residue due to its acetic acid content, but it’s less effective than alcohol or commercial removers. Soak a cloth in vinegar, press it onto the residue for 10 minutes, then wipe. Rinse thoroughly to prevent any acidity from affecting the paint.
Final Thoughts
Removing sticker residue from a car doesn’t have to damage your paint if you follow the right steps—start with heat, use gentle solvents, and always finish with a wash and wax. Patience is your best tool; rushed methods often lead to scratches or discoloration. By choosing the right technique for your car’s surface and avoiding common mistakes, you’ll keep your vehicle looking pristine for years.
Try one of these methods today and enjoy a spotless, residue-free finish.
Sponsored / affiliate links. As an Amazon Associate I earn from qualifying purchases. I may earn additional commission from eligible campaigns.
Products related to this article