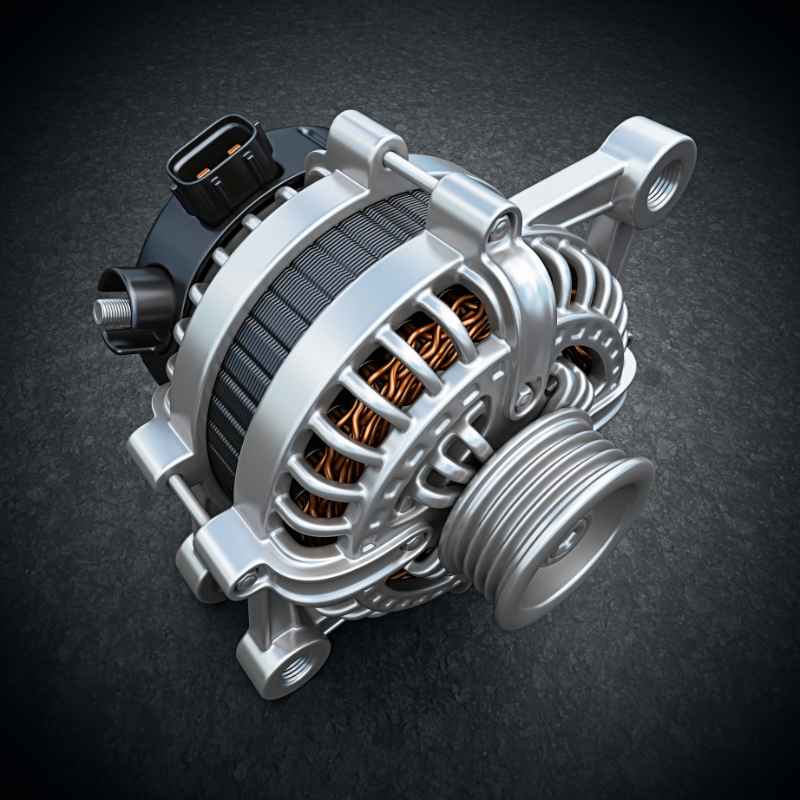
How to Turn a Car Alternator Into a Generator
Turning a car alternator into a generator can be a rewarding DIY project for off-grid power or emergency backup. While alternators are designed to charge a car battery while the engine is running, with a few modifications, they can produce usable electricity independently. This guide will walk you through the essential steps and considerations for converting a car alternator into a functional generator, ensuring you can generate power when you need it most.
In short, transforming a car alternator into a generator involves bypassing its built-in voltage regulator, providing a constant DC voltage to the field coil, and then rectifying its AC output to DC. This requires understanding basic electrical principles, acquiring a few extra components, and careful assembly. It’s a feasible project for those with some technical aptitude.
Key Takeaways
- Turning a car alternator into a generator requires bypassing the internal voltage regulator to supply a constant field current.
- You’ll need to convert the alternator’s AC output to DC using an external bridge rectifier.
- An external power source, like a 12V battery or power supply, is necessary to excite the alternator’s field coil.
- Mechanical drive is crucial; you’ll need a way to spin the alternator at sufficient RPMs.
- Safety precautions are paramount due to high voltages and rotating parts.
What is a Car Alternator and How Does it Work?
A car alternator is a piece of equipment in a vehicle’s electrical system that generates electricity. Its primary function is to convert mechanical energy from the engine into electrical energy. This electrical energy then powers the car’s various systems and recharges the battery.
Alternators are a type of AC generator, but they produce a three-phase alternating current that is then rectified into direct current (DC) by internal diodes.
The core components of a car alternator include the rotor, stator, slip rings, brushes, and the voltage regulator. The rotor, containing electromagnets, spins within the stator, which is a stationary coil of wires. As the rotor spins, its magnetic field induces an electric current in the stator coils.
The speed of the engine dictates the speed of the rotor, and thus the amount of electricity produced. A voltage regulator is built-in to manage the output, preventing overcharging and maintaining a stable voltage for the car’s electrical system.
For our purpose of turning it into a generator, we need to understand that the alternator produces AC power. The internal diodes convert this to DC power for the car’s battery. However, the built-in voltage regulator is designed to work with the car’s battery system, modulating the field current to maintain a specific voltage.
To use it as a standalone generator, we need to override this regulation and supply a consistent field current to get maximum output.
- Rotor: The spinning part that creates the magnetic field.
- Stator: The stationary part where electricity is induced.
- Slip Rings: Collects current from the rotor.
- Brushes: Transfer current to the slip rings.
- Voltage Regulator: Controls output voltage (to be bypassed).
- Diode Rectifier: Converts AC to DC (usually internal).
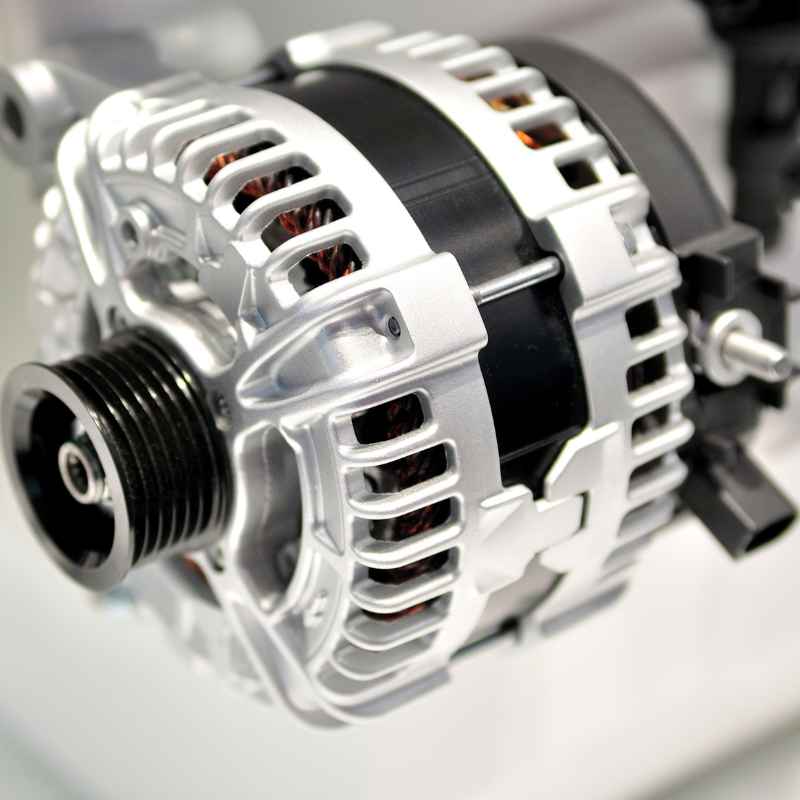
Why Bypass the Internal Voltage Regulator?
The internal voltage regulator is designed to maintain a specific voltage (typically around 13.8 to 14.5 volts) in a vehicle’s charging system. It does this by adjusting the amount of current flowing through the alternator’s field coil. If the battery is charged, it reduces the field current, lowering the output.
If the battery needs charging, it increases the field current to boost output. This is essential for battery health and system stability in a car.
However, when you want to use an alternator as a standalone generator, you typically want to maximize its power output, not regulate it to a specific car-battery-charging voltage. Bypassing the regulator allows you to supply a constant, optimal current to the field coil, forcing the alternator to produce its maximum possible AC voltage. This maximized AC voltage can then be rectified to a higher DC voltage, suitable for charging larger batteries or powering devices.
Without bypassing the regulator, you’d be limited by the regulator’s settings, which might not be ideal for your standalone generation needs. You’d also be reliant on the car’s battery system to provide the initial excitation current to the field coil. By bypassing it and providing a stable external excitation source, you gain control over the generation process and unlock the alternator’s full potential as a power source.
Components Needed for Bypass:
- A car alternator (preferably a larger amperage one)
- A separate 12V DC power source (e.g., a fully charged car battery, a regulated DC power supply)
- External bridge rectifier (rated for the alternator’s maximum AC output)
- Wiring, connectors, and possibly a fuse
- A way to spin the alternator (e.g., electric motor, gas engine, hand crank for testing)
- Voltmeter and ammeter for monitoring
- Basic tools (wrenches, screwdrivers, wire stripper)
Step-by-Step Guide to Modifying Your Alternator
The process of modifying a car alternator involves carefully disconnecting the internal voltage regulator and wiring in a new setup for excitation and rectification. Most alternators have a multi-pin connector on the back. The specific pins and their functions can vary by make and model, so it’s crucial to identify them for your particular alternator.
Often, one terminal is for the main power output, another for the field coil, and others for sensing or warnings.
Typically, you’ll need to locate the terminal that supplies power to the field coil. This is the terminal that needs to be fed with a constant 12V DC from your external source. You’ll also need to identify the main AC output terminals.
These are usually three large posts where the three-phase AC current is generated. The internal rectifier diodes are usually connected to these to produce DC. If your alternator doesn’t have internal diodes, you’ll need a robust external bridge rectifier.
Important Note: Always consult the wiring diagram for your specific alternator model. Incorrect wiring can damage the alternator or your external power source. Some alternators have a “sense” wire that monitors battery voltage; this usually needs to be disconnected or ignored when using an external regulator setup.
- Identify Alternator Terminals: Research your alternator’s specific model to find its wiring diagram. Look for the “F” terminal (Field) and the main output terminals.
- Disconnect Internal Regulator: Carefully remove or disconnect the internal voltage regulator if it’s a separate unit. If it’s integrated, you’ll need to carefully cut traces or disconnect wires internally to isolate the field coil circuit.
- Wire the Field Coil: Connect your external 12V DC power source (battery or supply) through a fuse and a switch to the alternator’s field coil terminal. Ensure the polarity is correct.
- Wire the AC Output: Connect the three AC output terminals of the alternator to the AC input terminals of an appropriately rated external bridge rectifier.
- Wire the Rectifier Output: Connect the DC output terminals of the bridge rectifier to your load or charging system. The positive output should go to the positive terminal, and the negative to the negative.
- Test Excitation: With the external 12V source connected (but not necessarily spinning yet), you should feel the field coil draw current if you have an ammeter in line.
- Spin the Alternator: Connect your drive motor or engine to the alternator pulley.
- Measure Output: As you spin the alternator, use a voltmeter to measure the DC output voltage. It should rise as RPMs increase.
Choosing the Right Alternator and Rectifier
Not all alternators are created equal when it comes to DIY generator projects. The amperage rating of the alternator is a key factor. Higher amperage alternators will produce more current, which translates to more power.
Look for alternators with ratings of 75 amps or higher if you plan to power anything substantial. The physical size and type of the alternator can also influence ease of modification and mounting.
The rectification process is crucial. Most modern car alternators have built-in diode rectifiers. If yours does, you can often tap directly into the DC output.
However, these internal diodes might not be robust enough for continuous heavy-duty use as a generator. In such cases, or if your alternator has no internal rectifier, you’ll need an external bridge rectifier. Ensure the rectifier is rated for at least 50% more current than your alternator’s maximum output and can handle the voltage.
For example, a 100-amp alternator would need a rectifier rated for at least 150 amps.
When selecting a bridge rectifier, consider its heat dissipation. High-current rectifiers generate heat and may require a heatsink or even a small fan for cooling, especially under heavy load. The type of alternator also matters – some are “self-exciting” to a degree, meaning they can generate a small residual magnetic field upon rotation that can start the process.
However, for consistent and robust output, external excitation is generally preferred.
| Feature | Internal Rectifier (Built-in) | External Bridge Rectifier |
|---|---|---|
| Simplicity | High – fewer external components needed. | Lower – requires additional wiring and mounting. |
| Robustness | Can overheat or fail under sustained high load. | Can be selected for higher current and better heat dissipation. |
| Output Quality | Typically good DC output. | Can be very good, often with better efficiency if properly sized. |
| Cost | Included with alternator. | Additional purchase required. |
Choosing an external rectifier often offers greater reliability and higher current handling capacity for demanding generator applications.
Driving the Alternator: Powering the Generator
An alternator needs to be spun at a specific speed to generate electricity effectively. A car engine typically spins an alternator at speeds ranging from 2,000 RPM to over 10,000 RPM. For a standalone generator, you need a mechanical system to achieve similar or sufficient rotational speeds.
The faster the alternator spins, the higher the voltage it will produce, up to its design limit and the capacity of your external excitation.
Common methods for driving an alternator include using an electric motor (like a treadmill motor or a larger industrial motor), a gasoline engine (from a lawnmower, small generator, or go-kart), or even a water wheel or wind turbine for renewable energy projects. The key is to match the drive system’s power output to the alternator’s demands and to ensure the drive shaft aligns properly with the alternator’s pulley.
You’ll need to calculate the appropriate pulley sizes. The ratio of the drive pulley to the alternator pulley determines the final RPMs. If your drive motor spins at 3,000 RPM and you want the alternator to spin at 6,000 RPM, you’d use a drive pulley half the diameter of the alternator pulley, or vice-versa.
A common setup involves using a belt and pulley system, similar to how it’s installed in a car.
Drive System Options and Considerations:
- Electric Motor: Requires a stable AC or DC power source. A variable speed controller can help manage output.
- Gasoline Engine: Offers portability and independence from an electrical grid but requires fuel and maintenance.
- Renewable Sources (Wind/Water): Eco-friendly but highly dependent on environmental conditions and require significant engineering.
- Pulley Ratios: Critical for achieving optimal alternator RPMs.
- Mounting and Vibration: The drive system and alternator must be securely mounted to prevent movement and excessive vibration.
- Cooling: Ensure adequate airflow for both the drive motor/engine and the alternator, as they will generate heat.
Safety Precautions for Alternator Generators
Working with automotive alternators, especially when converting them into standalone generators, involves significant electrical and mechanical hazards. The output can be high voltage, and the rotating parts can cause serious injury. Always prioritize safety throughout the process, from modification to operation.
Never touch exposed terminals or wires while the alternator is spinning or connected to a power source. Always disconnect the external 12V excitation source and ensure the alternator is not rotating before making any wiring changes. Use proper tools and insulated gloves.
When the alternator is running, keep hands, hair, and loose clothing well away from the spinning pulley and fan.
Warning: The DC output from a modified alternator can be dangerously high, especially at higher RPMs and with efficient excitation. Always use appropriate fuses and circuit breakers. If you are unsure about any wiring or safety aspect, consult a qualified electrician or electronics technician.
Make sure your setup is grounded properly. If you are charging batteries, ensure they are in a well-ventilated area as they can produce flammable hydrogen gas during charging. Consider using a voltage regulator for your charging system to prevent overcharging, even if you bypassed the alternator’s internal one, especially if charging sensitive electronics or lithium batteries.
Key Safety Checks:
- Always disconnect power before wiring.
- Use appropriate wire gauges for the expected current.
- Install fuses or circuit breakers on all power lines.
- Ensure proper grounding of your entire setup.
- Keep rotating parts guarded and clear of obstructions.
- Operate in a well-ventilated area, especially when charging batteries.
- Wear safety glasses and insulated gloves.
- Regularly inspect wiring for damage or wear.
Troubleshooting Common Issues
Like any DIY project, converting an alternator into a generator can present challenges. One common issue is the alternator not producing any output. This could be due to incorrect wiring, a faulty external power source for excitation, or insufficient RPMs.
Double-check all your connections against the wiring diagram and ensure your 12V source is providing adequate voltage and current.
Another problem might be low output voltage. This can occur if the excitation current is too low, the alternator is damaged internally, or you’re not spinning it fast enough. Ensure your 12V source can supply enough current to the field coil.
You can test this by placing an ammeter in series with the field coil wire; you should see a steady current draw when the alternator is spinning. If the RPMs are too low, you might need to adjust your pulley ratios or use a faster drive motor.
If the output is unstable, it might be due to a fluctuating RPM from your drive system or a weak magnetic field. For battery charging, a stable RPM is crucial. If you’re experiencing intermittent power, check for loose connections or a drive system that’s not running smoothly.
Ensure your external bridge rectifier is correctly wired and functioning; a faulty rectifier will prevent proper DC output.
Common Troubleshooting Scenarios:
- No Output: Check 12V excitation, wiring to field coil, RPMs, and internal/external rectifier.
- Low Voltage: Verify excitation current, alternator condition, and drive speed. Adjust pulley ratios if needed.
- Intermittent Output: Inspect all electrical connections for looseness. Check drive belt tension and stability.
- Alternator Overheating: Ensure adequate cooling and that the load doesn’t exceed alternator’s continuous rating.
- Rectifier Failure: Check for correct wiring and ensure the rectifier is rated for the alternator’s output.
Applications and Potential Uses
A converted car alternator can be a versatile power source for various applications. One of the most common uses is for charging deep-cycle batteries, which can then power RVs, boats, off-grid cabins, or act as backup power for homes. The DC output can be used directly for 12V DC appliances or fed into an inverter to provide standard AC household power.
These DIY generators are excellent for emergency preparedness. During power outages, a well-built alternator generator can keep essential devices running, such as lights, communication equipment, and small refrigerators. For hobbyists and makers, a custom generator can power tools, workshops, or experimental projects where grid power is unavailable or inconvenient.
Important: When using a converted alternator to charge batteries, it’s highly recommended to use a charge controller between the generator’s DC output and the battery bank. This protects your batteries from overcharging and prolongs their lifespan.
For rural or remote locations, a car alternator generator can provide a crucial source of electricity for lighting, water pumps, and small appliances. It’s a cost-effective way to achieve a degree of energy independence, leveraging readily available automotive parts.
Potential Use Cases:
- Off-Grid Power Systems: Charging battery banks for cabins, RVs, and remote homes.
- Emergency Backup: Providing power during grid outages.
- Mobile Power Stations: For workshops, camping, or events.
- Educational Projects: Demonstrating principles of electricity generation.
- Powering 12V DC Appliances: Directly running equipment designed for vehicle electrical systems.
- Renewable Energy Integration: As a complementary power source in wind or hydro systems.
Frequently Asked Questions
What is the primary challenge when turning a car alternator into a generator?
The main challenge is bypassing the internal voltage regulator, which is designed for a vehicle’s specific needs, and providing a consistent external excitation current to the field coil for maximum output. You also need to ensure you have a robust method to spin the alternator at sufficient speeds.
Can I use the alternator’s internal diodes for rectification?
Yes, most car alternators have built-in diodes to convert AC to DC. However, for sustained high-output generator use, these internal diodes may not be robust enough and can overheat. Using a separate, higher-rated external bridge rectifier is often more reliable and efficient for dedicated generator applications.
How fast does the alternator need to spin to produce power?
This varies by alternator design, but generally, you need to spin it at speeds comparable to a running engine. Speeds between 2,000 to 6,000 RPM are typically sufficient to start generating usable DC voltage, with higher speeds producing higher voltages.
What kind of voltage can a modified car alternator produce?
When properly excited and spun at sufficient RPMs, a 12V car alternator can produce DC voltages ranging from 13.5V up to 18V or even higher, depending on the excitation current and RPM. This is suitable for charging 12V batteries or powering 12V DC systems.
Is it safe to connect a modified alternator directly to a battery bank?
While it can work, it’s not ideal for battery health. A car alternator’s output voltage can fluctuate, and without a proper charge controller, you risk overcharging and damaging your batteries. Using a dedicated charge controller between the alternator’s DC output and the battery bank is highly recommended for safety and longevity.
Final Thoughts
Turning a car alternator into a generator is an accessible project that can provide a valuable source of electricity. By understanding the core principles of how alternators work and carefully modifying their internal systems, you can create a functional power generator. Remember to prioritize safety throughout the build and operation, and always ensure your connections and components are rated appropriately for the task.
With a bit of effort, you can unlock the potential of an old car alternator to power your needs.
Products related to this article
Sponsored / affiliate links. As an Amazon Associate I earn from qualifying purchases. I may earn additional commission from eligible campaigns.