Proven Car Air Duct Cleaning: Effortless Results
Learn how to clean car air ducts with simple steps for cleaner cabin air. This guide makes it easy to boost your car’s air quality and your driving comfort, no special tools required.
Hey car friends! Ever notice a musty smell when you turn on your car’s AC or heater? It’s a common issue, and it often points a finger at the car’s air ducts, sometimes called vents or HVAC systems. Grimy ducts can spread dust, allergens, and even mold, making the air you breathe inside your car less than fresh. But don’t worry! You don’t need to be a master mechanic to tackle this. I’m here to walk you through a super straightforward way to clean your car’s air ducts, giving you that satisfyingly fresh air experience back. Let’s get those vents breathing easy!
Why Cleaning Your Car’s Air Ducts Matters
Keeping your car’s air ducts clean is more than just about a pleasant smell; it’s about your health and your car’s well-being. Over time, dust, pollen, dirt, and moisture can build up inside these hidden channels. This gunk isn’t just unsightly; it can become a breeding ground for mold, bacteria, and allergens. When you turn on your fan, these particles get blown directly into your cabin, affecting air quality and potentially triggering allergies or respiratory issues for you and your passengers. Regularly cleaning your car’s air ducts helps ensure you’re breathing healthier air and can even prolong the life of your car’s HVAC system by preventing debris from clogging it. It’s a simple maintenance step that pays off big time in comfort and health.
Understanding Your Car’s HVAC System
Your car’s HVAC (Heating, Ventilation, and Air Conditioning) system is like the lungs of your vehicle. It draws in outside air, filters it, and then heats or cools it before distributing it throughout the cabin via a network of ducts and vents. The main components you’ll interact with when thinking about air duct cleaning are:
- Vents: These are the visible openings where the air comes out.
- Ducts: The internal tubes that carry the air from the blower motor to the vents.
- Blower Motor: The fan that pushes air through the system.
- Cabin Air Filter: A crucial filter that catches most of the dust and debris before it enters the cabin. Regularly replacing this is key! You can find great information on cabin air filters on sites like Consumer Reports.
While you can’t easily access and scrub every inch of the ducts themselves, cleaning the accessible parts and using specific products can make a significant difference. The goal is to remove as much accumulated dust and contaminants as possible.
What You’ll Need: Simple Tools for a Big Clean
The great thing about this DIY cleaning process is that you probably have most of these items already, or they are very inexpensive to pick up. Here’s a handy list:
- Vacuum cleaner with hose attachment (crevice tool is useful)
- Microfiber cloths
- Compressed air can (computer duster)
- HVAC vent cleaner spray or automotive-grade disinfectant spray (look for products safe for car interiors)
- Optional: A flexible grabber tool or a long, thin brush (like a pipe cleaner or bottle brush)
- Optional: Mask and gloves for protection if using stronger cleaners
Having these basic supplies ready will make the process smooth and effective. Remember, safety first, especially if you choose to use any cleaning sprays. Always follow the product’s instructions carefully.
Step-by-Step Guide: How to Clean Air Ducts in Car
Let’s get your car’s air system smelling fresh and feeling clean. Follow these simple steps:
Step 1: Prepare Your Car
Park your car in a well-ventilated area. Open all doors and windows to allow for airflow and to air out any initial dust or odors. It’s also a good time to clean out any visible debris from the floor mats and dashboard area.
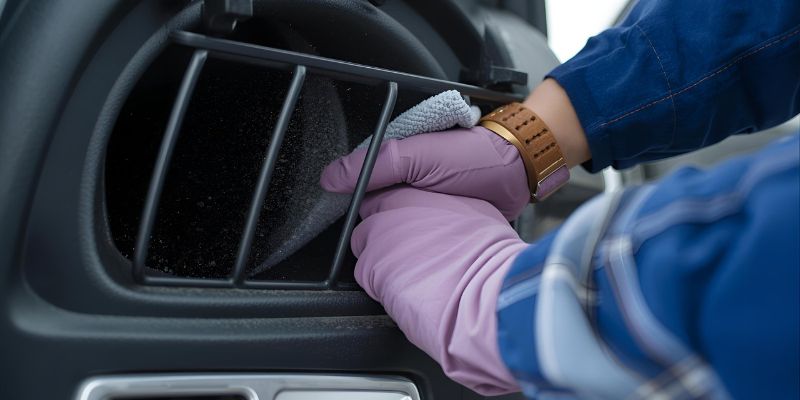
Step 2: Locate and Clean Vents
Start by cleaning the visible vents. Use your vacuum cleaner with the crevice tool to suck up any loose dust sitting on and within the vent louvers. You can also use a slightly damp microfiber cloth to wipe down the vent surfaces. For stubborn dust deep within the louvers, a can of compressed air can work wonders. A quick blast will dislodge dust, which you can then vacuum up.
Pro Tip: For particularly dusty vents, you can gently use a long, thin brush to loosen the grime before vacuuming. Just be careful not to push the dust deeper into the system.
Step 3: Address the Cabin Air Filter Location
The cabin air filter is usually located behind the glove compartment. While not directly a duct, cleaning around its housing and replacing the filter is a crucial part of improving your cabin’s air. Check your car’s owner’s manual for the exact location and replacement procedure. A clogged cabin air filter can restrict airflow and contribute to odors. Replacing it is one of the most effective steps you can take. Many guides suggest replacing it every 12,000-15,000 miles, but driving in dusty conditions might mean more frequent changes. For more on auto maintenance schedules, FuelEconomy.gov provides excellent general guidelines.
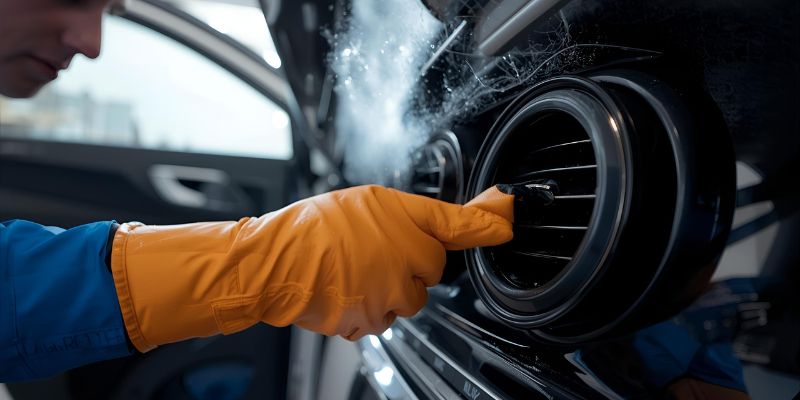
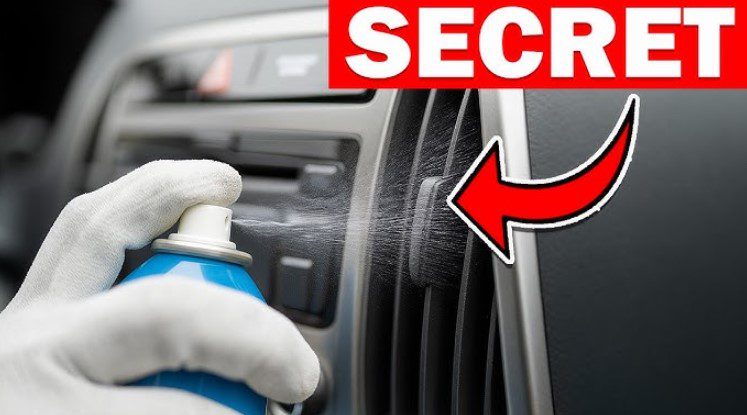
Step 4: Use a Vent Cleaner or Disinfectant Spray
This is where you tackle the internal ducts. Many automotive brands offer specialized HVAC vent cleaners. These often come with a long, thin straw-like applicator. Start your car and turn the fan on to a low setting, but do not turn on the AC or heater yet. Locate the air intake for your HVAC system (often near the base of the windshield cowl on the outside, or sometimes inside near the vents). Following the product’s instructions, spray the cleaner directly into the air intake or into the interior vents.
The fan will help distribute the cleaner throughout the ductwork. Let it sit for the recommended time. If you’re using a disinfectant spray, apply it liberally into the vents. You can also spray it directly onto a microfiber cloth and wipe the inside of easily accessible vents.
Important Note: Always spray into the air intake vent with the fan ON so it pulls the cleaner into the system, or spray into the interior vents with the fan on to circulate. Never spray directly onto electrical components within the dashboard.
Step 5: Flush the System (Optional but Recommended)
After the cleaner has had time to work, turn on your car’s fan to a high setting with the windows open. Run the fan for 5-10 minutes. This helps to dry out any residual moisture from the cleaner and blow out any loosened debris. You might want to do this with your car parked outside to vent any initial spray or dislodged particles.
Step 6: Final Wipe Down and Test Run
Once you’ve run the fan, turn off the car. Take a clean microfiber cloth and wipe down all the exterior vent grilles again. Now, start your car, turn on the fan (still with windows open if possible for the first minute), and test the fan speed and airflow. You should notice a fresher smell and potentially better airflow. If there’s still a faint smell, you can repeat the spray and flush process, or try a different vent cleaner product.
A Deeper Dive: Advanced Techniques and Considerations
While the basic steps cover the most common issues, some persistent problems might require a bit more attention. Understanding these can save you time and money on professional services.
Checking the Evaporator and Heater Core
The evaporator core (for AC) and heater core (for heat) are located deep within the dashboard. They play a role in air quality and can accumulate debris or mold. Accessing these areas is typically much more complex and often requires professional help. However, some specialized cleaning products claim to be able to work their way into these areas when sprayed into the intake. Always follow product instructions with extreme caution, as improper application could damage components.
Using a Blower and Specialty Brushes
For a more thorough clean by a professional, they might use a powerful blower to force air through the system or specialized brushes that can be inserted into larger duct sections. While not typically DIY tools, understanding that these methods exist can help you appreciate the work done by detailers or mechanics.
Odor Eliminators vs. Cleaners
It’s important to distinguish between an odor eliminator and a duct cleaner. An odor eliminator might mask smells, while a cleaner aims to remove the source of the odor, such as mold or bacteria. For a lasting solution, focus on cleaning and replacing the cabin air filter. You can find more information on cabin air filtration systems on automotive resource sites like HowStuffWorks.
Table: Common Duct Issues and DIY Solutions
Here’s a quick reference to common problems and how you can address them:
| Problem | Symptoms | DIY Solution | When to See a Pro |
|---|---|---|---|
| Dust Buildup | Visible dust on vents, sneezing, dusty air | Vacuum vents, use compressed air, replace cabin air filter | Persistent dust despite cleaning |
| Musty or Mildew Smell | Unpleasant odor when AC/heat is on | Use HVAC vent cleaner spray, ensure no water leaks, run fan frequently | Strong, persistent mold smell, suspect moisture issues deep in system |
| Reduced Airflow | Weak air coming from vents | Check/replace cabin air filter, ensure vents aren’t blocked internally (basic cleaning) | Suspect a clogged blower motor or internal duct blockage |
| Strange Noises | Whirring, clicking, or rattling sounds from vents | Check for debris in accessible vents | Any mechanical noises from the HVAC system |
Frequently Asked Questions (FAQ)
How often should I clean my car’s air ducts?
It’s a good idea to perform a basic vent cleaning and replace your cabin air filter at least once a year, or more often if you drive in dusty environments or notice a musty smell.
Can I just spray air freshener into my vents?
While air fresheners might temporarily mask odors, they don’t clean the ducts. For true freshness and better air quality, it’s best to clean the ducts and replace the cabin air filter to remove the source of the smell and any buildup.
Will cleaning my car’s air ducts improve gas mileage?
Not directly. Cleaning air ducts is primarily about air quality and HVAC system performance. However, ensuring your HVAC system runs efficiently by having a clean cabin air filter can prevent the system from working harder than it needs to, which might have a very minor indirect effect on fuel consumption.
What is the best way to get rid of a moldy smell from car vents?
The best approach is to use a specialized HVAC vent cleaner spray designed to kill mold and mildew, along with replacing the cabin air filter. Ensure there are no underlying moisture leaks causing the mold growth.
Can I use household cleaners in my car’s vents?
It’s best to stick to products specifically designed for automotive use. Household cleaners could be too harsh, damage the duct materials or the HVAC system components, or leave behind unpleasant and potentially harmful fumes when the air is heated or cooled.
What’s the difference between cleaning vents and cleaning the cabin air filter?
Cleaning the vents addresses the pathways air travels through. The cabin air filter is a component that filters the air before it reaches those vents and your cabin. Both are important for fresh air. You clean the vents to remove existing buildup, and you replace the filter to catch new buildup.
Conclusion
Taking care of your car’s air ducts might seem like a small detail, but it has a big impact on your driving experience and your comfort. By following these simple, proven steps, you can effectively clean your car’s air ducts and say goodbye to those unpleasant odors and dusty air. You’ve got this! Enjoy the feeling of fresh, clean air every time you step into your car. It’s a fantastic way to boost your satisfaction with your vehicle and ensure a healthier environment for everyone who rides with you. Happy, healthy driving!