What Cable Goes on a Car Battery First: Essential Guide
When connecting a car battery, always connect the positive (+) cable first, followed by the negative (-) cable. This order is crucial for safety. Reversing this can create dangerous sparks and potentially damage your car’s electrical system.
Ever popped the hood of your car and wondered about those thick cables connected to the battery? Or maybe you’ve had to replace a battery and felt a little unsure about which cable goes where, and in what order? You’re definitely not alone! Many car owners find themselves scratching their heads when it comes to battery connections. It seems simple, but getting it wrong can lead to sparks, a damaged car, or even personal injury. That’s where I come in. As your friendly auto guide, I’m here to make this seemingly tricky task clear and simple. We’ll walk through exactly what cable goes on a car battery first, why it matters, and how to do it safely. You’ll gain the confidence to handle this basic yet important car maintenance with ease. Let’s get started and demystify car battery connections!
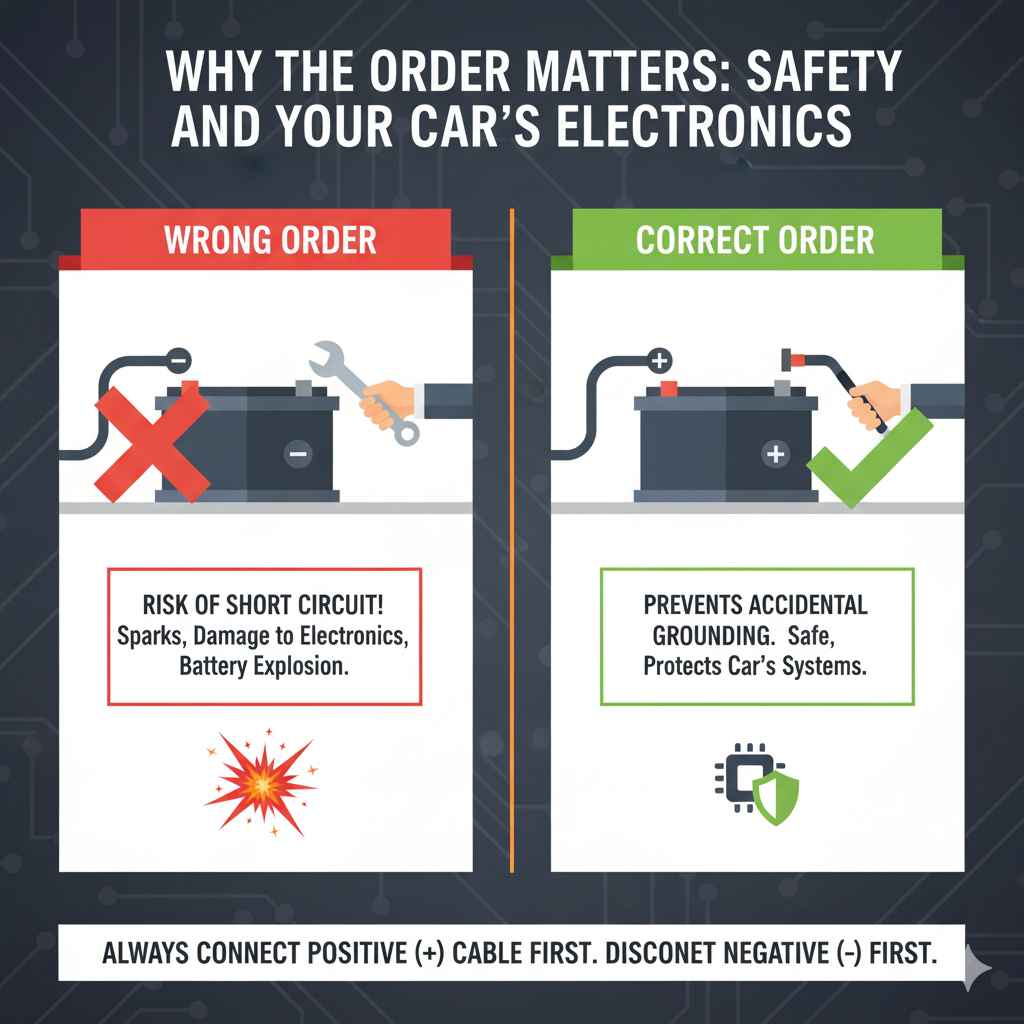
Why the Order Matters: Safety and Your Car’s Electronics
The sequence in which you connect or disconnect your car battery cables isn’t just a suggestion; it’s a critical safety measure. Think of your car’s electrical system as a delicate network. When you connect the battery, you’re closing a circuit, allowing electricity to flow. Doing this in the wrong order can send a surge of power through an unintended path.
The primary reason for connecting the positive (+) terminal first is to prevent accidental grounding. Your car’s chassis (the metal frame of the car) is grounded. If you were to connect the negative (-) cable first, and your wrench happened to touch the car’s metal body while you were tightening the positive cable, you’d create a direct short circuit. This can cause a shower of sparks, potentially damage the battery or sensitive electronic components like the car’s computer, and even lead to a battery explosion.
By connecting the positive terminal first, you’re completing the final connection to the positive side of the battery. The negative terminal, which is connected to the car’s chassis, is still open until the very last step. This minimizes the risk of creating a short circuit because the path to ground isn’t yet complete.
Identifying the Battery Terminals
This is the absolute first step before you touch any tools or cables. Car batteries have two terminals, each marked for its polarity:
- Positive Terminal (+): This terminal is usually marked with a plus sign (+). The cable connected to it is typically red or has a red cover.
- Negative Terminal (-): This terminal is usually marked with a minus sign (-). The cable connected to it is typically black or has a black cover.
These markings are usually quite visible. Never assume. Always double-check the symbols on the battery itself and the colors of the cable clamps. If the colors are faded or unclear, rely on the + and – symbols.
Tools You’ll Need
You won’t need a whole workshop for this. Most battery connections can be handled with a few basic tools:
- Wrench or Socket Set: The most common size for battery terminal nuts is 10mm, but other sizes (like 13mm or 1/2 inch) can also be used depending on your vehicle. It’s best to have a small set available.
- Battery Terminal Cleaner/Wire Brush: Corrosion can build up on the terminals and cable clamps, preventing a good connection. A specialized cleaner or a stiff wire brush is essential for removing this residue. You can find these at any auto parts store.
- Safety Glasses: This is non-negotiable. Battery acid can splash, and sparks can fly. Protect your eyes.
- Gloves: Protect your hands from battery acid and grime.
- Penetrating Oil (Optional): If the clamps are very stubborn, a little penetrating oil can help loosen them.
Ensure your tools are clean and in good condition. The wrench should fit snugly on the nuts to avoid stripping them.
Step-by-Step Guide: What Cable Goes on a Car Battery First
Follow these steps carefully. Remember, safety first at every stage!
Step 1: Ensure the Engine is Off and the Key is Out
Before you do anything, double-check that your car’s engine is completely off. Remove the ignition key to prevent any accidental starting or electrical surges.
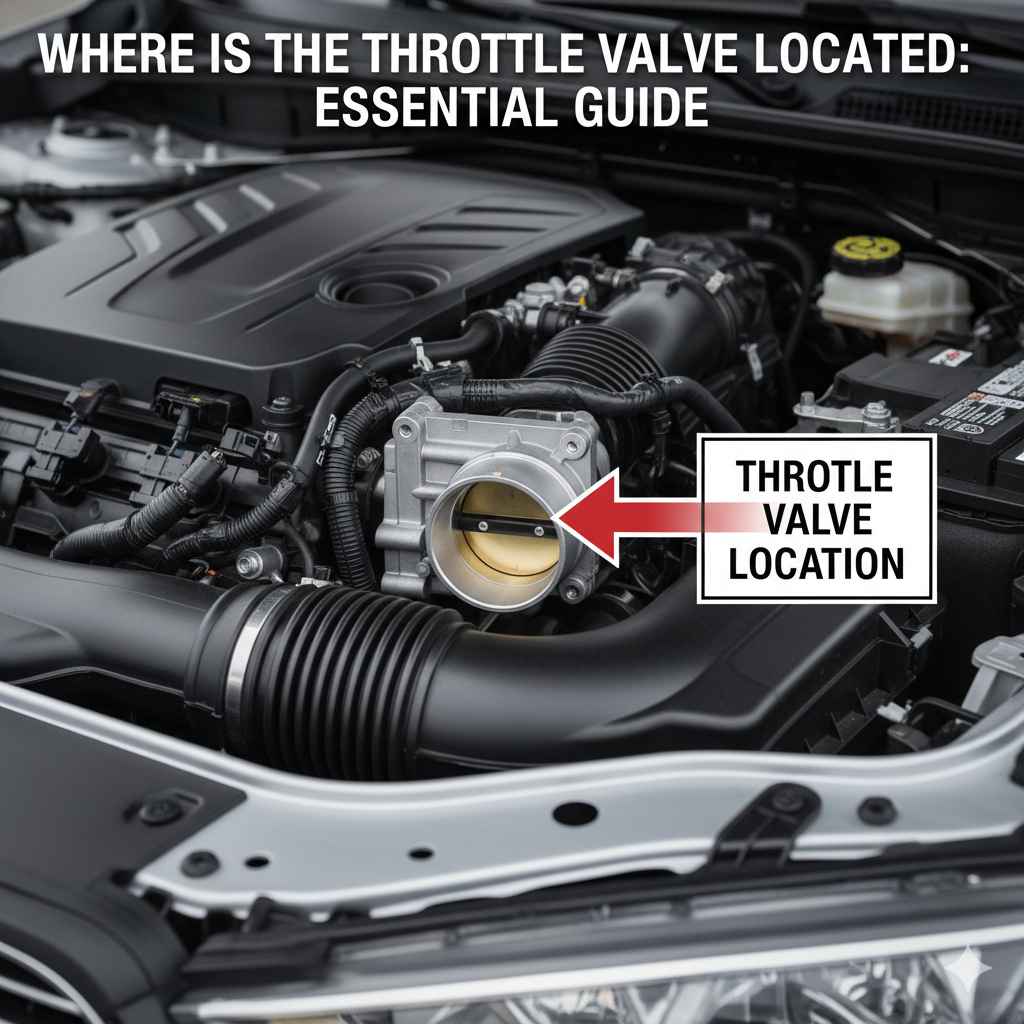
Step 2: Locate the Battery
The battery is usually located under the hood, often in a more accessible spot in the front of the engine bay or on the side. Some vehicles hide the battery elsewhere, like in the trunk or under a seat, but the connection principle remains the same. Consult your car’s owner’s manual if you can’t find it.
Step 3: Identify the Terminals and Cables
As discussed earlier, identify the positive (+) and negative (-) terminals on the battery. Note which cable is connected to each. Typically, the positive cable is red, and the negative is black.
Step 4: Remove the Old Battery (If Applicable)
If you are replacing the battery, you’ll need to disconnect the cables first. And here’s a crucial rule when disconnecting: always disconnect the negative (-) cable first, then the positive (+) cable. This is the reverse of connecting.
- Use your wrench to loosen the nut on the negative (-) terminal clamp.
- Gently twist and pull the negative cable clamp off the terminal. Set it aside so it won’t accidentally touch the battery.
- Repeat the process for the positive (+) terminal.
- Lift the old battery out. Be aware that car batteries are heavy!
Step 5: Clean the Battery Terminals and Cable Clamps
Corrosion (a powdery, greenish or bluish substance) is the enemy of good electrical connections. It looks like this:
| Problem | Appearance | Effect | Solution |
|---|---|---|---|
| Corrosion | Powdery, greenish, bluish, or white residue | Hindered electrical flow, difficulty starting, and eventual connection failure | Use a battery terminal cleaner tool or a wire brush to scrub both the battery terminals and the inside of the cable clamps until they are shiny metal. |
Scrubbing until you see shiny metal on both the battery posts and the inside of the clamps is essential for a reliable connection.
Step 6: Install the New Battery (If Applicable)
Carefully place the new battery into its tray, ensuring it’s oriented correctly so the positive and negative terminals align with the correct cables.
Step 7: Connect the Positive (+) Cable FIRST
This is the most critical part. Take the red cable (or the cable marked with ‘+’) and position its clamp onto the positive (+) terminal of the new battery. You may need to twist it slightly to get it to seat properly. Once it’s on, use your wrench to tighten the nut on the clamp. Make sure it’s snug and doesn’t wiggle, but don’t overtighten, as you could damage the terminal.
This step connects the main power source to your car’s systems.
Step 8: Connect the Negative (-) Cable LAST
Now, take the black cable (or the cable marked with ‘-‘) and position its clamp onto the negative (-) terminal. Again, twist and seat it firmly. Tighten the nut with your wrench until it is snug and secure. This connection completes the circuit and grounds the system.
You might see a tiny spark when connecting the negative cable. This is usually normal as the car’s computer and memory systems receive power. However, if you see a large, continuous spark or a lot of crackling, disconnect immediately and re-check your connections and the condition of your battery.
Step 9: Apply Anti-Corrosion Spray (Optional but Recommended)
After securing both terminal clamps, you can spray a thin layer of electrical contact enhancer or anti-corrosion spray onto the terminals and clamps. This helps prevent future corrosion and ensures a good connection over time. You can find these products at auto parts stores.
Step 10: Double-Check Everything
Take a moment to look over your work. Are both cables firmly attached? Are they on the correct terminals? Is your wrench put away safely? Make sure no tools are left lying on the battery or in the engine bay.
Understanding Battery Terminal Types
While the process is the same, you might encounter different types of battery terminals:
Top-Post Terminals
These are the most common type. They have posts that extend vertically from the top of the battery. The cable clamps have a bolt that goes through the clamp and into the clamp’s base, tightening onto the post. This is what most people picture when they think of car batteries.
Side-Post Terminals
Less common in modern cars, but found in some older vehicles or specific applications. These terminals are on the sides of the battery, usually with a bolt that screws directly into the side of the terminal post. The clamps are often a different shape to accommodate this.
Regardless of the type, the principle of connecting positive first and negative last remains. The clamping mechanism might differ slightly, but the goal is a secure, clean connection.
Common Mistakes to Avoid
Let’s quickly recap the most important things to steer clear of:
- Connecting Negative First: This is the biggest no-no. It’s the primary cause of dangerous sparks and electrical damage.
- Over-Tightening: You can crack a battery terminal or its casing, leading to leaks and failure. Snug is good; Hulk-smash tight is bad.
- Under-Tightening: A loose connection causes intermittent power, poor performance, and can lead to the terminal overheating.
- Not Cleaning Terminals: Corrosion is a silent killer of battery performance. Always clean them thoroughly.
- Reversing Polarity: Accidentally putting the red cable on the black terminal (or vice versa) can cause significant damage to your car’s electronics. Always match + to + and – to -.
- Working with Dirty Tools: Grime or oil on your tools can transfer to the terminals, hindering conductivity.
Making any of these mistakes can be costly. By following the steps and avoiding these pitfalls, you’re in a much better position for success.
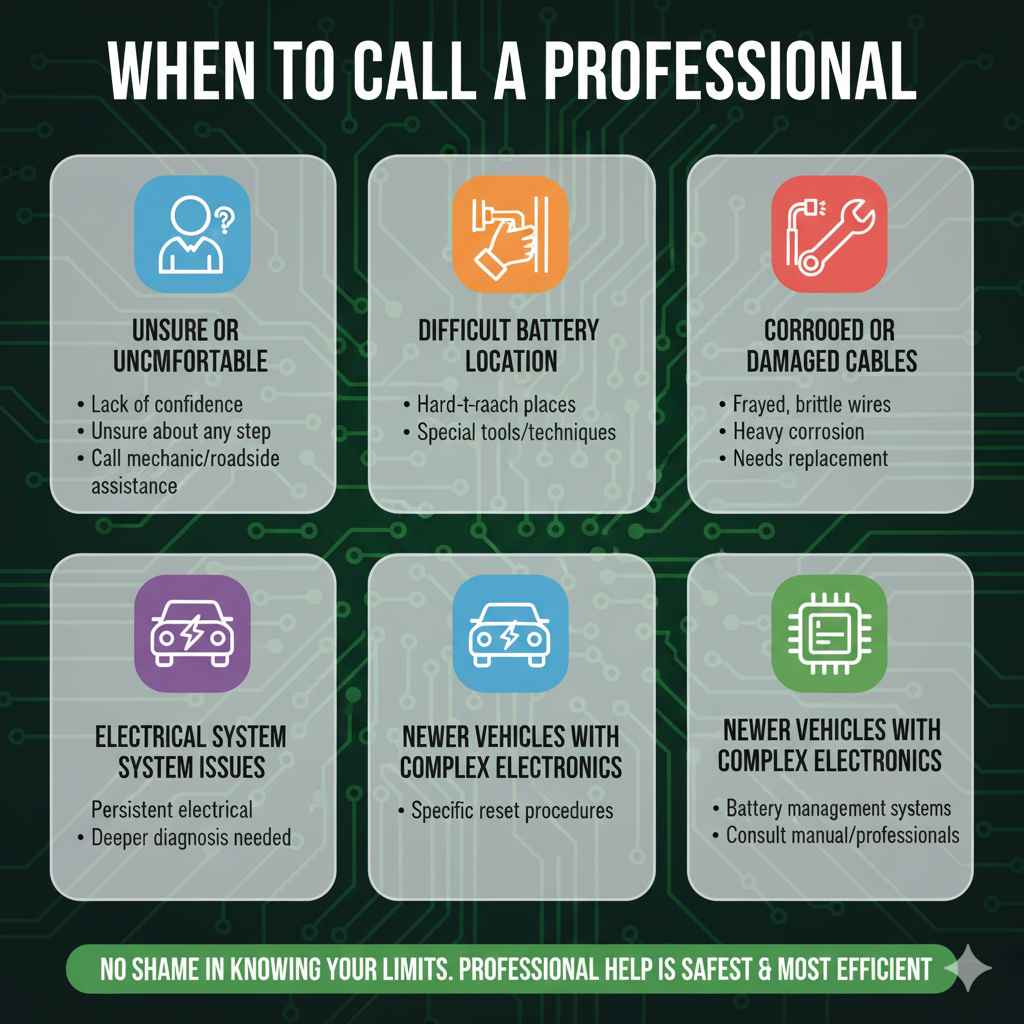
When to Call a Professional
While replacing or connecting a car battery is a manageable DIY task for many, there are times when it’s best to let an expert handle it:
- Unsure or Uncomfortable: If you feel a lack of confidence or are unsure about any step, it’s perfectly fine to call a mechanic or roadside assistance.
- Difficult Battery Location: If your car’s battery is in a very hard-to-reach place (e.g., under the passenger seat, behind fender liners), it might require special tools or techniques.
- Corroded or Damaged Cables: If the battery cables themselves are frayed, brittle, or heavily corroded in a way that cleaning won’t fix, they may need professional replacement.
- Electrical System Issues: If your car has been experiencing persistent electrical problems, a simple battery connection might not be the only fix. A mechanic can diagnose deeper issues.
- Newer Vehicles with Complex Electronics: Some modern cars have battery management systems or require specific procedures to reset. If you’re working on a very new or high-end vehicle, check your manual or consult professionals.
There’s no shame in knowing your limits. Sometimes, a professional diagnosis from a trusted source like AAA or a local reputable garage is the safest and most efficient route.
Frequently Asked Questions (FAQ)
Q1: What happens if I connect the negative cable first?
A1: Connecting the negative (-) cable first increases the risk of creating a short circuit. If your wrench touches the car’s metal frame while you’re working on the positive (+) terminal, it can cause a dangerous shower of sparks, potentially damaging your car’s electronics or the battery itself.
Q2: Do I need to disconnect both terminals when replacing a battery?
A2: Yes. To safely remove an old battery and install a new one, you must disconnect both terminals. Remember, disconnect the negative first, then the positive. When reconnecting, connect the positive first, then the negative.
Q3: My battery cables are red and black. Does that always mean red is positive and black is negative?
A3: In most vehicles, yes. Red is typically the positive (+) cable and black is the negative (-). However, always verify by looking for the ‘+’ and ‘-‘ symbols directly on the battery terminals. Some vehicles might have different color coding or caps on the cables.
Q4: Will my car’s radio presets or computer settings be lost if I disconnect the battery?
A4: Yes, often. Disconnecting the battery will remove power from the car’s memory. This means you’ll likely lose your radio presets, clock settings, and some learned parameters for the engine control unit (ECU). Many modern cars have a small backup battery or capacitor to prevent this, or they may have specific procedures to “re-learn” settings. If it’s a concern, you can use a OBD-II memory saver which uses its own battery to keep power to the car’s memory while the main battery is disconnected.
Q5: What is that greenish-white powder on my battery terminals?
A5: That’s corrosion, typically a mix of lead sulfate and battery acid. It’s a natural byproduct of the battery’s operation. It’s conductive and can get thick enough to prevent proper electrical flow, making it difficult for your car to start. Regular cleaning is key to battery health.
Q6: How tight should battery terminals be?
A6: They should be snug and secure enough that the cable clamp does not move or wiggle on the battery post. However, you should not overtighten them. Overtightening can crack the plastic casing of the battery or damage the terminal itself. If you have a torque wrench, refer to your vehicle’s manual for specific torque values, but usually, hand-tight plus a quarter-turn with a wrench is sufficient for most standard top-post terminals.
Q7: Can I use jumper cables if my battery is connected incorrectly?
A7: If your battery is connected backward, attempting to jump-start it can cause significant damage to both vehicles’ electrical systems. Always ensure correct connections before attempting a jump start. If you suspect your battery is connected incorrectly, disconnect it and re-establish the connections in the proper order (positive first, negative last) before trying to jump-start or start your car.