How to Lock a Seat Belt for a Car Seat the Right Way
Locking a seat belt for a car seat installation is the single most critical step in keeping your child safe on the road. Without a properly locked belt, the car seat can shift dangerously during a sudden stop or crash.
This guide walks you through the two standard methods for locking a seat belt, how to identify your vehicle’s mechanism, and how to test for a secure, rock-solid fit.
Simply put, you lock a seat belt for a car seat by either engaging the vehicle’s built-in locking retractor or by installing a separate locking clip on the belt webbing. The correct method depends entirely on your vehicle and car seat manual specifications.
Key Takeaways
- Locking a seat belt prevents the car seat from tipping or sliding; always check for movement at the belt path.
- Most modern vehicles have a switchable locking retractor that activates when you pull the belt all the way out.
- A locking clip is required only in specific vehicle and car seat combinations, usually when the seat belt does not lock at the retractor.
- Always read both your vehicle owner manual and your car seat instruction manual before starting the installation.
- After installation, perform the “1-inch test” to confirm the seat belt lock is holding the car seat tightly.
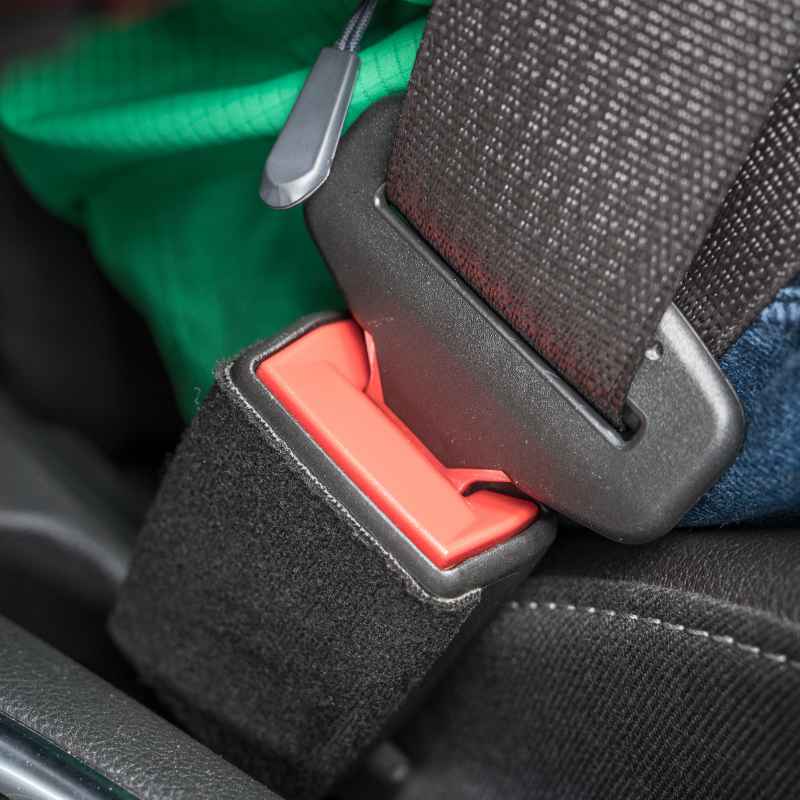
What Is a Locked Seat Belt and Why Does It Matter?
A locked seat belt is a seat belt that has been converted from its normal, flexible mode into a rigid restraint that holds the car seat firmly in place. In everyday driving, your seat belt uses an Emergency Locking Retractor (ELR) that allows free movement but locks during a sudden stop.
Car seats require a different kind of lock. They need an Automatic Locking Retractor (ALR) or a locking clip to keep the belt from loosening over time. Without this lock, the car seat can shift side-to-side or forward, compromising the safety of the harness angles and recline positions.
Types of Seat Belt Locking Systems
Understanding which system is in your vehicle is the first step to a safe installation.
| Retractor Type | Locking Method | Common In |
|---|---|---|
| Switchable (ELR/ALR) | Pull belt fully out to engage ALR mode | Most vehicles after 1996 |
| Emergency Locking Only (ELR) | Requires a locking clip | Older vehicles, some rear seats |
| Lockable Latchplate | Latchplate itself locks to the webbing | Many Chrysler, Ford, and Toyota models |
If you have a lockable latchplate, you do not need a locking clip, and you should not pull the belt all the way out. Simply buckle the belt and pull the shoulder strap tight.
How to Lock a Seat Belt for a Car Seat Using the Built-in Locking Retractor
This is the most common method and works with switchable retractors. The goal is to change the belt from ELR mode (free movement) to ALR mode (locks as you pull it).
Follow these steps carefully to ensure the mechanism engages properly.
- Install the car seat base or seat. Place it in the desired seating position. Route the seat belt through the correct belt path as shown in your car seat manual (rear-facing or forward-facing).
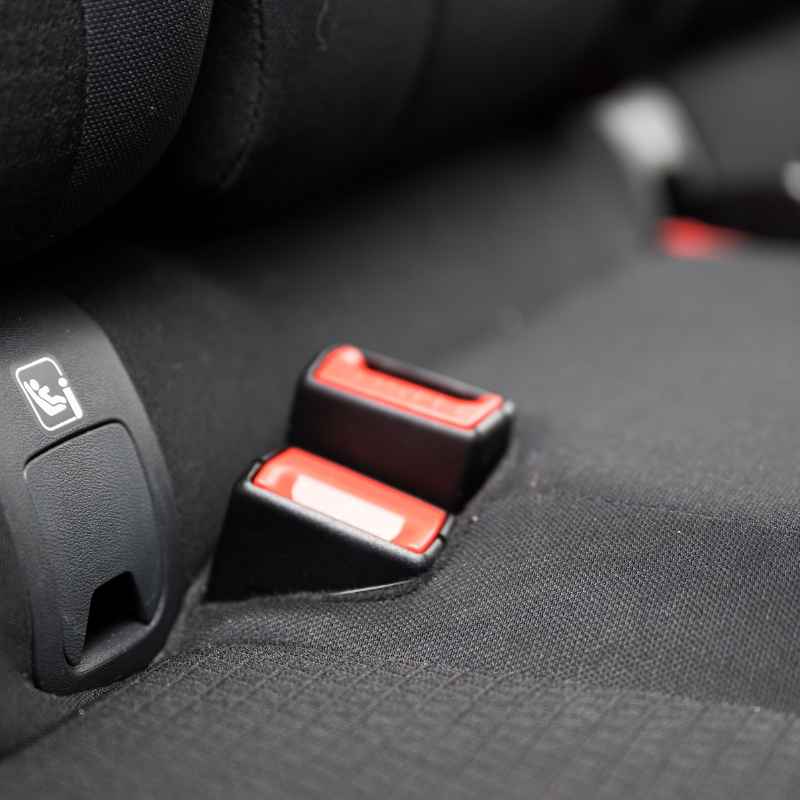
- Buckle the seat belt. Push the latchplate into the buckle until you hear a click. Tug on the latchplate to confirm it is securely latched.
- Remove all slack from the lap belt. Press down firmly on the car seat with one hand. Use your other hand to pull the lap belt portion tight against the belt path. Use your full body weight to compress the vehicle seat.
- Engage the locking retractor. Grasp the shoulder belt just above the latchplate. Pull the shoulder belt all the way out as far as it will go. You should hear a ratcheting sound as the retractor clicks.
- Feed the slack back in. Slowly allow the shoulder belt to retract back into the retractor. If it stops and clicks, the lock has engaged. Continue feeding until the belt is snug against the car seat.
- Check for the lock. Try to pull the shoulder belt out again by hand. If it is locked, the belt will not extend more than a few inches.
- Final tighten. Press down on the car seat again and pull the lap belt to remove any remaining slack.
- Test for tightness. Grasp the car seat at the belt path. It should not move more than 1 inch side-to-side or front-to-back.
Warning: If the belt retracts fully and then pulls out easily again, the ALR mode has not engaged. You must unbuckle the belt, let it retract completely, and start the installation process over from the beginning.
How to Lock a Seat Belt for a Car Seat Using a Locking Clip
Some vehicles have seat belts with emergency locking retractors (ELR) that cannot lock at the retractor under normal conditions. In these cases, a locking clip is required to keep the seat belt tight.
Locking clips are small metal brackets that clamp onto the webbing and hold tension. They are often included with new car seats but are frequently misunderstood or installed backwards.
- Check your manuals. Only use a locking clip if your vehicle manual confirms the seat belt is ELR-only and your car seat manual approves the use of a locking clip.
- Buckle the belt loosely. Route the belt through the car seat path and buckle it. Do not tighten yet.
- Create tension. Press down on the car seat and pull the lap belt tight. Pinch the webbing just above the latchplate to hold the tension.
- Position the clip. Slide the locking clip onto the webbing between the latchplate and the car seat belt path. It must be placed within 1 inch of the latchplate.
- Clamp it shut. Squeeze the locking clip firmly until both sides are flush against the webbing. The webbing should pass straight through the clip without twisting.
- Release and test. Let go of the webbing. The clip should hold the tension, preventing the belt from loosening. Pull on the shoulder belt to confirm the lock holds.
- Check the twist. Ensure the webbing is flat and not twisted inside the clip. A twisted belt can slip out of the clip under load.
Tip: Many car seats have built-in lockoffs that serve the same function as a locking clip. If your car seat has a built-in lockoff, use it according to the manual instead of adding a separate locking clip.
How to Test If Your Seat Belt Is Properly Locked
Testing the seat belt lock is the only way to confirm you did the job right. A visually tight belt can still be unlocked and dangerous.
Once you believe the belt is locked, perform the following checks every single time.
The 1-Inch Test
Grip the car seat firmly at the belt path with your non-dominant hand. Push and pull the seat side-to-side and front-to-back. If the base moves more than 1 inch in any direction, the belt is not locked properly.
Troubleshooting a Loose Installation
| Symptom | Likely Cause | Solution |
|---|---|---|
| Seat moves side-to-side | Lap belt slack not removed | Press down harder and re-tighten lap belt |
| Shoulder belt pulls out freely | ALR mode not engaged | Unbuckle, let belt retract fully, restart process |
| Belt loosens over time | Locking clip placed too far from latchplate | Move locking clip to within 1 inch of latchplate |
| Latchplate slides down webbing | ELR belt without locking clip | Install a locking clip above the latchplate |
If you cannot get the seat to move less than 1 inch after multiple attempts, consult a Certified Child Passenger Safety Technician (CPST) in your area.
Common Mistakes When Locking a Seat Belt for a Car Seat
Even experienced parents and caregivers make errors when locking seat belts. Avoiding these common pitfalls will keep your child safer.
- Twisting the webbing. A twisted belt cannot distribute crash forces evenly. Always ensure the webbing is flat from the retractor to the latchplate.
- Placing the locking clip on the wrong side. The locking clip must sit between the latchplate and the belt path, not on the other side of the latchplate. Installing it incorrectly defeats its purpose entirely.
- Forgetting to engage the retractor lock. Simply pulling the belt tight is not enough. You must pull the shoulder strap all the way out to hear the ratchet click before letting it retract.
- Using the locking clip when the retractor already locks. Adding a locking clip to an ALR belt is unnecessary and can interfere with the proper operation of the vehicle safety system.
- Not reading the vehicle manual. Some vehicles have specific rules about using certain rear seating positions for car seats or have unique belt geometries that require special steps.
- Ignoring the seat belt pretensioner. If your vehicle has been in a moderate or severe crash, the pretensioner may have fired. You cannot use a seat belt that has been in a crash for a car seat installation.
- Mixing locking clips from other brands. Locking clips are not universal. Use only the clip provided by the car seat manufacturer or one approved by NHTSA standards (rated for 600 lbs minimum breaking strength).
Important: The American Academy of Pediatrics (AAP) reports that over 50% of car seats are installed incorrectly. The number one error is a loose installation caused by an improperly locked seat belt.
What Are Locking Seat Belts and Locking Clips?
Understanding the hardware involved helps you troubleshoot problems faster. Let’s break down the specific tools and terms used in locking a seat belt for a car seat.
The Locking Retractor
This is a mechanism inside the vehicle pillar or seat. An Emergency Locking Retractor (ELR) locks only during a sudden deceleration. An Automatic Locking Retractor (ALR) locks as soon as the belt stops retracting.
A switchable retractor can function as either, and you toggle it by pulling the belt all the way out.
The Locking Clip
A locking clip is a metal channel with two slots. The seat belt webbing passes through one slot, over the bridge, and back through the other slot. When squeezed shut with pliers (or by hand for some models), it pinches the webbing and transfers the clamping force to the latchplate.
This prevents the lap belt from loosening when shoulder belt tension is released.
The Lockable Latchplate
Some vehicles have a latchplate that locks onto the webbing without any action from the retractor. You simply pull the lap belt tight, and the latchplate grips the webbing. You can identify a lockable latchplate by trying to slide your fingers under the webbing above the latchplate.
If the webbing is tight against the latchplate and cannot be loosened, it is locked.
Frequently Asked Questions
Can I lock a seat belt without a locking clip?
Yes, in most modern cars you can lock the seat belt using the vehicle’s built-in switchable retractor. Pull the shoulder belt all the way out to activate the Automatic Locking Retractor (ALR) mode, then let it retract slowly. A locking clip is only needed if your vehicle has a purely Emergency Locking Retractor (ELR).
How do I know if my seat belt has a locking retractor?
Buckle the seat belt and pull the shoulder strap all the way out. Listen for a ratcheting sound. Slowly let it retract.
If you hear clicking and the belt stops coming out after retracting, you have a switchable locking retractor. If the belt retracts silently and pulls out freely again, you have an ELR and may need a locking clip.
Where does the locking clip go on a car seat?
The locking clip clamps onto the seat belt webbing directly between the latchplate (the metal tongue) and the car seat belt path. It must be placed within 1 inch of the latchplate to prevent the latchplate from sliding back down the webbing.
Why does my car seat move after I lock the seat belt?
Movement usually means slack is still in the lap belt. Press your full weight down on the car seat while pulling the lap belt tight. If the belt is locked but still loose, the locking clip may be too far from the latchplate, or the ALR mode may not have engaged correctly.
Is it safe to twist the seat belt to lock it for a car seat?
No. Twisting the seat belt webbing to shorten it is not a safe or approved method for locking a car seat. Twisting prevents the belt from retracting properly in a crash and can damage the webbing.
Always use the proper locking retractor or a NHTSA-approved locking clip.
Final Thoughts
Locking a seat belt for a car seat correctly takes practice, but it becomes second nature after a few tries. Always prioritize a tight installation by pressing your knee into the seat while tightening the belt.
After every drive, do a quick pinch test at the belt path to ensure the lock has held. If you ever feel unsure, visit a car seat check event or consult a CPST for a free inspection.
Products related to this article
Sponsored / affiliate links. As an Amazon Associate I earn from qualifying purchases. I may earn additional commission from eligible campaigns.
 Seat Belt Covers for Kids, 2 in 1 Car Seat Strap Covers & Auto Seatbelt Pillow for Kids nap, Car Travel Pillow & Strap Pads Cushion for headrest, Neck/Shoulder Support, fit Child, Adult, Grey;
 Universal Child Car Seat Chest Harness Clip – Kids Seat Belt Adjuster & Anti Escape Buckle Guard, Child Safety Car Seat Belt Lock Clip, Toddler Seatbelt Locking Clip for Stroller & Booster (Gray)