How To Remove A Seat Belt In A Car Safely And Correctly
Removing a car seat belt safely involves understanding its locking mechanisms and detachment points. Proper removal prevents damage to the belt system and ensures future safety if reinstallation is needed. Always consult your vehicle’s manual or a professional if unsure.
Understanding Your Car’s Seat Belt System
Car seat belts are more than just a strap. They are a critical safety device. Your car’s seat belt has a few main parts.
There’s the belt webbing itself. This is the strong fabric part you see. Then there’s the retractor.
This is usually hidden inside a car’s pillar or under a seat. It’s what lets the belt extend and retract smoothly. It also has a locking mechanism.
This is key. It stops the belt from extending further. This happens during sudden stops or crashes.
Finally, there’s the buckle. This is the part that clicks into the clasp. It holds you in place.
Most seat belts today use a locking retractor. This system is smart. It lets you pull the belt out slowly.
But if you pull it fast, it locks up. This is how it keeps you safe. Think about it like a tape measure.
You can pull the tape out easily. But if you yank it, it locks. The car seat belt works similarly.
This is important to know when you’re thinking about removing it. You don’t want to fight the lock.
Some older cars or specific types of seats might have a different system. Some may use a ” K-type” retractor. This one locks when the webbing is pulled out to a certain length.
Others use a ” D-ring ” type. This locks when the vehicle tilts. Knowing your car’s system helps.
It guides how you should approach removal. Most modern cars use the faster-locking type. This is the one we’ll focus on most.
It’s good to check your car’s manual. It will tell you exactly what type you have.
The clasp and buckle are usually straightforward. The buckle has a button you press. This releases the latch.
The latch is attached to the belt. It slides into the buckle. When you press the button, the latch comes out.
Then the belt is free. But the belt webbing is still attached to the retractor. That’s the part that needs a bit more thought for removal.
Why Would You Need to Remove a Seat Belt?
There are many reasons why someone might need to remove a seat belt. It’s not something people do every day. But when the need arises, it’s good to know the proper way.
One common reason is for car repairs. If you’re working on the car’s interior, you might need to get the belt out of the way. This could be for fixing a door panel.
Or maybe you need to access something behind the pillar. Sometimes, the seat belt itself might be damaged. If it’s frayed, ripped, or doesn’t retract properly, it needs to go.
Replacing a damaged seat belt is crucial for safety.
Another reason could be customization. Some car enthusiasts like to modify their vehicles. They might want to change the color of their belts.
Or perhaps they are installing racing seats. These often come with their own harness systems. In such cases, the original belts need to be removed.
It’s important that any modification still meets safety standards. This is especially true if you plan to drive the car on public roads.
Sometimes, it’s about restoration. If you are working on an old classic car, you might be restoring it to its original state. This could mean replacing or removing parts.
Even if the belts look fine, a restorer might want to put in period-correct ones. Or they might be removing them to access other parts of the car for a deep clean or repair.
The most important reason, though, is damage or malfunction. If a seat belt has been in an accident, even a minor one, it might not be safe to use. The webbing can stretch or weaken.
The locking mechanism might be compromised. It’s always better to replace it than risk its performance. A seat belt that doesn’t retract or lock correctly is a serious safety hazard.
So, if it’s not working right, removal and replacement are necessary.
Steps for Safe Seat Belt Removal
Removing a seat belt correctly is important. You don’t want to damage anything. You also want to make sure you can put it back later if needed.
Here’s a breakdown of how to do it safely.
First, gather your tools. You’ll likely need a screwdriver. A Phillips head is common.
You might also need a socket wrench or ratchet. The size will depend on your car model. Check your car’s manual to be sure.
It’s also a good idea to have a soft cloth. This helps protect surfaces from scratches.
Next, locate the seat belt anchor points. These are where the belt is attached to the car’s frame. The most obvious one is the buckle.
You release this by pressing the button. The other end is often attached near the door pillar. This is where the retractor is housed.
There might also be an anchor point near the seat itself. This holds the belt steady.
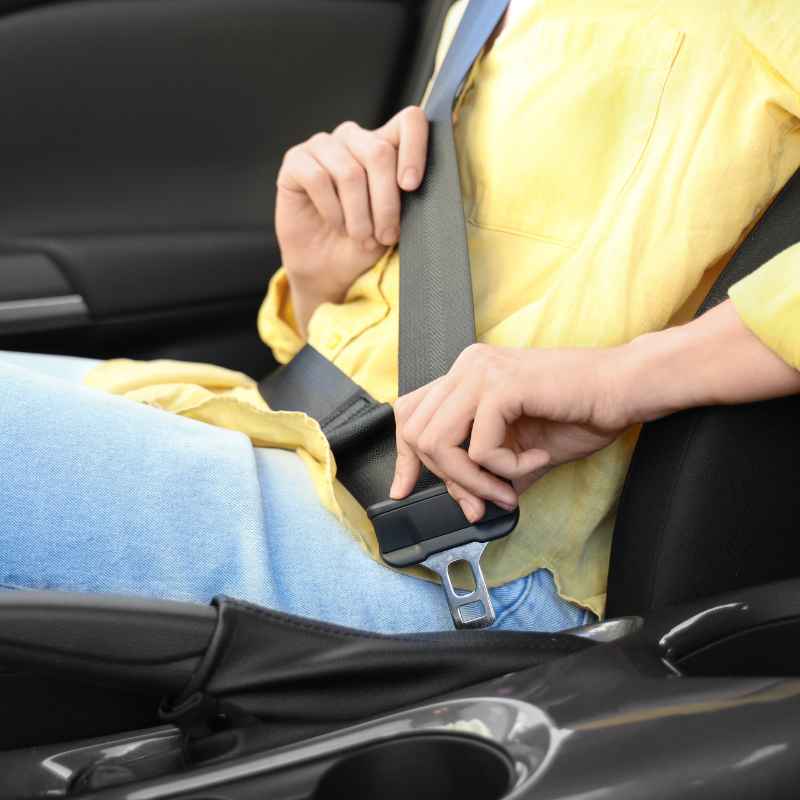
Step 1: Release the Buckle
Press the release button on the buckle. This separates the latch from the buckle. The belt is now free from the clasp.
Let the belt retract fully into its housing. This makes it easier to manage.
Step 2: Access the Retractor
This is often the trickiest part. The seat belt retractor is usually covered by a plastic trim piece. This is on the car’s interior pillar.
You’ll need to carefully remove this trim. Look for screws or clips holding it in place. Often, there are hidden screws.
Sometimes, you just need to gently pry it off. Be patient. Use a plastic trim tool if you have one.
This prevents damage to the plastic. Once the trim is off, you’ll see the retractor mechanism.
Step 3: Detach the Retractor
The retractor is typically held in place by one or more bolts. You’ll need your socket wrench or ratchet for this. Turn the bolt counter-clockwise to loosen it.
Once the bolt is out, you can carefully remove the retractor unit. Make sure to keep the bolt. You’ll need it if you ever put the belt back.
Step 4: Detach Other Anchor Points
There might be other points where the belt is secured. Often, there’s a bolt at the bottom of the seat. This holds the belt in place.
You’ll need to remove this bolt too. Use your wrench. Again, keep the bolt safe.
Step 5: Carefully Remove the Belt
With all anchor points detached, you can now pull the entire seat belt assembly out. Be careful not to snag it on anything. The webbing can be delicate.
If you’re just removing it to work on the car, you can often leave the webbing wound up inside the retractor. If you need to remove the whole unit, then you’ve done it.
It’s really important to note the order of things. If you’re planning to reinstall it, take pictures as you go. This helps remember how it all fits back together.
Also, be mindful of any springs or tensioners within the retractor. They can be powerful. Handle them with care.
Important Safety Note: If your seat belt has been in an accident, do not attempt to remove it unless you are replacing it. The webbing could be weakened. It might not perform safely again.
In such cases, it’s best to have a professional replace the entire seat belt assembly.
Common Seat Belt Components to Identify
Webbing: The strong fabric strap. It’s made to stretch just enough in a crash.
Retractor: The spool where the belt winds. It has the crucial locking mechanism.
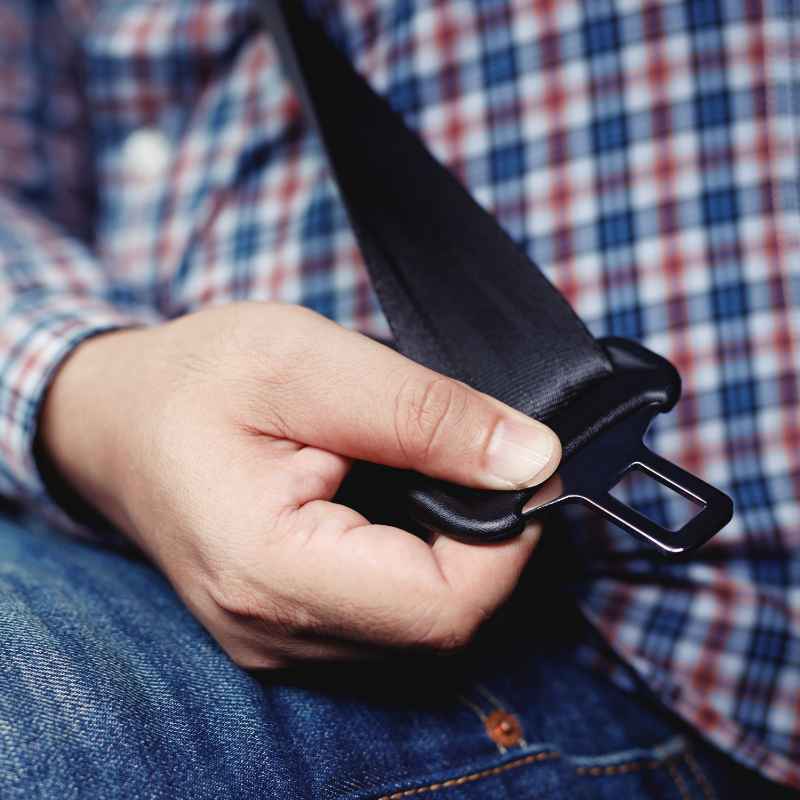
Tongue: The metal or plastic piece attached to the webbing. It slides into the buckle.
Buckle: The female part that the tongue clicks into. It has the release button.
Anchor Points: Bolts that secure the belt system to the car’s frame.
Dealing with a Stuck or Jammed Seat Belt
This is a common frustration. You need to get the belt out, but it won’t budge. A jammed seat belt can happen for a few reasons.
Sometimes, it’s just a bit of dirt or debris. It can get into the locking mechanism. Other times, it might be that the belt is locked in its emergency mode.
This happens if you pulled it out too fast.
If the belt is locked, try this simple trick. Gently pull the belt out a tiny bit. Then, let it retract almost all the way.
Repeat this a few times. It’s like trying to trick the lock. Sometimes, this little bit of movement is enough to release it.
Imagine a stubborn drawer. You jiggle it just right, and it opens.
Another thing to try is to ensure the belt isn’t twisted. A twisted belt can sometimes catch. Try to straighten it out as much as possible.
Then, try to retract it again. Make sure you aren’t pulling on it while trying to retract. Let it do its thing.
If it’s still stuck, look at the retractor itself. Is anything obviously wrong? Is there visible damage?
Is there a lot of dust or gunk around it? If it’s just dirty, you might be able to clean it. Use a slightly damp cloth.
Be careful not to get water into the mechanism. Let it dry completely before trying again.
In some cases, the locking mechanism might be damaged. This can happen after a hard stop or a minor accident. If you suspect damage, it’s probably time for a replacement.
Trying to force a broken mechanism can make it worse. It could also make removal harder.
Quick Check for Stuck Belts
- Gentle Jiggle: Pull the belt out slightly, then let it retract almost fully. Repeat this.
- Untwist: Make sure the webbing is not twisted. Straighten it out.
- Clean the Mechanism: If accessible, gently wipe away dust with a dry or slightly damp cloth.
- Inspect for Damage: Look for any visible signs of wear, fraying, or damage to the webbing or retractor.
- Consult Manual: Check your car’s owner’s manual for specific troubleshooting steps.
If none of these steps work, and you don’t want to risk damaging the system further, it’s best to seek professional help. A mechanic can diagnose the issue. They can either fix it or replace the unit safely.
When to Call a Professional
There are times when removing a seat belt yourself isn’t the best idea. It’s good to know your limits. And it’s even better to know when a professional can help.
The most obvious time is if you’re unsure about the process. Your car’s seat belt system is a safety feature. If you’re not confident in what you’re doing, it’s better to let someone who is handle it.
A mistake could affect the belt’s function later on.
If the seat belt has been in an accident, it’s a big red flag. Even if it looks okay, the webbing might have stretched. The stitching might be stressed.
The locking mechanism could be compromised. A professional can inspect it properly. They can tell you if it needs replacing.
Forcing a worn-out belt out could be risky. You don’t want to damage it further.
You should also call a pro if the retractor is severely damaged. If it’s cracked, bent, or jammed in a way you can’t fix, don’t force it. Some retractors have pre-tensioners.
These are small explosive devices that tighten the belt in a crash. Tampering with these can be dangerous. A professional knows how to handle them safely.
If your car is a classic or a rare model, you might want to use a specialist. They might have specific knowledge of older systems. They can also ensure that any replacement parts are period-correct.
This is important for collectors.
Finally, if you simply don’t have the right tools, it’s better to go to a shop. Trying to use the wrong tools can strip bolts. It can damage the plastic trim.
It might even damage the seat belt components. A mechanic has all the specialized tools needed.
When you call a professional, be clear about what you need. Are you just removing it for a repair? Or do you need it replaced?
This helps them prepare. It also helps them give you an accurate quote. Always look for a mechanic who specializes in automotive safety systems.
This ensures they have the right expertise.
When to Get Expert Help
- Lack of Confidence: If you’re unsure about any step.
- Post-Accident Belts: If the belt was in a crash.
- Visible Damage: If the retractor or webbing is broken.
- Pre-tensioners Involved: If you suspect your car has them.
- Specialty Vehicles: For classic cars or unique models.
- Missing Tools: If you don’t have the correct tools.
Reinstallation of Seat Belts
If you removed the seat belt for a repair or customization, you’ll likely want to put it back. Reinstallation is just as important as removal. It needs to be done correctly for safety.
First, make sure you have all the original parts. This includes the retractor, the buckle, the tongue, and all bolts. Clean any parts that might have gotten dirty during removal.
If you replaced the belt, ensure the new one is the correct type for your vehicle.
Step 1: Reattach Anchor Points
Start with the anchor points. Attach the belt system back to the car’s frame. Use the bolts you removed.
Make sure they are tightened securely. If you removed the retractor from the pillar, re-bolt it first. Ensure it’s facing the right way.
Then attach the other end, usually at the base of the seat.
Step 2: Test the Retractor
Before reattaching the trim, test the retractor. Gently pull the belt webbing out. Does it extend smoothly?
Does it lock when you pull it quickly? Let it retract. Does it wind up properly?
If it doesn’t, something is wrong. You might need to adjust its position or check for obstructions.
Step 3: Reattach the Buckle/Tongue
Connect the tongue to the belt if it was separate. Then, with the belt extended, align the buckle. Ensure it’s securely fastened to its anchor point.
Again, tighten the bolt firmly.
Step 4: Test the Buckle Mechanism
Once everything is bolted down, test the buckle. Does the tongue slide in easily? Does it click securely?
Does it release when you press the button? You should hear a clear click when it engages and disengages. Try it several times.
Step 5: Replace Trim Pieces
Finally, put the plastic trim pieces back in place. Make sure they snap in securely. They protect the internal mechanisms.
They also give the interior a finished look.
Final Safety Check: After reinstallation, perform a thorough test. Sit in the seat. Extend the belt across you.
Clip it into the buckle. Then unbuckle it. Try to pull the belt out quickly.
It should lock. Try to retract it. It should wind up smoothly.
If everything works perfectly, you’re good to go. If anything feels off, it’s time to call a professional.
Seat Belt Reinstallation Checklist
- All Parts Present: Ensure you have the retractor, buckle, tongue, and all bolts.
- Clean Components: Wipe down any parts that may have gotten dirty.
- Secure Anchor Points: Bolt the retractor and buckle firmly to the car’s frame.
- Smooth Retraction: Check that the belt extends and retracts without issue.
- Prompt Locking: Verify the belt locks when pulled out quickly.
- Easy Buckling: Ensure the tongue slides into the buckle smoothly and clicks.
- Secure Release: Confirm the buckle releases with the button press.
- Replace Trim: Snap all interior trim pieces back into place.
Preventing Future Seat Belt Issues
Seat belts are designed to last. But a little care goes a long way. You can help keep yours in good working order.
One of the easiest things you can do is regular cleaning. When you clean your car’s interior, give the seat belts a wipe down. Use a damp cloth with mild soap.
Avoid harsh chemicals. These can weaken the webbing. Always let them dry completely before retracting them.
Avoid sharp objects near the seat belts. Things like keys, pens, or tools can snag or cut the webbing. When you’re loading things into the car, be mindful of the belts.
Don’t let them get caught in doors or windows. This can cause fraying or tears.
Be careful when extending and retracting the belt. Don’t let it snap back aggressively into the retractor. This is called “slamming.” It can damage the locking mechanism over time.
Gently guide it back. This is especially important if you have children. Teach them to be gentle with the belts.
Check for twisting regularly. A twisted belt doesn’t retract well. It can also lead to uneven wear.
If you notice a twist, straighten it out. Don’t force it if it feels stuck.
And, of course, the best prevention is using them correctly. Always wear your seat belt. Make sure it lies flat across your body.
It should be across your chest and hips. This ensures it functions as intended in an emergency.
Finally, if you notice any signs of wear, like fraying edges, loose stitching, or a retractor that’s not working right, don’t ignore it. Address it promptly. It’s much easier to fix a small issue than deal with a major safety failure.
Regular visual checks can catch problems early.
Frequently Asked Questions
Can I remove a seat belt myself if it’s damaged?
If a seat belt is damaged, especially after an accident, it’s best to have a professional remove and replace it. The webbing may be weakened, and the locking mechanism could be compromised. Attempting to remove it yourself might risk further damage or not ensure a safe replacement.
What if the seat belt won’t retract after removal?
If the seat belt won’t retract, it might be jammed. Try gently pulling it out a tiny bit and letting it retract again. Ensure the webbing isn’t twisted.
If it still doesn’t retract, there might be an issue with the locking mechanism or the retractor itself. Professional inspection is recommended.
Are all seat belts removed the same way?
While the general process is similar, the exact location of anchor points and how trim pieces are attached can vary between car models. Always check your vehicle’s owner’s manual for specific instructions related to your car.
How do I know if my seat belt needs replacing?
You should consider replacing your seat belt if the webbing is frayed, cut, or shows signs of wear. Also, if the belt doesn’t retract smoothly, doesn’t lock when pulled fast, or if it was in a vehicle that experienced a significant impact, replacement is usually advised.
Can I modify my seat belts? Like change the color?
Some modifications are possible, such as replacing the webbing with a different color. However, this should only be done by professionals who can ensure the new webbing meets safety standards. Do not attempt to modify the locking mechanism or retractor yourself, as this can compromise safety.
What is a seat belt pre-tensioner?
A pre-tensioner is a small device, often a small explosive charge, that instantly tightens the seat belt in a collision. This removes any slack and secures the occupant more effectively. They are part of modern safety systems and should only be handled by trained professionals.
Conclusion
Removing a car seat belt might seem like a simple task, but it requires care. Understanding the system and following the correct steps ensures safety. Whether you’re doing repairs or dealing with a faulty belt, taking your time is key.
If you’re ever unsure, don’t hesitate to ask for professional help. Keeping your car’s safety features in top shape protects everyone.