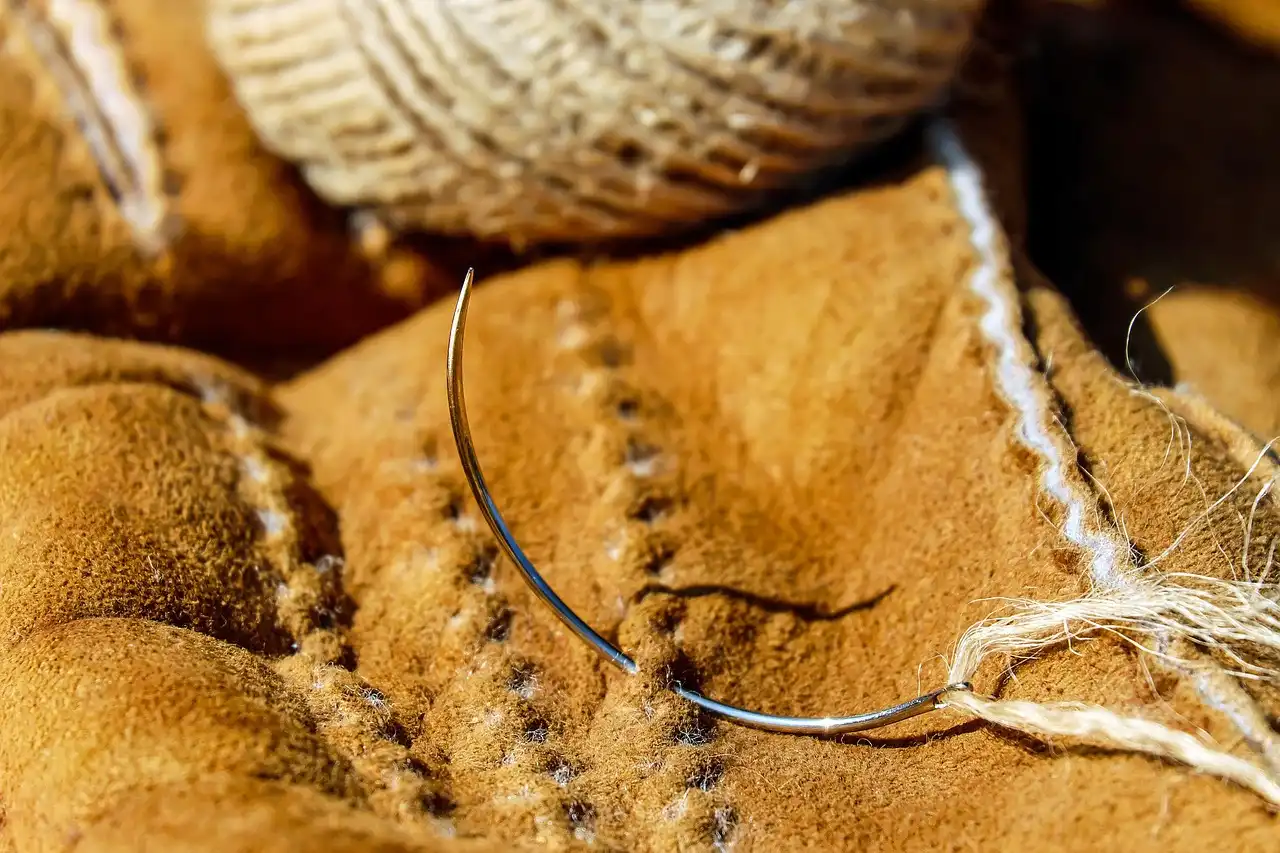
Leather Repair Kit Cost / Price / How Much
Leather repair kits usually cost about $10 to $60; dye and filler kits are commonly used for scuffs and cracks, while full-color kits for larger worn areas can run about $30 to $80, and seats with tears often move into professional-repair pricing quickly. Bad color match, weak filler, or skipped prep can leave the damage more visible and shorten the repair’s life. This guide maps common leather damage to the cheapest kit that can realistically fix it and shows when DIY stops making financial sense.
This guide is part of our Leather car seat care and repair guide series.
Leather repair kit cost basics
Price depends on what the kit is built to fix. A cleaning-focused starter kit can sit under $20, while color kits and filler kits usually cost more because they include tint, patching compound, or multiple applicators. If the damage is only cosmetic, a lower-cost kit can be enough. If material is missing, the job gets more expensive fast.
What a typical kit costs
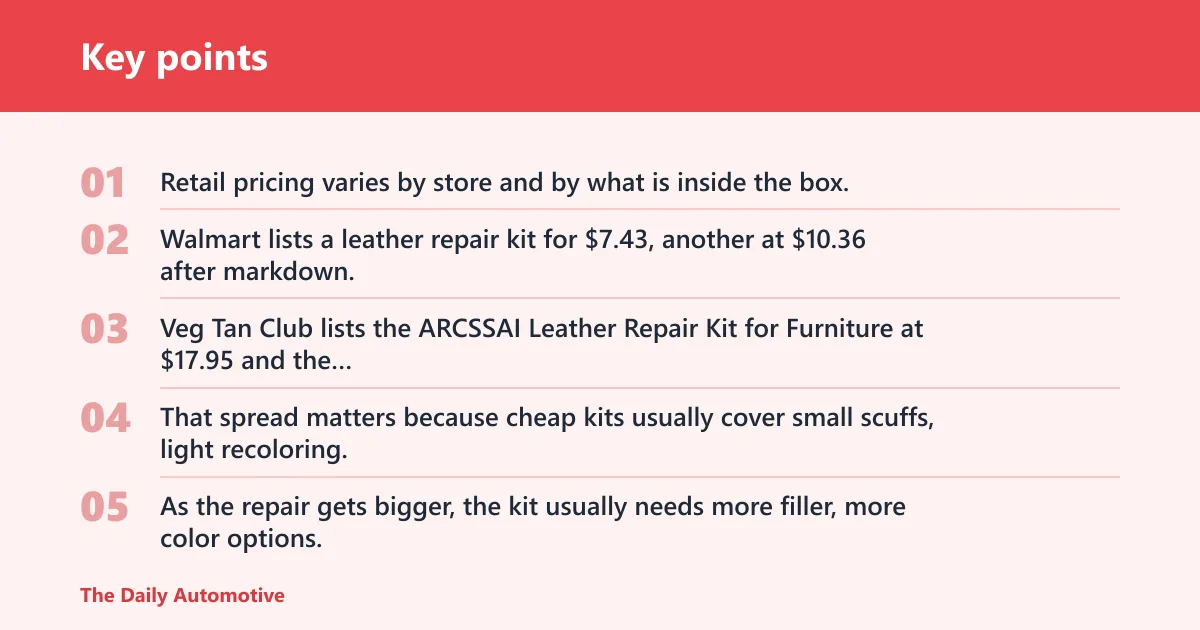
Retail pricing varies by store and by what is inside the box. Walmart lists a leather repair kit for $7.43, another at $10.36 after markdown, a self-adhesive leather repair tape kit at $11.99, and a SEISSO leather repair kit at $13.99. Veg Tan Club lists the ARCSSAI Leather Repair Kit for Furniture at $17.95 and the Coconix Leather & Vinyl Repair Kit at $19.95.
That spread matters because cheap kits usually cover small scuffs, light recoloring, or temporary surface fixes. As the repair gets bigger, the kit usually needs more filler, more color options, or better prep materials. Add-ons can include extra color compound, cleaner, or a second try after a failed match.
What most kits include
Most leather repair kits combine a few common parts: repair compound or filler, a recoloring balm or dye, cloths, brushes, and sometimes color-mixing pieces. Some kits also cover vinyl, which helps on seats and furniture with mixed surfaces. That flexibility is useful, but the label still matters because not every leather kit handles deep damage the same way.
A kit with filler is built for shaping and rebuilding damaged spots. A balm-based kit is built to renew worn color. A cleaner-and-conditioner kit is built for maintenance, not for rebuilding missing material.
Repair kits versus maintenance kits
Repair kits try to correct visible damage. Maintenance kits try to slow new damage. That is the first cost split to remember. A leather care starter kit may cost less than a repair kit, but it is not a fix for tears, holes, or peeling.
Chemical Guys lists a Leather Care Starter Kit at $12.99 and says it “Removes grime to restore clean, fresh leather.” The same brand also lists a New Leather Care Kit at $59.99 and describes one kit as “Everything you need to restore your leather.” Those phrases point to different jobs: one cleans and conditions, the other sits closer to a full-care system.
Which leather damage do you have?
The cheapest workable kit depends on the damage pattern, not just the material name. Fading needs color work. Scuffs and small cracks may need light filler and recoloring. Holes and peeling often need a stronger kit or a pro, because the missing material drives cost up and DIY failure becomes more likely.
Fading and worn color
For faded panels, a leather recoloring balm is often the lowest-cost option that makes sense. It is meant to refresh color on worn areas, not to rebuild torn leather. Wipe-on application is simple, but exact color match still has limits. A balm can even out appearance, yet it will not fix structural damage.
Veg Tan Club prices the FORTIVO Leather Recoloring Balm at $24.89. That is still far below most upholstery labor, which is why balm makes sense when the surface is intact but dull. If the leather is cracking or splitting, balm alone is the wrong tool.
Scuffs, scratches, and small cracks
Light surface damage is where many entry-level repair kits make sense. A filler repair kit can smooth shallow scratches and small cracks, then take color so the repair blends better. This is the point where patience matters more than price, because matching the surrounding shade often takes more than one pass.
For this kind of job, compare the kit cost to the time you will spend on prep, drying, and touch-up. A cheap kit can be worth it if the damaged area is small and you can live with a close match rather than a perfect one. If the crack opens when the seat flexes, the repair is moving beyond surface work.
Holes, peeling, and larger failures
Holes and peeling are the hardest DIY cases. Peel damage usually means the top finish is failing, while holes mean material is missing. A filler kit may improve the look, but repeated flexing can break down the repair. In these cases, the true cost includes extra compound, extra color, and sometimes a second kit.
Leather repair tape or patches can help with small visible damage, especially on furniture, couches, and car seats, but they are usually temporary. They work best when the hole is tiny, the panel does not flex much, and you need a short-term cosmetic cover.
Leather repair cost ladder table
This ladder starts with the cheapest kit type that can still do the job. It also shows when the repair stops making financial sense and a pro becomes the better buy. Add-on costs usually include extra cleaner, extra color compound, practice attempts, and a second patch of material if the first try misses the match.
| Damage type | Cheapest suitable kit type | Typical kit price band | When to stop DIY and pay a pro |
|---|---|---|---|
| Fading | Leather recoloring balm | $20 to $30 | When the color is uneven over a wide panel or the shade mismatch stays obvious after two careful applications |
| Surface scuffs | Basic leather repair kit with color compound | $10 to $20 | When the scuff is broad enough that repeated blending makes the finish look patchy |
| Small cracks | Leather filler repair kit | $15 to $25 | When the crack keeps reopening after drying or the panel flexes enough to split the filler |
| Holes | Filler kit with patch support or repair tape for temporary use | $12 to $25 | When the hole is larger than a small coin or the repair will sit in a high-wear seat bolster |
| Peeling | Color kit plus filler, or a pro repair estimate | $20 to $40 | When the peeling covers a large seat panel or the finish continues lifting after prep and recoloring |
| Maintenance and prevention | Leather care starter kit | Under $20 | When cracking has already started or the surface has lost material |
Say your driver’s seat has a palm-sized faded spot on the outer bolster and no cracks. A recoloring balm is the low-cost starting point. Suppose the same seat has a split that catches when you slide in and out; that moves the job from color refresh to filler work, and the risk of a redo rises fast.
Do you need a balm or filler?
A balm is for worn color. A filler is for missing shape. If the leather is intact but dull, buy the balm first. If the damage catches a fingernail, has a groove, or opens into a crack, step up to a filler kit. Cleaner and conditioner still matter, but they do not solve either problem by themselves.
When recoloring balm is enough
Use a recoloring balm when the surface is faded, scuffed, or patchy but still sound. It is a wipe-on product, which keeps the job simple. The tradeoff is color-match sensitivity: a close match can still look off under bright light, and a dark panel may need more than one pass.
This makes balm a reasonable low-cost buy for trim that looks tired but is not broken. It is not the right answer for peeling, tears, or holes.
When a filler kit is the better buy
A filler repair kit is the better choice when damage has depth. That includes cracks, scratches that have gone through the finish, and small holes. These kits usually include color-mixing compounds, which helps with blending after the damaged area is rebuilt.
They also ask for more patience. Surface prep, drying time, and the final color layer all matter. If you rush the steps, the patch can stand out more than the original damage.
Where cleaner and conditioner fit
Cleaner and conditioner fit into maintenance. Cleaner removes dirt and oils before a repair or before regular conditioning. Conditioner helps hydrate the leather and slow future cracking. They are useful, but they are not a fix for holes, tears, or peeling finish.
The same source says the Leather Care Starter Kit “Removes grime to restore clean, fresh leather,” and describes the conditioner as “Deeply hydrates and revives leather.” That is the right role for these products: prep and prevention, not structural repair.
Must-have kit items
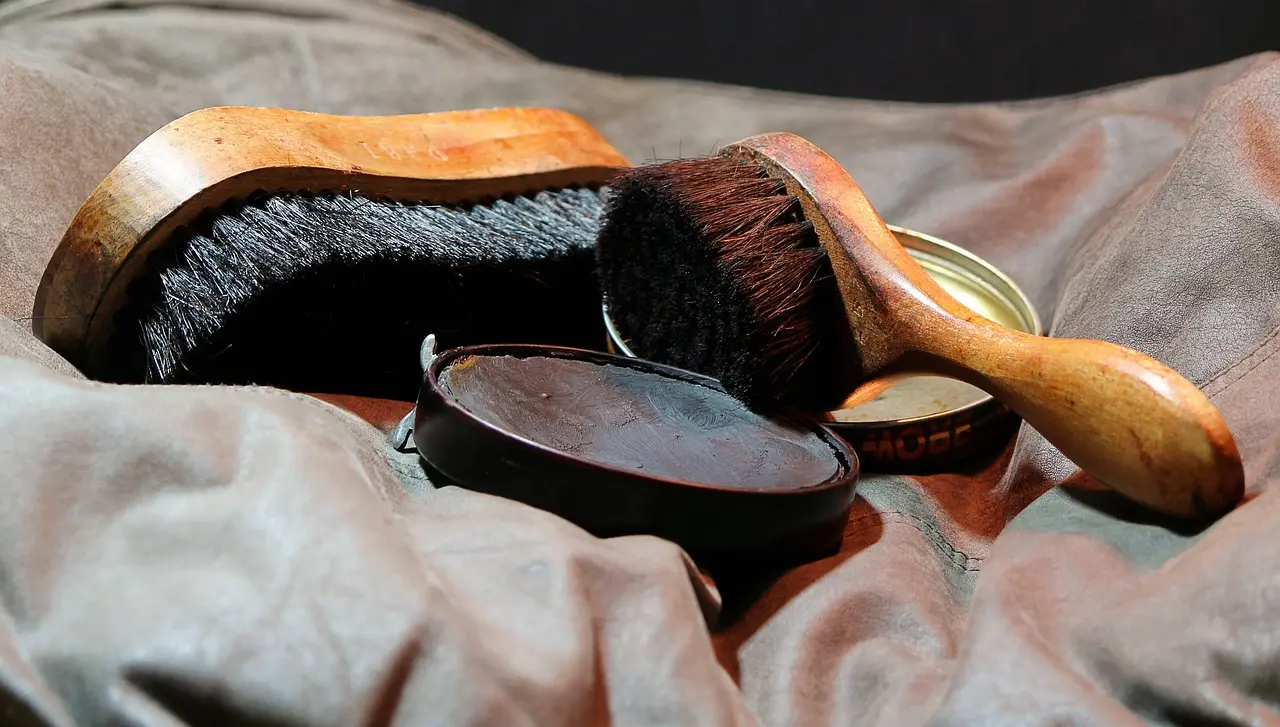
The three must-haves are cleaner, a color product, and applicators or prep cloths. Without cleaner, dirt can block adhesion and color blending. Without the right color product, the repair can look obvious. Without cloths and applicators, the finish is harder to control and more likely to streak.
Cleaner

The COCONIX Black Leather & Vinyl Repair Kit is built as an all-in-one repair product, but the bigger lesson is that prep still matters. A true cleaner clears away skin oils and grime before color work. The drawback is that black-only kits can be too narrow if your interior is tan, gray, or burgundy.

Vigorder’s black leather repair kit is priced as an inexpensive entry point, and its fast-drying adhesive can help with small cuts and holes. The drawback is the same low-cost limit many black-only kits share: color match is easier on black surfaces, but not on anything brighter or more complex.
Color compound or balm

Fiebing’s Pro Dye Black is a dye, not a general patch compound, so it fits color refresh work better than structural repair. Its strength is a permanent finish that resists fading, but the drawback is obvious: it is black, and it is not built to fill holes or rebuild torn leather.
The COCONIX kit includes color matching for light to dark shades, which makes it more flexible than a single-shade balm. The drawback is that “all-in-one” repair kits still depend on careful prep and careful blending; a mismatch can still show on textured seats.
Applicators and prep cloths

Besezx’s self-adhesive repair tape kit is a temporary surface fix that can help hide visible damage without heat. The drawback is longevity: tape is better for quick cover-ups than for permanent restoration, and the edges can become noticeable on high-wear seats.
It is also one of the clearest examples of a patch-style product. That makes it useful for furniture, couches, and car seats when the goal is a fast cosmetic cover, but it is still a compromise if the damage is deep or the panel flexes often.
When should you pay a pro?
Pay a pro when the seat has peeled, the cracks are deep enough to keep reopening, or your color match has failed more than once. Professional upholstery repair costs more up front, but repeated DIY attempts can eat through the savings quickly, especially on large seat panels.
Peeling seat panels
Peeling is the point where a pro often makes better financial sense. A peeling panel usually means the surface finish is separating over a wide area, not just in one spot. A DIY kit can slow the look of damage, but it rarely stops the underlying failure for long.
On a seat you use every day, a low-cost repair that fails in a month is a false saving. The better comparison is not kit price alone, but kit price plus repeat work plus the chance the panel still looks damaged.
Deep cracks and holes
Deep cracks and holes are more expensive to DIY because they need buildup, not just color. That means more filler, more sanding or smoothing, and more blending. If the hole is in a side bolster or another flex point, the repair may not hold up well enough to justify the effort.
Picture a common first-timer mistake: a small seat hole gets patched with a bargain kit, but the surrounding leather keeps flexing and the repair edge becomes visible within days. At that point, the money spent on extra compound and touch-up could have gone toward a pro estimate instead.
Repeated failed color matches
Color matching is where many DIY jobs lose money. If you have already bought a second balm, a second filler, or a second bottle of tint, the “cheap repair” may no longer be cheap. Repeated mismatch usually means the color is too complex for the kit, or the surface prep is wrong.
That is the moment to stop. A pro can often blend and refinish in one pass, while repeated at-home attempts can leave a larger area that now needs correction.
Budget setups
These setups match cost to job size. They are not the same as product rankings. The point is to buy the least expensive setup that can still handle the damage without forcing you into a second purchase.
| Setup | Best for | Likely products | Cost signal |
|---|---|---|---|
| Starter | Fading, light scuffs, prevention | Chemical Guys Leather Care Starter Kit; leather care cleaner and conditioner | Under $20; Chemical Guys lists $12.99 |
| Mid | Small cracks, worn color, small repairs | Walmart-style repair kit, SEISSO kit, FORTIVO balm | $10 to $25; includes options such as $13.99, $17.95, and $24.89 |
| Serious | Holes, peeling, larger worn panels | COCONIX Leather & Vinyl Repair Kit; higher-end multi-step kits | $15.94 to $19.95, plus possible extra color or practice materials |
Frequently asked questions
How much does a leather repair kit cost?
Most leather repair kits land between about $10 and $60, depending on whether they are for simple recoloring, filler work, or full cleaning and restoration. The same source lists examples from $7.43 to $13.99, while Veg Tan Club lists options from $17.95 to $32.98. Larger kits and broader color systems cost more.
What is the price range for leather repair kits?
The practical price range is broad because the job types are different. Basic cleaning kits can sit under $20. Recoloring balms and filler kits usually land in the middle. Full repair systems and stronger color-matching kits can move toward $30 or more, especially if they are meant for larger worn areas.
Is a cheap leather repair kit worth it?
A cheap kit is worth it when the damage is small, the color is simple, and you are willing to accept a close match instead of a perfect one. It is less worth it when the seat is peeling, the crack is deep, or you need a repair that will survive heavy flexing.
What comes in a leather repair kit?
Most kits include some mix of repair compound or filler, colorant or balm, brushes, cloths, and sometimes mixing pieces. Some also include vinyl-compatible parts. The exact contents matter because a cleaner-and-conditioner set is a maintenance tool, while a filler kit is built for repair and a balm kit is built for recoloring.
How much does leather seat repair cost versus a repair kit?
A repair kit is usually the lower-cost choice, often ranging from about $10 to $60 depending on type. Professional leather seat repair costs more because you are paying for labor, color matching, and finishing. Once the seat is peeling or has a large tear, the pro option can become the better value.
Can a leather repair kit fix peeling seats?
Sometimes it can improve the look, but peeling seats are the least reliable DIY case. A kit may cover the damaged finish for a while, yet the underlying failure often keeps spreading. If the peeling is broad or on a high-wear panel, a professional repair is usually the safer choice.
Products related to this article
Sponsored / affiliate links. As an Amazon Associate I earn from qualifying purchases. I may earn additional commission from eligible campaigns.
 Leather Repair Kit with Repair Gel, Professional Leather Filler for Furniture, Car Seats, Shoes, Bags, Vinyl Repairing for Scratches and Cracks, 20ml, BrownHome Decor
 Self Adhesive Leather Repair Patch, Leather Patches for Furniture, Leather Repair Tape for Couch Sofa Car Seat Chair Furniture Repair, Leather Repair Kit (Dark Brown-Litchi Grain, 3.5X60 Inch)