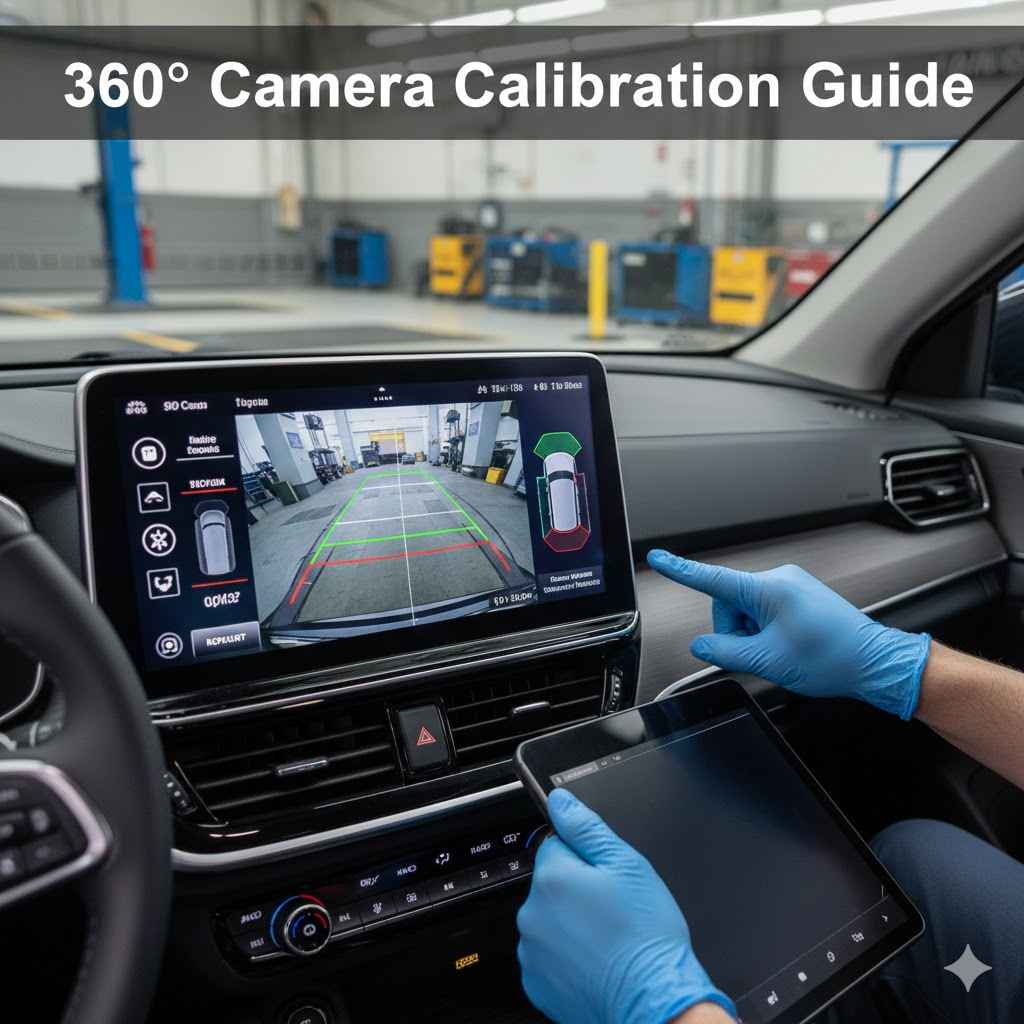
Replace Rear View Camera: 360 Alignment Guide
Trying to replace your car’s rear view camera can feel a bit tricky, especially when you want everything to line up just right for that perfect 360-degree view. It’s like putting a puzzle together, and for folks new to car projects, it might seem like a big job. But don’t worry!
This guide will walk you through it step by step. We’ll make it super simple to Replace Rear View Camera: 360° Alignment Guide. Get ready to learn an easy way to get your camera working perfectly.
Why Proper Rear View Camera Alignment Matters
Getting your rear view camera aligned correctly is super important for safety and convenience. A well-aligned camera gives you a clear, wide view of what’s behind and around your car. This helps you avoid bumping into things when parking or backing up.
When the camera is off just a little, the picture might look tilted or cut off, making it hard to judge distances accurately. This guide will show you how to ensure your new camera shows you everything just as it should.
The Importance of a Wide Field of View
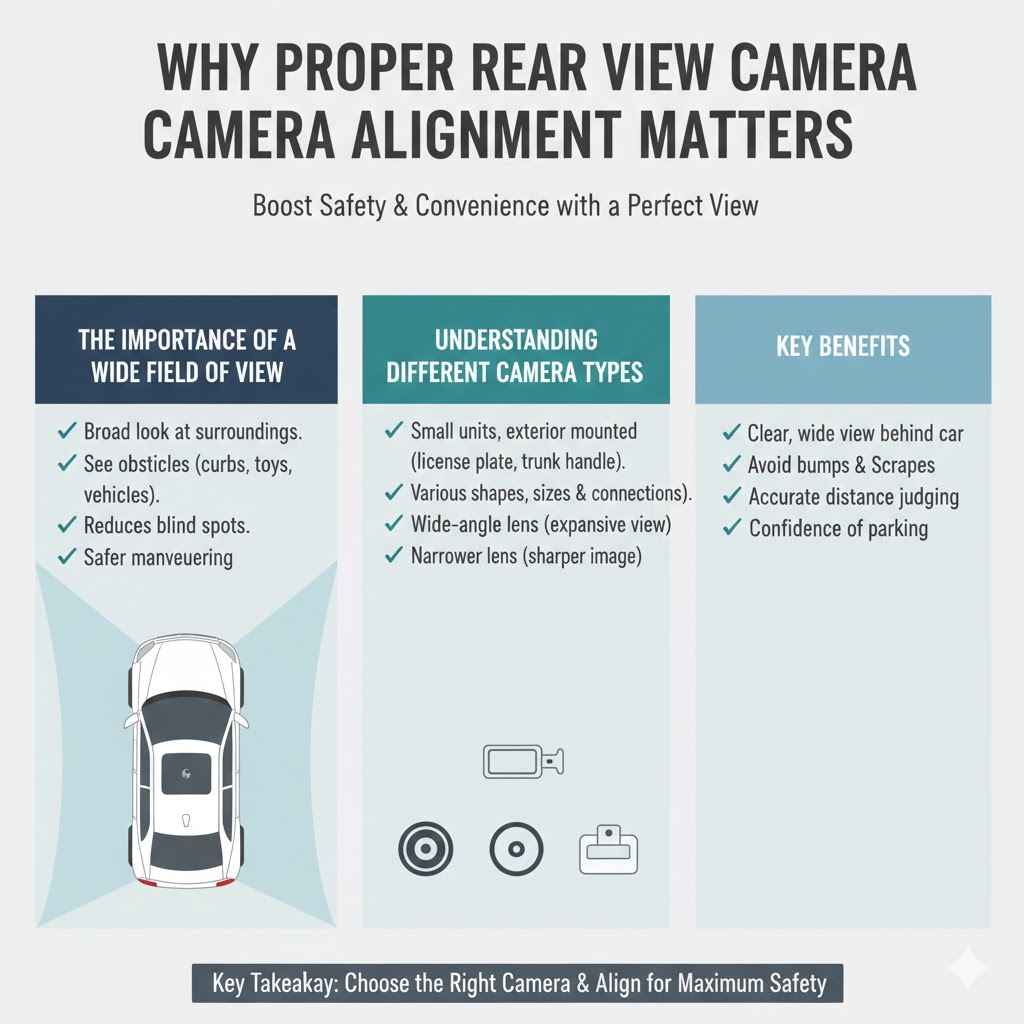
Your car’s rear view camera is designed to give you a broad look at your surroundings. This wide field of view is key to seeing obstacles that might be to the sides or just out of direct sight. When the camera is properly aligned, you get the full benefit of this design.
You can spot that low curb, a child’s toy, or even another vehicle approaching from an angle. It’s like having eyes all around your car.
A camera with a good field of view helps you see more of what’s happening. This reduces blind spots, which are areas around your vehicle that you can’t see directly. Minimizing blind spots is a huge safety win.
It means less chance of an accident when you’re maneuvering your car. Think about busy parking lots where many cars and people are moving around. A clear, wide view is your best friend there.
For example, when you’re backing into a tight parking spot, a wide view lets you see both the lines of the spot and any cars parked nearby. You can adjust your steering with confidence, knowing you won’t scrape a bumper. This capability is why so many modern cars now come with these cameras standard.
Understanding Different Camera Types
There are a few common types of rear view cameras you might encounter. Most are small units that mount on the outside of your car, often near the license plate. Some are designed to replace your existing license plate light or fit into a pre-drilled hole.
Others might be integrated into a trunk handle or bumper.
The main differences between them are their shape, size, and how they connect. Some have a wide-angle lens, giving you that expansive view we talked about. Others might offer a slightly narrower view but provide a sharper image.
When you’re looking to replace your camera, consider what you need most: a super wide view or a very clear picture.
Many aftermarket cameras also come with different mounting brackets. This is so they can fit a variety of car models. The connection cable is usually a standard type that plugs into a display unit inside your car, like your infotainment screen or a separate monitor.
Choosing the right type ensures it will fit your car and provide the view you want. It’s like picking the right tool for the job. If you’re aiming for that 360° alignment, you’ll want a camera known for its wide angle.
Steps to Replace Rear View Camera 360 Alignment Guide
Replacing your car’s rear view camera and making sure it’s perfectly aligned for a 360-degree view can seem like a big project. But breaking it down into steps makes it totally manageable. We’ll cover everything from gathering your tools to making sure the final picture is exactly right.
Follow these steps, and you’ll have your new camera working like a charm, giving you that confidence when you back up.
Gathering Your Tools and Parts
Before you start, it’s important to have everything you need ready. This saves you time and frustration later. For this job, you’ll want a set of basic car tools.
This includes screwdrivers (Philips and flathead), a socket set, and possibly a trim removal tool kit. This last one is great for safely popping off plastic panels without scratching them.
You’ll also need your new rear view camera. Make sure it’s compatible with your car’s make and model. It’s a good idea to buy a camera that’s known for its wide-angle view if you’re aiming for that 360-degree coverage.
Check if the camera comes with all the necessary cables and mounting hardware. Sometimes, you might need extra wiring or connectors, so it’s worth confirming.
Other helpful items include electrical tape, zip ties for tidy cable management, and possibly a test light or multimeter to check for power. Having a flashlight or work light is also very useful, especially if you’re working in a dimly lit garage. Having your car’s repair manual handy can also offer specific details about your vehicle’s trim removal or wiring.
Removing the Old Camera
The first step in replacing your camera is to carefully remove the old one. This usually involves accessing the area where the camera is mounted. For most cars, this means opening the trunk or tailgate.
You might need to remove interior trim panels to get to the camera’s wiring and mounting points.
Once you can see the camera, look for how it’s attached. It’s often held in place by screws or clips. Gently loosen any screws and then use a trim tool to carefully pry away any clips.
Be patient and don’t force anything, as you don’t want to damage your car’s bodywork or trim. You may need to disconnect the camera’s cable from its wiring harness. This connector is usually a small plug.
Press the tab and pull gently.
Take a moment to note how the old camera was positioned and wired. This information will be helpful when installing the new one. Sometimes, the old camera might be sealed with adhesive or a rubber gasket.
If so, you might need a plastic scraper to carefully break the seal. The goal is to remove it without damaging the surrounding area.
Installing the New Camera
Now comes the exciting part: installing your new rear view camera. If your new camera came with a specific bracket, attach it first. Then, position the camera in the spot where the old one was.
Many cameras are designed to fit into the same space, making this much easier. If you’re drilling new holes, do so carefully and ensure they are the right size and location.
Once the camera is in place, secure it using the provided screws or clips. Make sure it’s snug but don’t overtighten. Next, you’ll need to route the new camera’s cable.
Follow the path of the old cable if possible, or find a safe route through the car’s bodywork. Avoid areas where the cable could be pinched or rubbed. You might need to tuck the cable under trim panels or through existing grommets.
Connect the new camera’s cable to your car’s wiring harness. This connector should match the one from your old camera or the one specified for your display unit. If you’re unsure, refer to your new camera’s manual or your car’s wiring diagrams.
Once connected, you can reassemble any trim panels you removed. Ensure all clips snap back into place.
Testing and Adjusting for 360° Alignment
After installation, it’s time to test your new camera. Turn on your car’s ignition and put it in reverse. Your display should show the camera’s feed.
At first, the image might not be perfect. You may need to make small adjustments to get the alignment just right for that optimal 360-degree view.
Look closely at the image on your screen. Does it show a balanced view of both sides of your car? Is the ground level, or does it appear tilted?
If it’s tilted, you might need to slightly adjust the camera’s angle. Many cameras have a ball-and-socket joint or a swivel mount that allows for fine-tuning. Make tiny adjustments, check the screen, and repeat until you’re happy with the view.
This process is crucial for achieving the perfect 360° alignment.
Sometimes, the camera itself might have adjustable settings within your car’s infotainment system. Explore your car’s display menus to see if there are options for adjusting grid lines, brightness, contrast, or even the perspective. These settings can further refine the image.
A good alignment means you can see all around your car with ease.
Here’s a quick scenario: You install the camera and the left side of the screen shows a lot of the side of your car, but the right side is cut off. To fix this, you would slightly turn the camera to the right. Then check the screen again.
You keep making these small turns until both sides of your car are equally visible on the screen.
Advanced Tips for Camera Performance
Once your camera is installed and aligned, you might want to explore ways to ensure it performs its best. This includes keeping it clean and looking at how different lighting conditions affect the image. Good performance means a reliable view every time you need it.
Maintaining Camera Cleanliness
The lens of your rear view camera can get dirty from road grime, rain, and dust. A dirty lens will produce a blurry or obscured image, defeating the purpose of having a good camera. Regularly cleaning the lens is one of the simplest yet most effective ways to ensure your camera works well.
Use a soft, lint-free cloth to wipe the lens. You can use a bit of water or a gentle glass cleaner. Avoid harsh chemicals or abrasive materials, as these can scratch the lens.
A quick wipe before you start driving, especially after driving in wet or dusty conditions, can make a big difference. Some people even use a small amount of automotive wax on the lens to help repel water and dirt.
Consider where your camera is mounted. If it’s in a spot prone to splashing from the tires, it will likely get dirty more often. You might need to clean it more frequently than if it were mounted in a more protected area.
Keeping it clean ensures you always have a clear view of your surroundings.
Dealing with Low Light and Night Vision
Many modern rear view cameras come with built-in night vision features. These often use infrared (IR) LEDs to illuminate the area behind your car without you seeing a bright light. This allows the camera to capture a clearer image even in complete darkness.
The effectiveness of night vision can vary between camera models. Some will produce a black-and-white image, while others may offer a low-light color image. When you’re backing up at night, pay attention to how well your camera performs.
If the image is too dark or noisy, it might be a limitation of the camera.
Some car systems allow you to adjust display settings for low light. You might be able to increase the brightness or contrast of the camera feed. If your camera has IR LEDs, make sure they aren’t blocked by any debris.
These small lights are key to seeing in the dark. For optimal 360° alignment at night, you need these features to work well.
A common scenario is backing out of a driveway at night. Without good night vision, you might not see a pet or a person walking behind your car. A camera with effective IR LEDs will make these obstacles visible, often showing them as white shapes against a dark background.
Troubleshooting Common Issues
Occasionally, you might run into problems with your rear view camera. One common issue is a blank screen when you put the car in reverse. This could be due to a loose connection, a faulty cable, or a problem with the camera itself.
First, re-check all the cable connections, both at the camera end and at the display unit. Make sure they are securely plugged in. If you can, use a test light or multimeter to check if power is reaching the camera.
If there’s no power, the issue might be with your car’s wiring or a blown fuse.
Another issue could be a distorted or flickering image. This can sometimes be caused by interference from other electronic devices in the car. Ensure that all connections are properly shielded and grounded.
If the problem persists, the camera itself might be defective, and you may need to consider replacing it.
Water getting inside the camera housing is also a possibility. This can cause fogging or corrosion. Check the seals and mounting points to ensure they are watertight.
If you find moisture inside, carefully dry it out and try to seal any gaps with a waterproof sealant. Sometimes, replacing the camera is the easiest solution if it’s damaged.
Benefits of a Properly Aligned 360° Camera System
Having a rear view camera system that is properly installed and aligned offers many advantages. It’s not just about seeing behind you; it’s about making driving safer and less stressful. A good system can truly change how you interact with your car.
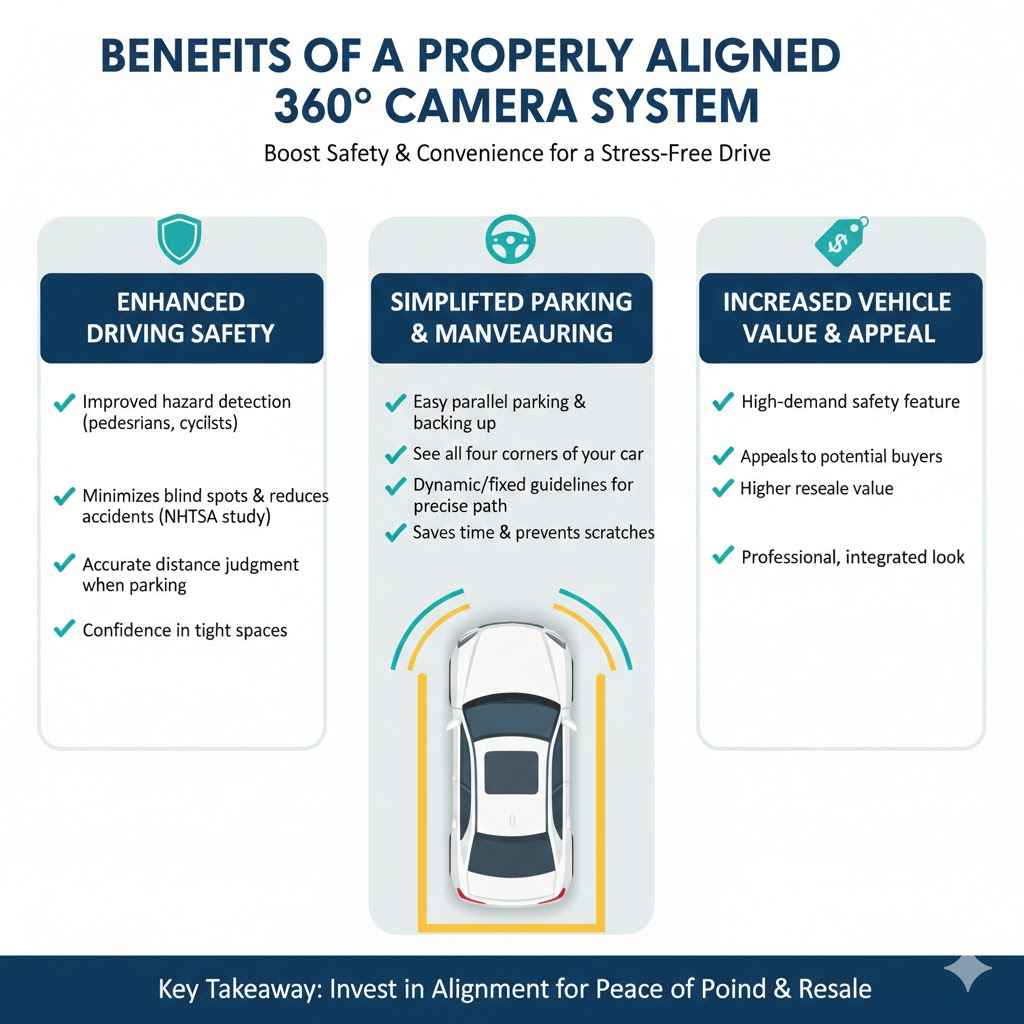
Enhanced Driving Safety
The most significant benefit is improved driving safety. With a clear, wide view, you can better detect hazards like pedestrians, cyclists, and other vehicles. This is especially true in crowded areas or when visibility is poor.
The 360° alignment ensures that you get the most comprehensive view possible, minimizing blind spots and reducing the risk of accidents.
For instance, a study by the National Highway Traffic Safety Administration (NHTSA) found that rear view cameras can significantly reduce backover incidents. Between 2010 and 2018, the agency estimated that backup cameras saved hundreds of lives and prevented thousands of injuries. This highlights the critical role of a functioning and well-aligned camera system.
When parking, a good camera system allows you to judge distances more accurately. You can position your car precisely within parking lines without the risk of hitting nearby cars or obstacles. This confidence in maneuvering reduces stress, especially for new drivers or those parking in challenging spots.
Simplified Parking and Maneuvering
Parking can be a hassle for many drivers. A properly aligned rear view camera turns this chore into a simple task. You can easily see all four corners of your car in relation to surrounding objects.
This makes parallel parking, backing into tight spaces, and navigating busy parking lots much easier.
Consider a scenario where you need to back into a narrow driveway with a car parked close on one side. With a well-aligned camera showing you the full width of your vehicle and the obstacles, you can make precise steering adjustments. You won’t have to constantly get out of your car to check distances.
This saves time and prevents dings or scratches.
Many modern camera systems also include dynamic or fixed guidelines. These lines, displayed on your screen, show you the projected path of your vehicle. When combined with a clear camera image, these guides are incredibly helpful for accurate maneuvering.
The 360° alignment ensures these guidelines are as useful as possible, reflecting the true space around your car.
Increased Vehicle Value and Appeal
A functional and well-integrated camera system can add to your car’s overall appeal and value. Many buyers look for modern safety features when purchasing a vehicle. A high-quality rear view camera, especially one offering a wide, clear view, is a desirable feature.
If you’re looking to sell your car, having a working camera system can be a selling point. It shows that the car has been well-maintained and equipped with useful technology. This can make your vehicle stand out from others on the market and potentially fetch a higher price.
It’s an investment in both safety and the long-term value of your car.
Furthermore, when a camera system is seamlessly integrated into the car’s design, it looks professional and adds to the overall aesthetic. This attention to detail can impress potential buyers. It suggests a higher standard of care for the vehicle.
Frequently Asked Questions
Question: How do I know if my rear view camera needs replacing?
Answer: You might need to replace your rear view camera if the image is blurry, distorted, shows no picture at all, or if there are visible cracks or damage to the lens. If it’s not giving you a clear view, it’s time for a change.
Question: Can I use an aftermarket camera if my car didn’t come with one?
Answer: Yes, absolutely. Many aftermarket rear view cameras are available that can be installed on cars that didn’t originally have them. You’ll just need to ensure it’s compatible with your car’s display system.
Question: What does 360° alignment mean for a rear view camera?
Answer: It means the camera is positioned and adjusted so that the image it displays gives you the widest possible and most accurate view of everything around your car, minimizing blind spots and making it easy to see all sides.
Question: Do I need special tools to replace a rear view camera?
Answer: You’ll need basic car tools like screwdrivers and possibly a trim removal kit. Some specific car models might require unique tools, but generally, it’s a job that can be done with a standard toolkit.
Question: How long does it typically take to replace a rear view camera?
Answer: For someone with basic DIY experience, replacing a rear view camera usually takes about 1 to 3 hours. The time can vary depending on the car model and how easily you can access the camera and its wiring.
Summary
Replacing your rear view camera for a perfect 360° alignment is achievable. This guide provided simple steps to remove the old unit, install a new one, and fine-tune the view. By following these instructions and tips, you ensure optimal safety and ease when driving.
Enjoy your clear, wide view.