Hand Painting a Car: Brush Technique, Real Costs and Touch-Up Guide
Hand painting a car means applying automotive paint by hand instead of using a spray gun — either brushing a full coat of paint over the whole body, or dabbing color-matched touch-up paint onto a single chip or scratch with a small pen or brush. Both are real, well-documented DIY methods, and both can look genuinely good if you follow the right steps.
A full brush-painted respray can cost as little as $100 to $300 in materials, compared to $3,000 to $5,000 for a mid-range shop repaint. A touch-up pen for a single chip costs under $20 and takes about 15 minutes. The gap between “looks fine” and “looks like a mess” comes down almost entirely to prep work and patience, not raw painting talent.
This guide covers both approaches: how to brush-paint an entire car step by step, realistic cost breakdowns for DIY versus professional work, how to pick the right paint type, using touch-up paint for small chips and scratches, common mistakes that ruin a hand-painted finish, and the safety gear you actually need before opening a can.
Full Respray or Touch-Up? Two Different Jobs
“Hand painting a car” covers two very different projects, and it matters which one you actually need before you buy anything.
- Full hand-painting (brush or roller): Covers the entire body in a new color using a brush, foam roller, or a combination of both. This makes the most sense for budget project cars, off-road rigs, farm trucks, or classic cars where a showroom-perfect finish isn’t the goal — just solid rust protection and a fresh color at a fraction of shop pricing.
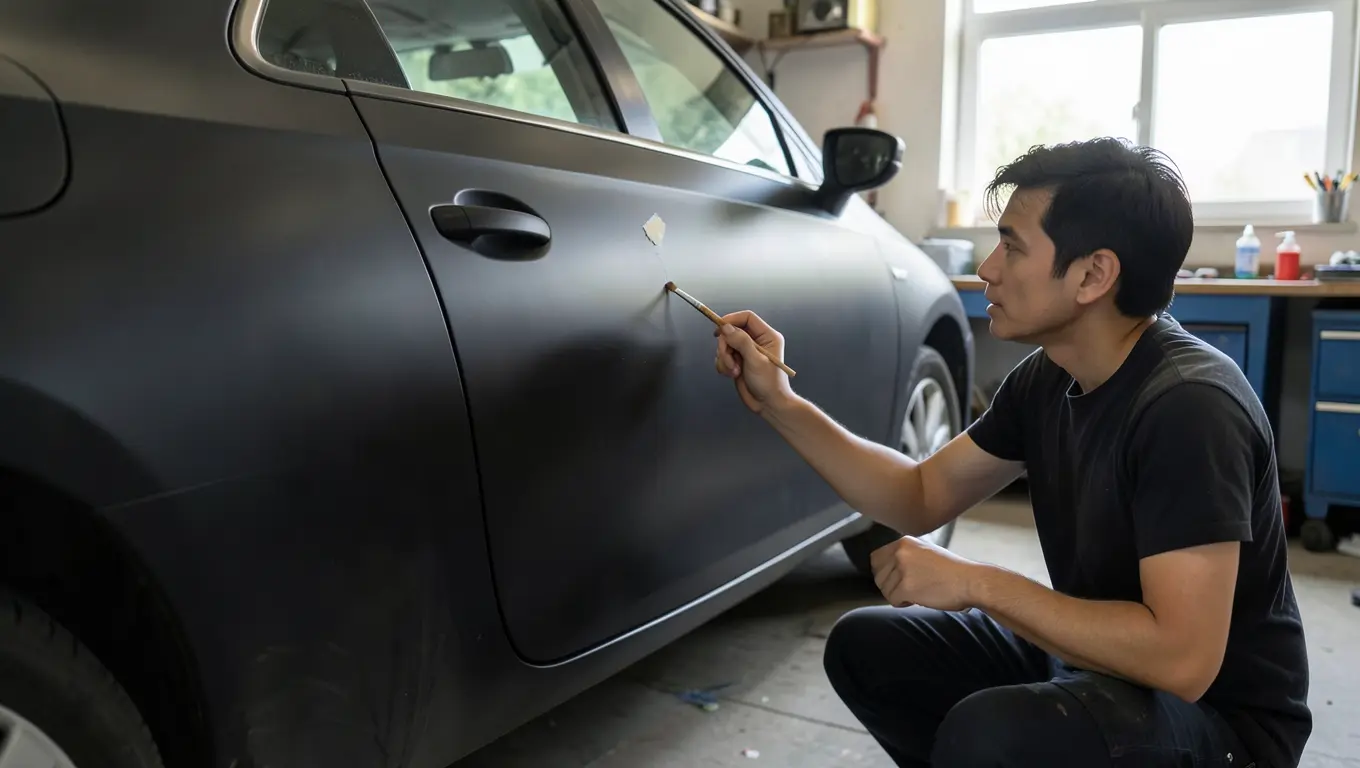
- Touch-up paint (pen or fine brush): Fixes a single chip or scratch on an otherwise good factory finish. The goal here is an invisible repair, so color-matched paint sold by your car’s exact factory paint code matters more than technique. All-in-one touch-up pens combine the color coat and clear coat in a single applicator, which cuts out an entire step compared to painting the chip and clear-coating it separately.
If you’re trying to decide which one applies to you: if more than a few square feet of your car needs new paint, you’re doing a full hand-painted respray (next two sections). If you’re covering a rock chip, door-ding scratch, or a scuff down to bare metal, skip ahead to the touch-up paint section below.
All-in-One Touch-Up Pick
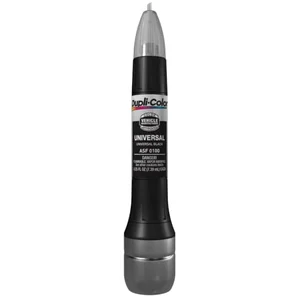 |
Dupli-Color Scratch Fix All-in-1 Touch Up Paint – $18.75 This is the all-in-one pen style covered in the touch-up section below — it combines color-matched paint and clear coat in a single application, so there is no separate clear-coat step.
|
Can You Really Paint an Entire Car With a Brush?
Yes — brush painting a whole vehicle is a real, long-used technique, not an internet myth. Enamel-based automotive paints are formulated to level out as they dry, which is what lets brush strokes flatten into a reasonably smooth surface instead of staying visibly ridged. It’s been used for decades on farm equipment, boats, off-road trucks, and classic-car restorations by people who wanted rust protection and a solid color without spray equipment or a paint booth.
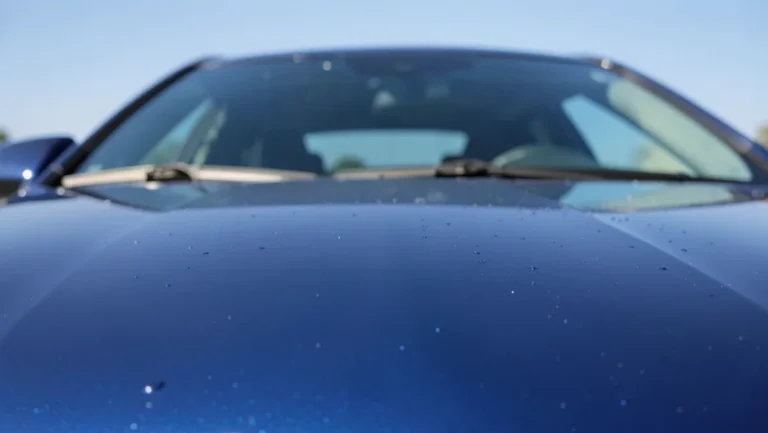
Set your expectations correctly: up close, in direct sunlight, you will usually see some texture from the brush strokes — a slightly wavy, orange-peel-like surface rather than the mirror-flat finish of a spray booth. From a few feet away, a well-prepped and well-executed brush job reads as a solid, uniform color. It’s a genuinely defensible choice for a beater, a work truck, or a project car — it’s a much harder sell for a daily driver you plan to sell for top dollar.
How to Hand Paint a Car Step by Step
- Wash and degrease the whole body. Any wax, grease, or road grime left on the surface will keep the new paint from bonding properly and can cause it to peel later.
- Sand the existing paint. Use 180 to 220 grit to knock down gloss and rust spots, then feather the edges of any bare or repaired areas with 320 grit so they blend into the surrounding paint instead of leaving a visible ridge.
- Mask everything you’re not painting. Trim, glass, lights, mirrors, wheels, and door seals all need painter’s tape and masking paper — overspray and brush drips find their way into gaps you didn’t think to cover.
- Apply primer and let it cure fully. Primer gives the topcoat something consistent to bite into and blocks stains or rust from bleeding through. Follow the label’s cure time before moving on — rushing this step is one of the most common causes of peeling later.
- Apply the color coat in thin, overlapping strokes. Thin the paint slightly per the manufacturer’s instructions and lay down two to three light coats instead of one heavy one. Thick, single coats are what cause sags and drips — thin coats build color gradually and level out far better.
- Let each coat tack-dry before the next. Most enamel paints need roughly 30 minutes to a few hours between coats depending on temperature and humidity — check the can’s label rather than guessing.
- Wet-sand between coats if needed. If dust or minor texture shows up between coats, a light pass with 600 to 800 grit wet sandpaper smooths it out before the next layer goes on.
- Apply clear coat for protection. Two to three light coats of clear over the color coat add UV resistance, depth, and gloss, and make the final color far more durable against sun fading and washing.
- Let it cure fully before waxing or driving in rain. Most automotive paints are tack-free within about 24 hours but need roughly 7 to 14 days to fully cure. Waxing or heavy rain exposure before that can trap moisture or soften the still-curing finish.
How Much Does It Cost to Hand Paint a Car?
DIY hand painting is dramatically cheaper than shop work, but the cost gap tracks pretty closely with the quality gap. Here’s how the realistic options compare in 2026 pricing:
| Method | Typical Cost | What You Actually Get |
|---|---|---|
| DIY brush or rattle can | $100 – $300 | Basic driver-quality color; visible brush texture or orange peel up close is normal |
| DIY HVLP gun + compressor | $500 – $1,500 | Noticeably smoother finish with practice; near-shop quality is achievable |
| Budget chain body shop | $500 – $1,500 | Fast turnaround, single-stage paint, minimal prep — best for a quick, uniform color change |
| Mid-range independent shop | $3,000 – $5,000 | Basecoat/clearcoat system, proper factory color match, real surface prep |
| High-end specialist shop | $5,000 – $10,000+ | Show-quality finish, full disassembly, multi-stage or custom paint |
Paint itself is also priced in tiers: basic single-color enamel runs roughly $35 to $55 a gallon, standard automotive-grade paint runs $75 to $100 a gallon, and custom metallic or pearl finishes can run several hundred dollars a gallon. A typical full-size sedan needs one to two gallons of color plus a gallon of clear coat for full coverage.
Using Touch-Up Paint for Chips and Scratches
If you’re only dealing with a rock chip, a door-ding scratch, or a scuff that’s gone through to bare metal, don’t repaint the whole panel — use touch-up paint matched to your car’s exact factory color code instead. That code is usually on a sticker in the driver’s door jamb, though some brands print it inside the glovebox, trunk, or under the hood. Order paint by that code, not by eye — “black” alone covers dozens of genuinely different factory blacks.
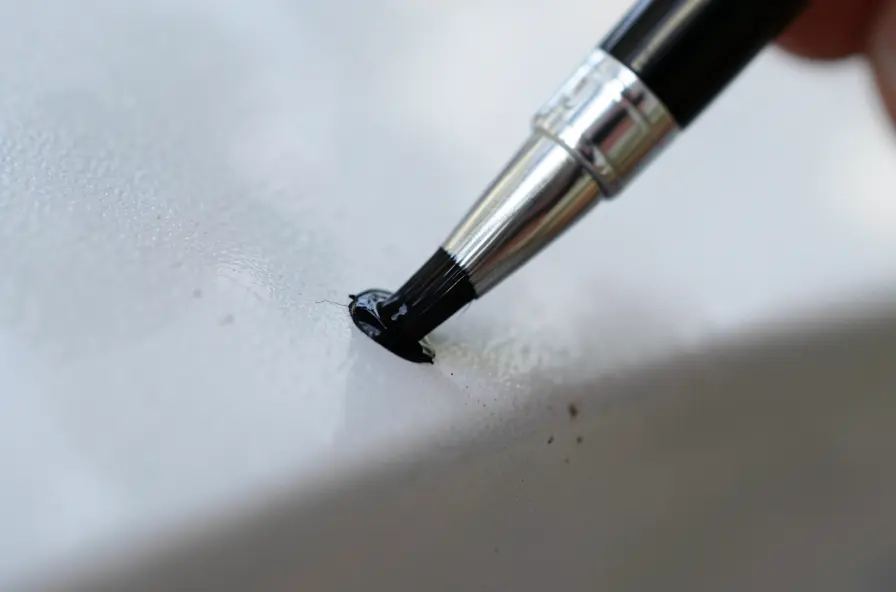
The actual technique is simple: clean and dry the chip, then use the pen’s brush tip or a toothpick to fill just the bare spot — don’t paint over the surrounding good finish, since that creates a visible halo. Let it dry fully, and if the repair sits slightly proud of the surrounding paint, level it gently with 3200-grit polishing paper before waxing over it. For anything larger than a fingernail, or any spot where you can see bare metal starting to rust, it’s worth treating the rust first rather than painting straight over it.
Choosing the Right Paint Type
The paint you pick affects both how forgiving it is to apply by hand and how long the result lasts.
| Paint Type | Dry / Cure Time | Durability | Best For |
|---|---|---|---|
| Acrylic enamel | Dries in hours, cures in a few days | Moderate; more prone to fading in strong sun over time | Budget full resprays, project vehicles, quick color changes |
| Single-stage urethane | Tack-free ~24 hrs, cures 5–7 days | High; UV-resistant, holds gloss well | Solid colors without a separate clear coat |
| Basecoat/clearcoat urethane (2K) | Tack-free ~24 hrs, cures 7–14 days | Highest; deepest gloss, closest to factory finish | Matching a modern factory finish or metallic colors |
| All-in-one touch-up pen | Dry to touch in ~15–30 min | Good for its purpose; not meant for large areas | Chips and scratches smaller than a coin |
For a first-time brush painting project, acrylic enamel is the most forgiving choice — it doesn’t require mixing in a hardener, gives you more working time to catch drips, and is far cheaper to redo if something goes wrong. Urethane and 2K systems look closer to factory but are less forgiving to brush by hand and come with a real safety requirement covered below.
Common Mistakes to Avoid
- Skipping surface prep. Paint applied over wax, grease, or unsanded gloss doesn’t bond and will peel or flake much sooner than it should.
- Painting in the wrong conditions. Direct sun, high humidity, or a dusty garage all cause problems — sun makes paint dry too fast and show brush marks, dust settles into wet paint, and humidity can cause a hazy finish called blushing.
- Applying one thick coat instead of several thin ones. This is the single biggest cause of sags, drips, and uneven color — thin coats always look better than trying to get full coverage in one pass.
- Skipping the clear coat. Bare color coat fades and chalks in sunlight far faster than a properly clear-coated finish.
- Guessing at the color instead of using the paint code. This is especially common with touch-up repairs — an approximate color match creates a visible patch that’s often more noticeable than the original chip. If a mismatch keeps bothering you after a touch-up, it’s worth reading up on how to fix paint chips before they spread for panel-level options.
- Painting over active rust. Rust will keep spreading under new paint and push it back off within months — treat or remove rust before priming.
If you’re painting a bumper or another separate panel rather than the whole body, the prep and coat-count steps above still apply — see how to repaint a car bumper for panel-specific notes on removal and reinstallation. And if what you’re actually dealing with is clear coat lifting off in sheets rather than a fresh paint project, that’s a different repair — check what to do when clear coat is peeling off your car first.
Safety: Fumes, Ventilation, and the Right Respirator
Automotive paint releases volatile organic compounds (VOCs) as it dries, so work outdoors or in a space with real airflow — an open garage door and a fan pulling air out, not just a cracked window. Wear nitrile gloves and safety glasses at minimum, since these paints and their thinners are skin and eye irritants.
Pay particular attention if you’re using a urethane or 2K system: the hardener in these paints contains isocyanates, and OSHA’s guidance is clear that ordinary cartridge respirators do not reliably protect against isocyanate vapor once paint is aerosolized into a fine mist — a positive-pressure supplied-air respirator is required for spray isocyanate exposure. Brush application produces far less airborne mist than spraying, but if you’re using a 2K paint by hand, wear at minimum a NIOSH-approved organic vapor cartridge respirator and keep ventilation genuinely good — and if you switch to a spray gun for the clear coat, use a supplied-air respirator rather than a cartridge mask.
Frequently Asked Questions
Can You Hand Paint a Car With a Brush and Have It Look Good?
Yes, if you do the surface prep properly, apply thin overlapping coats instead of one heavy coat, and finish with clear coat. Up close in direct light you’ll usually see some brush texture, but from a normal viewing distance a well-executed brush job reads as a solid, uniform color. It’s a genuinely used technique for budget vehicles and project cars, not a shortcut that always looks bad.
How Much Does It Cost to Hand Paint a Car Yourself?
Materials for a basic DIY brush or rattle-can job typically run $100 to $300. Stepping up to an HVLP spray gun and compressor setup runs $500 to $1,500 and gets you noticeably closer to shop-quality results with practice. A single touch-up pen for one small chip is under $20.
What Kind of Paint Should I Use to Hand Paint a Car?
Acrylic enamel is the most forgiving choice for a first hand-painting project — it doesn’t require mixing in a catalyzed hardener, gives you more working time before it sets, and is cheaper to redo if a coat goes wrong. Urethane and 2K basecoat/clearcoat systems look closer to a factory finish and last longer, but they’re less forgiving to brush by hand and require more careful safety gear.
How Do I Match Touch-Up Paint to My Cars Exact Color?
Find your factory paint code, usually on a sticker in the driver’s side door jamb (some brands place it in the glovebox, trunk, or under the hood), and order touch-up paint specifically by that code. Matching by eye or by a generic color name like “black” or “silver” is the most common cause of a touch-up repair that ends up more visible than the original chip.
Do I Need a Respirator to Hand Paint a Car?
At minimum, wear a NIOSH-approved organic vapor cartridge respirator, safety glasses, and nitrile gloves, and work with real ventilation. If you’re using a urethane or 2K paint and switch to spraying rather than brushing, OSHA guidance requires a positive-pressure supplied-air respirator, since standard cartridge respirators do not reliably filter isocyanate vapor once the paint is aerosolized.
How Long Does Hand-Painted Car Paint Take to Cure?
Most automotive paints are tack-free within about 24 hours but need roughly 7 to 14 days to fully cure. Avoid waxing, machine polishing, or parking outside in heavy rain during that window, since the finish is still hardening and can trap moisture or soften if disturbed too early.
Conclusion
Hand painting a car is a real, budget-friendly option whether you’re refinishing an entire vehicle with a brush or just dabbing color-matched paint onto a single chip. The difference between a finish you’re proud of and one you regret comes down to prep work, thin coats, patience between steps, and using the correct paint for the job — not any special painting skill you need to already have.
Start small if you’re new to it: practice your brush technique on a scrap panel or an inconspicuous spot before tackling a full respray, and reach for a color-matched touch-up pen first if all you actually have is a chip or a scratch. Either way, take the time on surface prep and let each coat cure properly — that’s what separates a hand-painted car that looks intentional from one that looks like a rush job.
Products related to this article
Sponsored / affiliate links. As an Amazon Associate I earn from qualifying purchases. I may earn additional commission from eligible campaigns.