How to Clean Electrical Connectors on a Car: Corrosion-Safe Method
To clean electrical connectors on a car, disconnect the battery first, then spray each connector with a dedicated electrical contact cleaner — not standard WD-40, which leaves an oily residue behind — work any corrosion loose with a soft brass or nylon brush, dry the connector completely with compressed air, and apply a thin bead of dielectric grease to the rubber seal (never smeared across the metal pins) before reconnecting.
Dirty or corroded connectors are a common cause of flickering lights, engine misfires, and intermittent sensor codes that seem to come and go for no reason. Because these small parts often get blamed last, plenty of drivers end up replacing expensive components before ever checking whether a few dollars of contact cleaner would have solved the problem.
Below, we will walk through the exact tools you need, the safest way to remove and clean a connector without damaging it, and the one dielectric grease mistake that trips up even experienced DIYers.
Tools Needed
Cleaning electrical connectors requires a few basic tools. A small soft brush helps remove dirt without scratching the pins. Electrical contact cleaner is what actually dissolves grime and corrosion — a soft cloth is for wiping surfaces afterward, not for cleaning the contacts themselves. Safety goggles protect your eyes from flying debris, and rubber gloves keep your hands safe. A screwdriver or trim tool helps you release locking tabs if needed, and a multimeter lets you confirm the connection is good after you are done. These tools cover safe, effective cleaning from start to finish.

Safety Precautions
Working with car connectors can be dangerous if you skip a few basic steps. Always start by turning off the car and removing the key from the ignition. Next, disconnect the negative battery terminal first using a wrench, and wear gloves and safety glasses while you do it. Avoid metal tools near live connectors, since they can cause sparks. Work in a well-lit, dry area — water and electricity do not mix, and poor lighting leads to mistakes you will not catch until later. Keep a fire extinguisher nearby as a general precaution. Safety first, every time.
Identifying Electrical Connectors
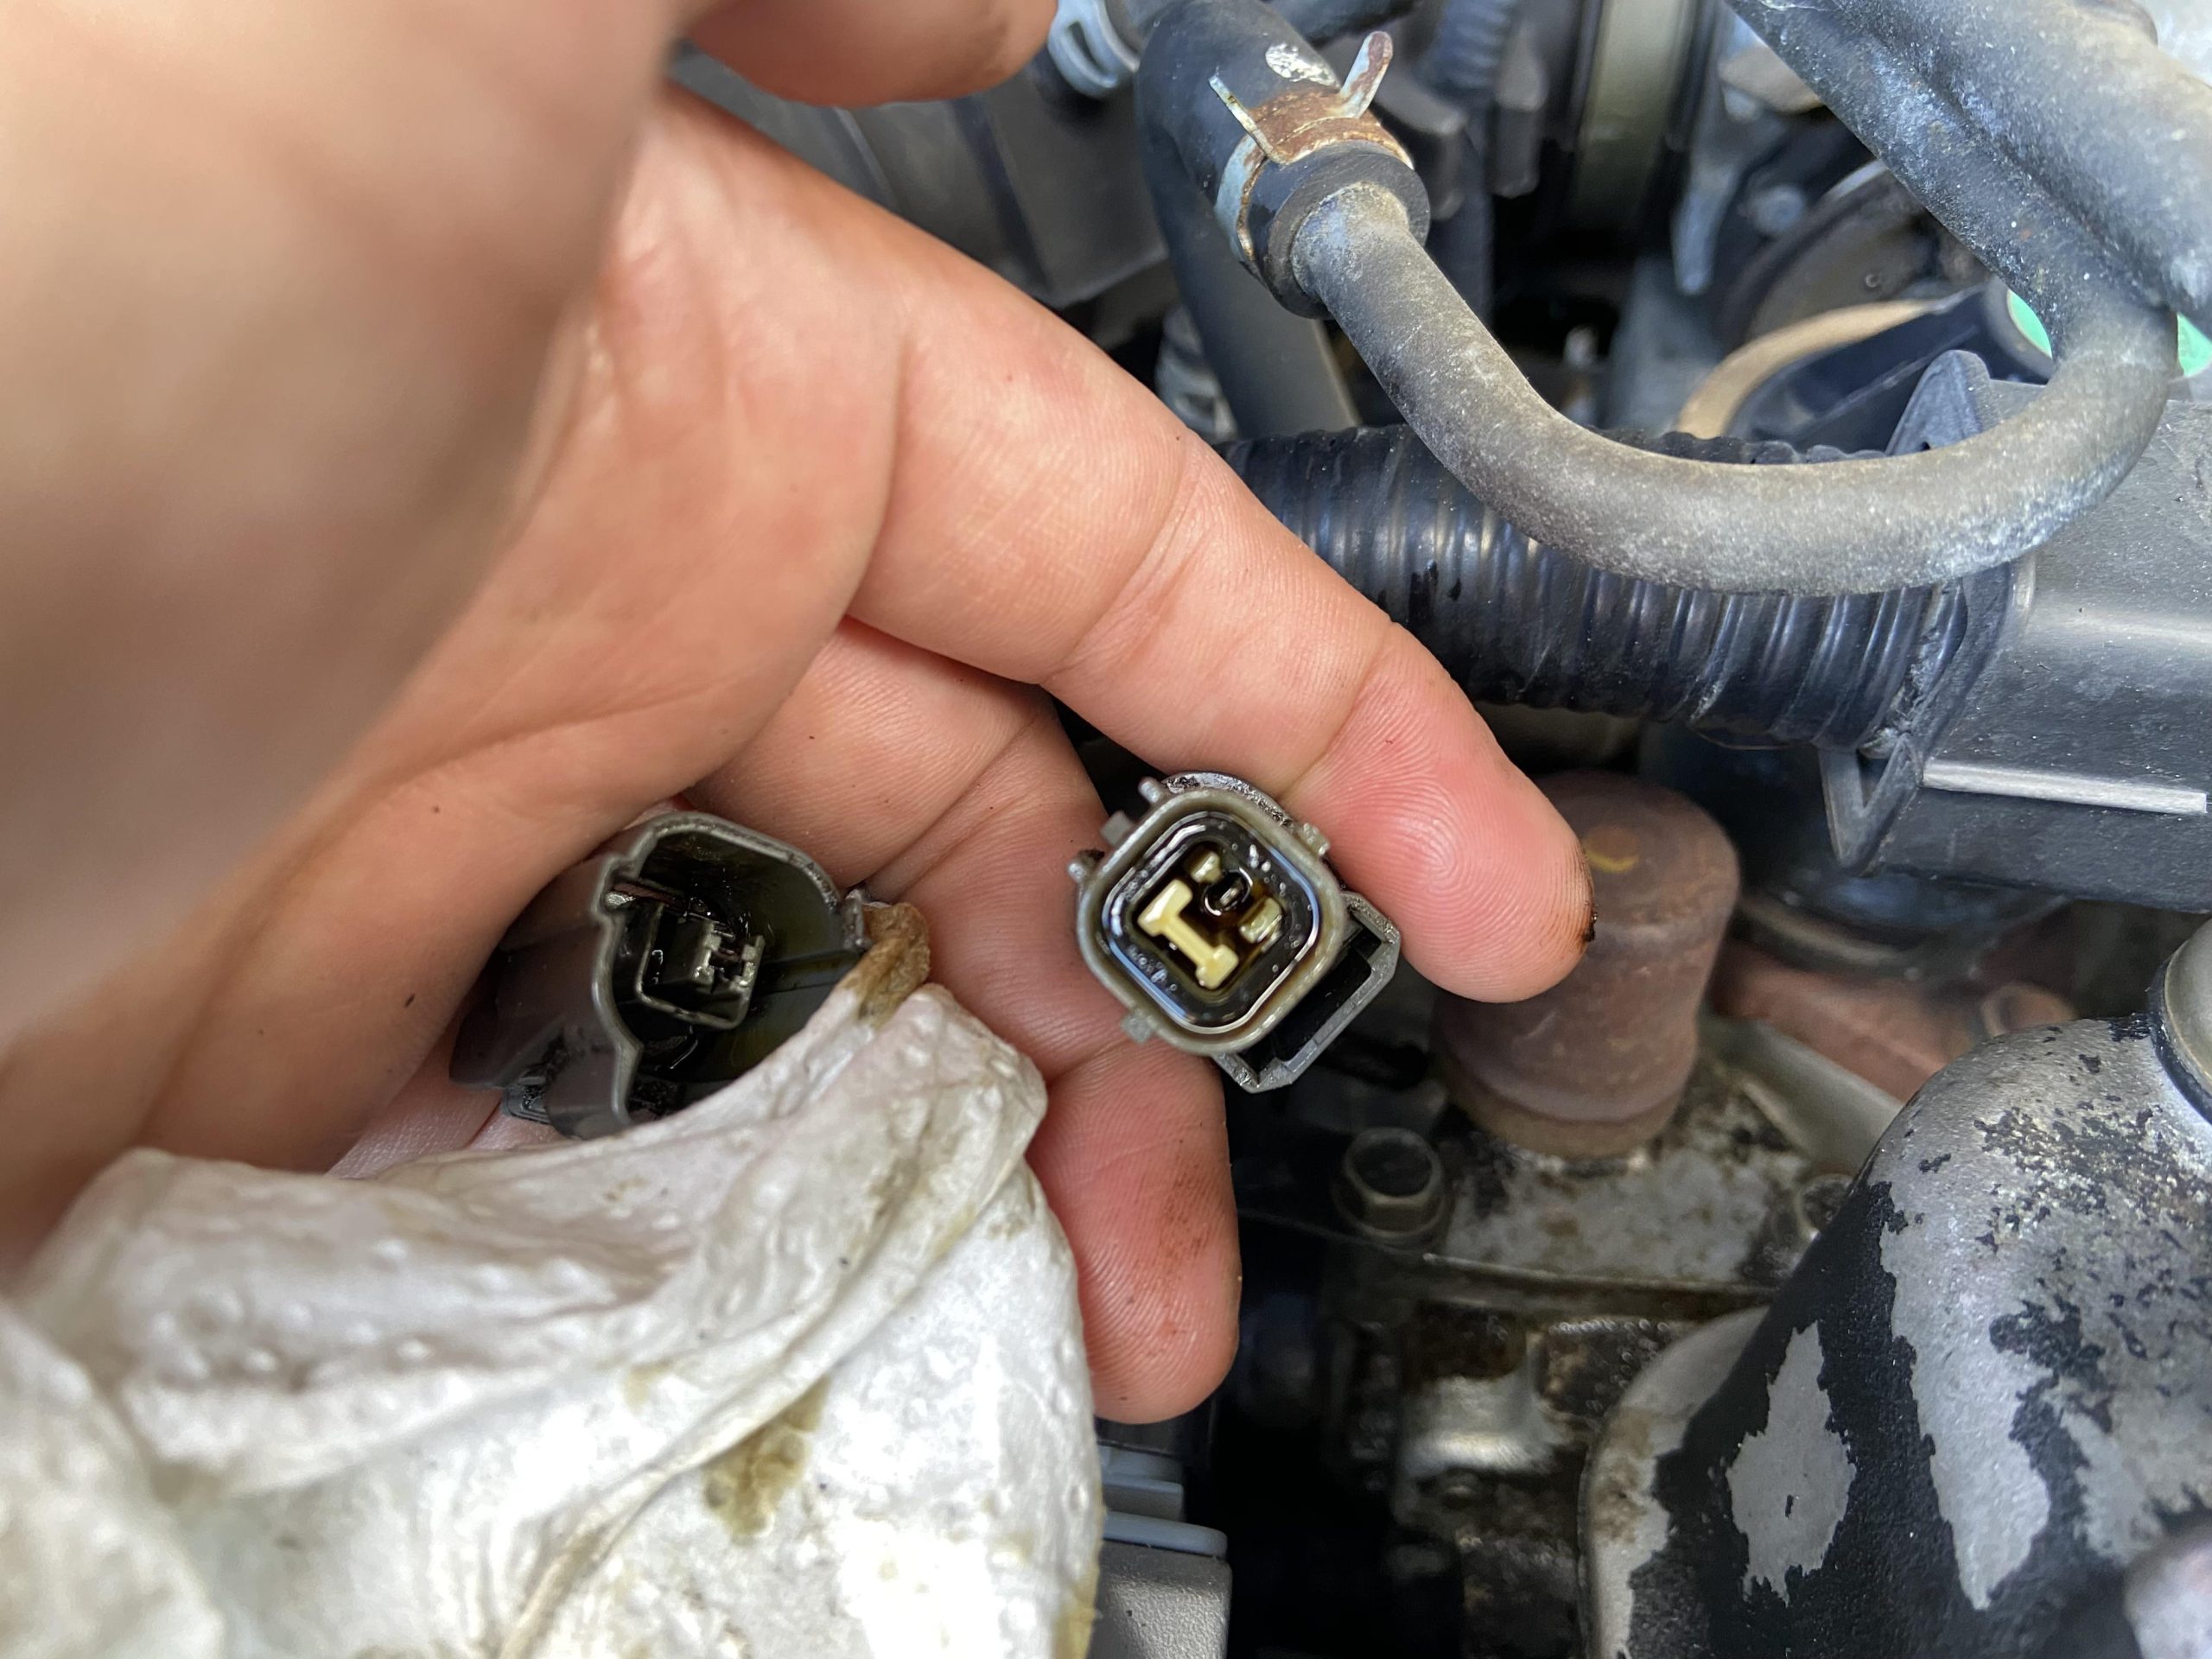
Electrical connectors are the small plastic-housed plugs that link wires to sensors, lights, and other components. You will spot them near the engine, along the wiring harness, and near the battery. Shapes and sizes vary — some are round, others flat — and most have a plastic cover protecting the metal pins inside. Shiny pins mean a clean connection; dull, greenish, or white-crusted pins mean corrosion has already set in. Use a flashlight to check them closely, and always confirm the car is off before you touch anything.
Our Top Pick
Best for: Cleaning corrosion and grime off connector pins without leaving residue.
Why we picked it: It is a purpose-made contact cleaner — 100% solvent that evaporates completely, unlike standard WD-40, which leaves an oily film behind.
Main drawback: Strong solvent smell while spraying; needs good ventilation.
View Our Pick on Amazon
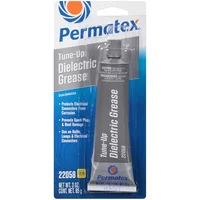 Permatex Dielectric Tune-Up Grease Best for: Sealing the connector boot after cleaning to keep moisture out. Why we picked it: Small 3 oz tube is enough for years of use; the classic go-to for connector seals. Main drawback: Easy to over-apply directly onto pins if you are not careful. |
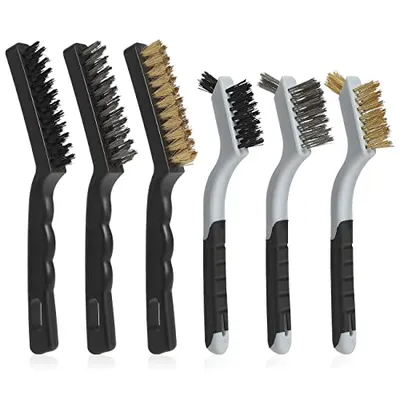
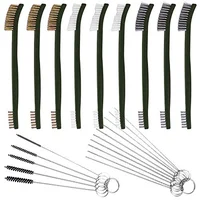 VASTOOLS Wire Brushes Cleaning Set 6Pc, 9″ and 7″, Wire Brushes for Cleaning Welding Slag, Rust and Best for: Working loose stubborn corrosion before spraying contact cleaner. Why we picked it: Includes soft brass and nylon brushes safe for plastic housings, not just harsh steel. Main drawback: The steel brushes in the set can scratch plated pins if used too aggressively. |
 WOLFBOX MegaFlow Electric Air Duster Best for: Drying connectors completely before reconnecting, with no risk of moisture in a can. Why we picked it: Rechargeable and reusable, so you are not buying disposable canned air every time. Main drawback: Bulkier than a can of compressed air for quick, one-off jobs. |
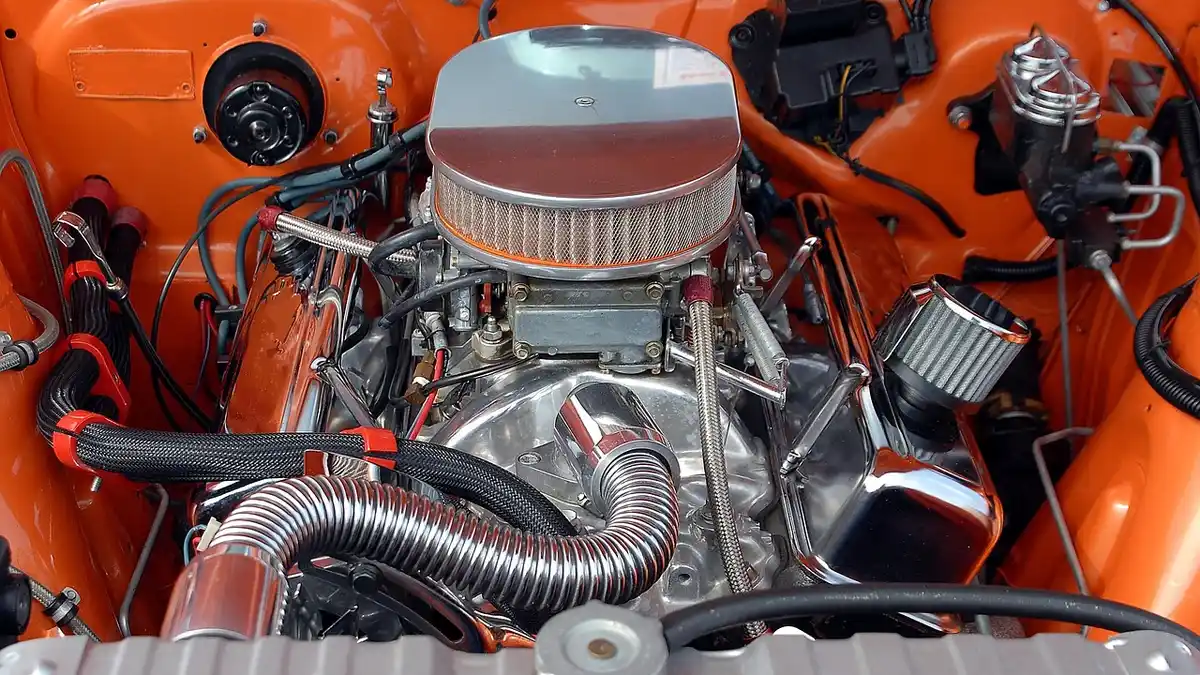
Disconnecting Connectors (Before You Clean)
Before you can clean a connector, you need to separate it safely, and this is where a lot of damage happens if you rush. With the car off and the battery disconnected, find the connector, release its locking clip or tab with a small trim tool (not a metal screwdriver, which can crack aged plastic), and pull the two halves straight apart — never twist or yank at an angle, since that stresses the wires inside. Different connector types (push-tab, bolt-type, lever-lock) release slightly differently, and Ford, Chevy, and other manufacturers each have their own quirks.
Because getting the disconnect step wrong is the single most common way people crack a connector housing, we have covered every connector type and manufacturer-specific release method in detail in our companion guide, how to remove electrical connectors on a car. Once the connector is safely apart, come back here for the actual cleaning steps below.
Contact Cleaner vs. WD-40: Why the Difference Matters
Standard WD-40 is not the same product as electrical contact cleaner, and mixing them up is one of the most common mistakes people make on this job. Regular WD-40 is a light lubricant — its solvent dissolves some grime, but it leaves an oily film behind that can turn gummy within a couple of months and attract more dirt and dust over time. A purpose-made contact cleaner, by contrast, is close to 100% solvent. It dissolves grease, carbon deposits, and corrosion, then evaporates completely, leaving a clean, conductive surface with no residue at all.
If you already own WD-40 Specialist Contact Cleaner, that is a different, purpose-built formula that behaves like a proper contact cleaner and is fine to use. It is the classic multi-purpose blue-and-yellow can — the one meant for squeaky hinges and rusty bolts — that you want to keep away from your connectors.
Cleaning Solutions
Electrical contact cleaner spray is the safest, most reliable option for connectors. It is formulated specifically to remove dirt and grime without damaging plastic housings, and it dries without leaving a residue that could interfere with the connection. Always check that the product you are using is labeled safe for both plastic and metal parts.
Never use plain water on a connector — it can cause short circuits and actually accelerate corrosion once it is trapped inside a housing. If you are in a pinch and do not have contact cleaner on hand, isopropyl alcohol wipes are a reasonable substitute since they clean and evaporate quickly, but they are not as effective on heavier corrosion as a dedicated contact cleaner.
Cleaning Process
With the connector disconnected, spray it with contact cleaner, gently brush away any corrosion, flush off the loosened residue with another light spray, then dry it completely with compressed air before reconnecting. Skipping the drying step is the most common reason people end up with the exact same problem again a few weeks later.
Brushing Technique
Use a small, soft brush — brass or nylon bristles work best. Avoid stiff steel brushes on plated pins, since they can scratch through the plating and expose bare metal underneath, which corrodes faster. Brush in small circles to work corrosion loose, then inspect closely and repeat if any dirt remains.
Soaking Method (For Heavier Corrosion)
For connectors with stubborn buildup, a short soak helps. Submerge the connector in a mix of water and white vinegar for about 15 minutes, then rinse thoroughly with clean water and dry completely. Only use this method on connectors you have already removed and that do not have any exposed circuit boards nearby — and always follow it with a full contact-cleaner spray and dry cycle afterward, since vinegar and water alone will not fully protect against future corrosion.
Using Compressed Air
Compressed air blows away loosened dirt and moisture quickly. Hold the nozzle a few inches from the connector and use short bursts rather than one long blast, which can push debris further into tight spots instead of out. Only use air on a connector after it has been sprayed with cleaner, not as a substitute for actually cleaning it.
Drying Connectors
Air drying or compressed air is the safest way to dry a connector, since neither leaves lint or fibers behind. Compressed air is faster and works well for most jobs.
A hair dryer on its lowest heat setting works too, held a safe distance away so you do not overheat the plastic housing or melt any seals. If you have time, letting a connector air-dry in a warm, dry spot is the gentlest option of all — it just takes longer.
Whichever method you use, always double-check for leftover moisture before reconnecting. Trapped moisture is one of the fastest ways to undo all the cleaning you just did.
Inspecting For Damage
Once a connector is clean and dry, check it for cracks, breaks, or leftover rust and corrosion, since these can still interrupt the signal even after cleaning. Use a flashlight to check dark spots, and make sure the wires themselves are not loose — give them a gentle tug to confirm they are secure. If you find damage, small fixes like tightening a screw are easy, but a cracked housing or corroded pin usually means the connector or pigtail needs replacing rather than just cleaning.
Reconnecting Connectors
Make sure both halves are completely clean and dry, then align them carefully and press together until you hear or feel the locking clip engage. Give the wires a light tug to confirm the connection is secure, and route the harness back the way it came so nothing rubs against a hot or moving part.
Preventive Maintenance: Where Dielectric Grease Actually Goes
Regular checks of your connectors, plus one small habit, prevent most future corrosion problems: applying dielectric grease correctly. Dielectric grease is an electrical insulator, not a conductor — it does not help the connection carry current, and smearing a heavy coat across the metal pins can actually interfere with the contact. What it is genuinely good for is sealing out moisture and salt air at the rubber boot or seal around the connector, where a thin coating keeps corrosion from ever starting. If you want a little on the pins too, use only the thinnest possible film; metal-to-metal contact will push it aside on its own when the connector is seated.
Regular Checks
Check important connectors — especially ones exposed to road salt, moisture, or engine heat — every few months. Catching early corrosion with a quick brush and spray is far easier than dealing with a fully seized connector later. Use a flashlight, and confirm each connector is tight and secure while you are at it.
Protective Measures
Protective covers and boots keep dirt and water away from connectors in the first place. A dielectric grease seal at the boot, applied as described above, adds another layer of protection against moisture intrusion over time.
Frequently Asked Questions
How Often Should You Clean Car Electrical Connectors?
Cleaning frequency depends on driving conditions. In dusty, humid, or salty road environments, check and clean exposed connectors about every 6 months. Regular maintenance prevents corrosion from building up and helps catch problems early, before they cause performance issues.
What Tools Are Needed To Clean Connectors?
You need a dedicated electrical contact cleaner spray, a soft brass or nylon brush, compressed air, and lint-free cloths. Always disconnect the battery before starting, and make sure the connector is completely dry before you reconnect it.
Can Dirty Connectors Affect Car Performance?
Yes. Dirty or corroded connectors can disrupt electrical signals and cause intermittent connections, which shows up as flickering lights, engine misfires, or sensors that seem to fail and then work again. Regular cleaning keeps connections reliable and prevents these hard-to-diagnose issues.
Is It Safe To Use Water On Connectors?
No. Water can cause short circuits and, if trapped inside a connector housing, actually speeds up corrosion rather than preventing it. Use a dedicated electrical contact cleaner instead — it removes dirt and corrosion and evaporates completely without leaving moisture behind.
Should You Use WD-40 on Car Electrical Connectors?
Not the standard multi-purpose WD-40 formula — it leaves an oily residue that can turn gummy and attract dirt over time. WD-40 Specialist Contact Cleaner is a different, purpose-built product that is fine to use, but a dedicated electrical contact cleaner is still the safer default choice for connectors.
Does Dielectric Grease Go on the Pins or Just the Seal?
Dielectric grease belongs mainly on the rubber seal or boot around a connector, where it blocks out moisture. It is an insulator, not a conductor, so a heavy coating directly on the metal pins can interfere with the connection rather than help it. A very thin film on the pins is generally fine, since mating the connector pushes it aside, but the seal is where it matters most.
Conclusion
Regular maintenance keeps your car connectors clean and your electrical system reliable. Use a real contact cleaner instead of standard WD-40, let corrosion soften before you brush it away, dry connectors completely, and save dielectric grease for the seal rather than the pins. Disconnect the battery before starting any work, and if you need the full step-by-step on safely detaching a specific connector type first, see our connector removal guide. A little patience here saves you from chasing phantom electrical problems later.
Products related to this article
Sponsored / affiliate links. As an Amazon Associate I earn from qualifying purchases. I may earn additional commission from eligible campaigns.