How to Fix Fabric on Car Ceiling: Easy DIY Repair Tips
Is the fabric on your car ceiling starting to sag or peel? You’re not alone—and the good news is, you don’t have to live with that droopy, worn-out look.
Fixing your car’s ceiling fabric might seem tricky, but with the right steps, you can make it look fresh and neat again. In this guide, you’ll discover simple, effective ways to restore your car’s interior without spending a fortune or calling in a pro.
Keep reading, and you’ll be surprised at how easy it is to bring back that clean, comfortable feel inside your car.
Quick Answer
Clean the sagging area, then reattach the fabric with spray adhesive or fabric glue and press it flat. For minor sagging, warming the old factory adhesive with a heat gun on low and pressing the fabric back can work without removing the panel — but the fabric usually sags because the foam backing behind it has broken down, so a heat-only fix is often temporary.

Tools And Materials Needed
Gather these basic tools and materials to fix the fabric on your car ceiling. You will need a screwdriver to remove any panels or trim. A spray adhesive works well to stick the fabric back. Keep a clean cloth handy to wipe the surface before gluing.
Use a utility knife or scissors to trim old fabric edges or new fabric. A plastic scraper helps smooth out bubbles after applying glue. Don’t forget protective gloves to keep your hands clean and safe.
| Tool/Material | Purpose |
|---|---|
| Screwdriver | Remove panels or trim |
| Spray Adhesive | Attach fabric to ceiling |
| Clean Cloth | Wipe surface before gluing |
| Utility Knife/Scissors | Trim fabric edges |
| Plastic Scraper | Smooth fabric and remove air bubbles |
| Protective Gloves | Protect hands from glue |
Identifying Common Ceiling Fabric Issues
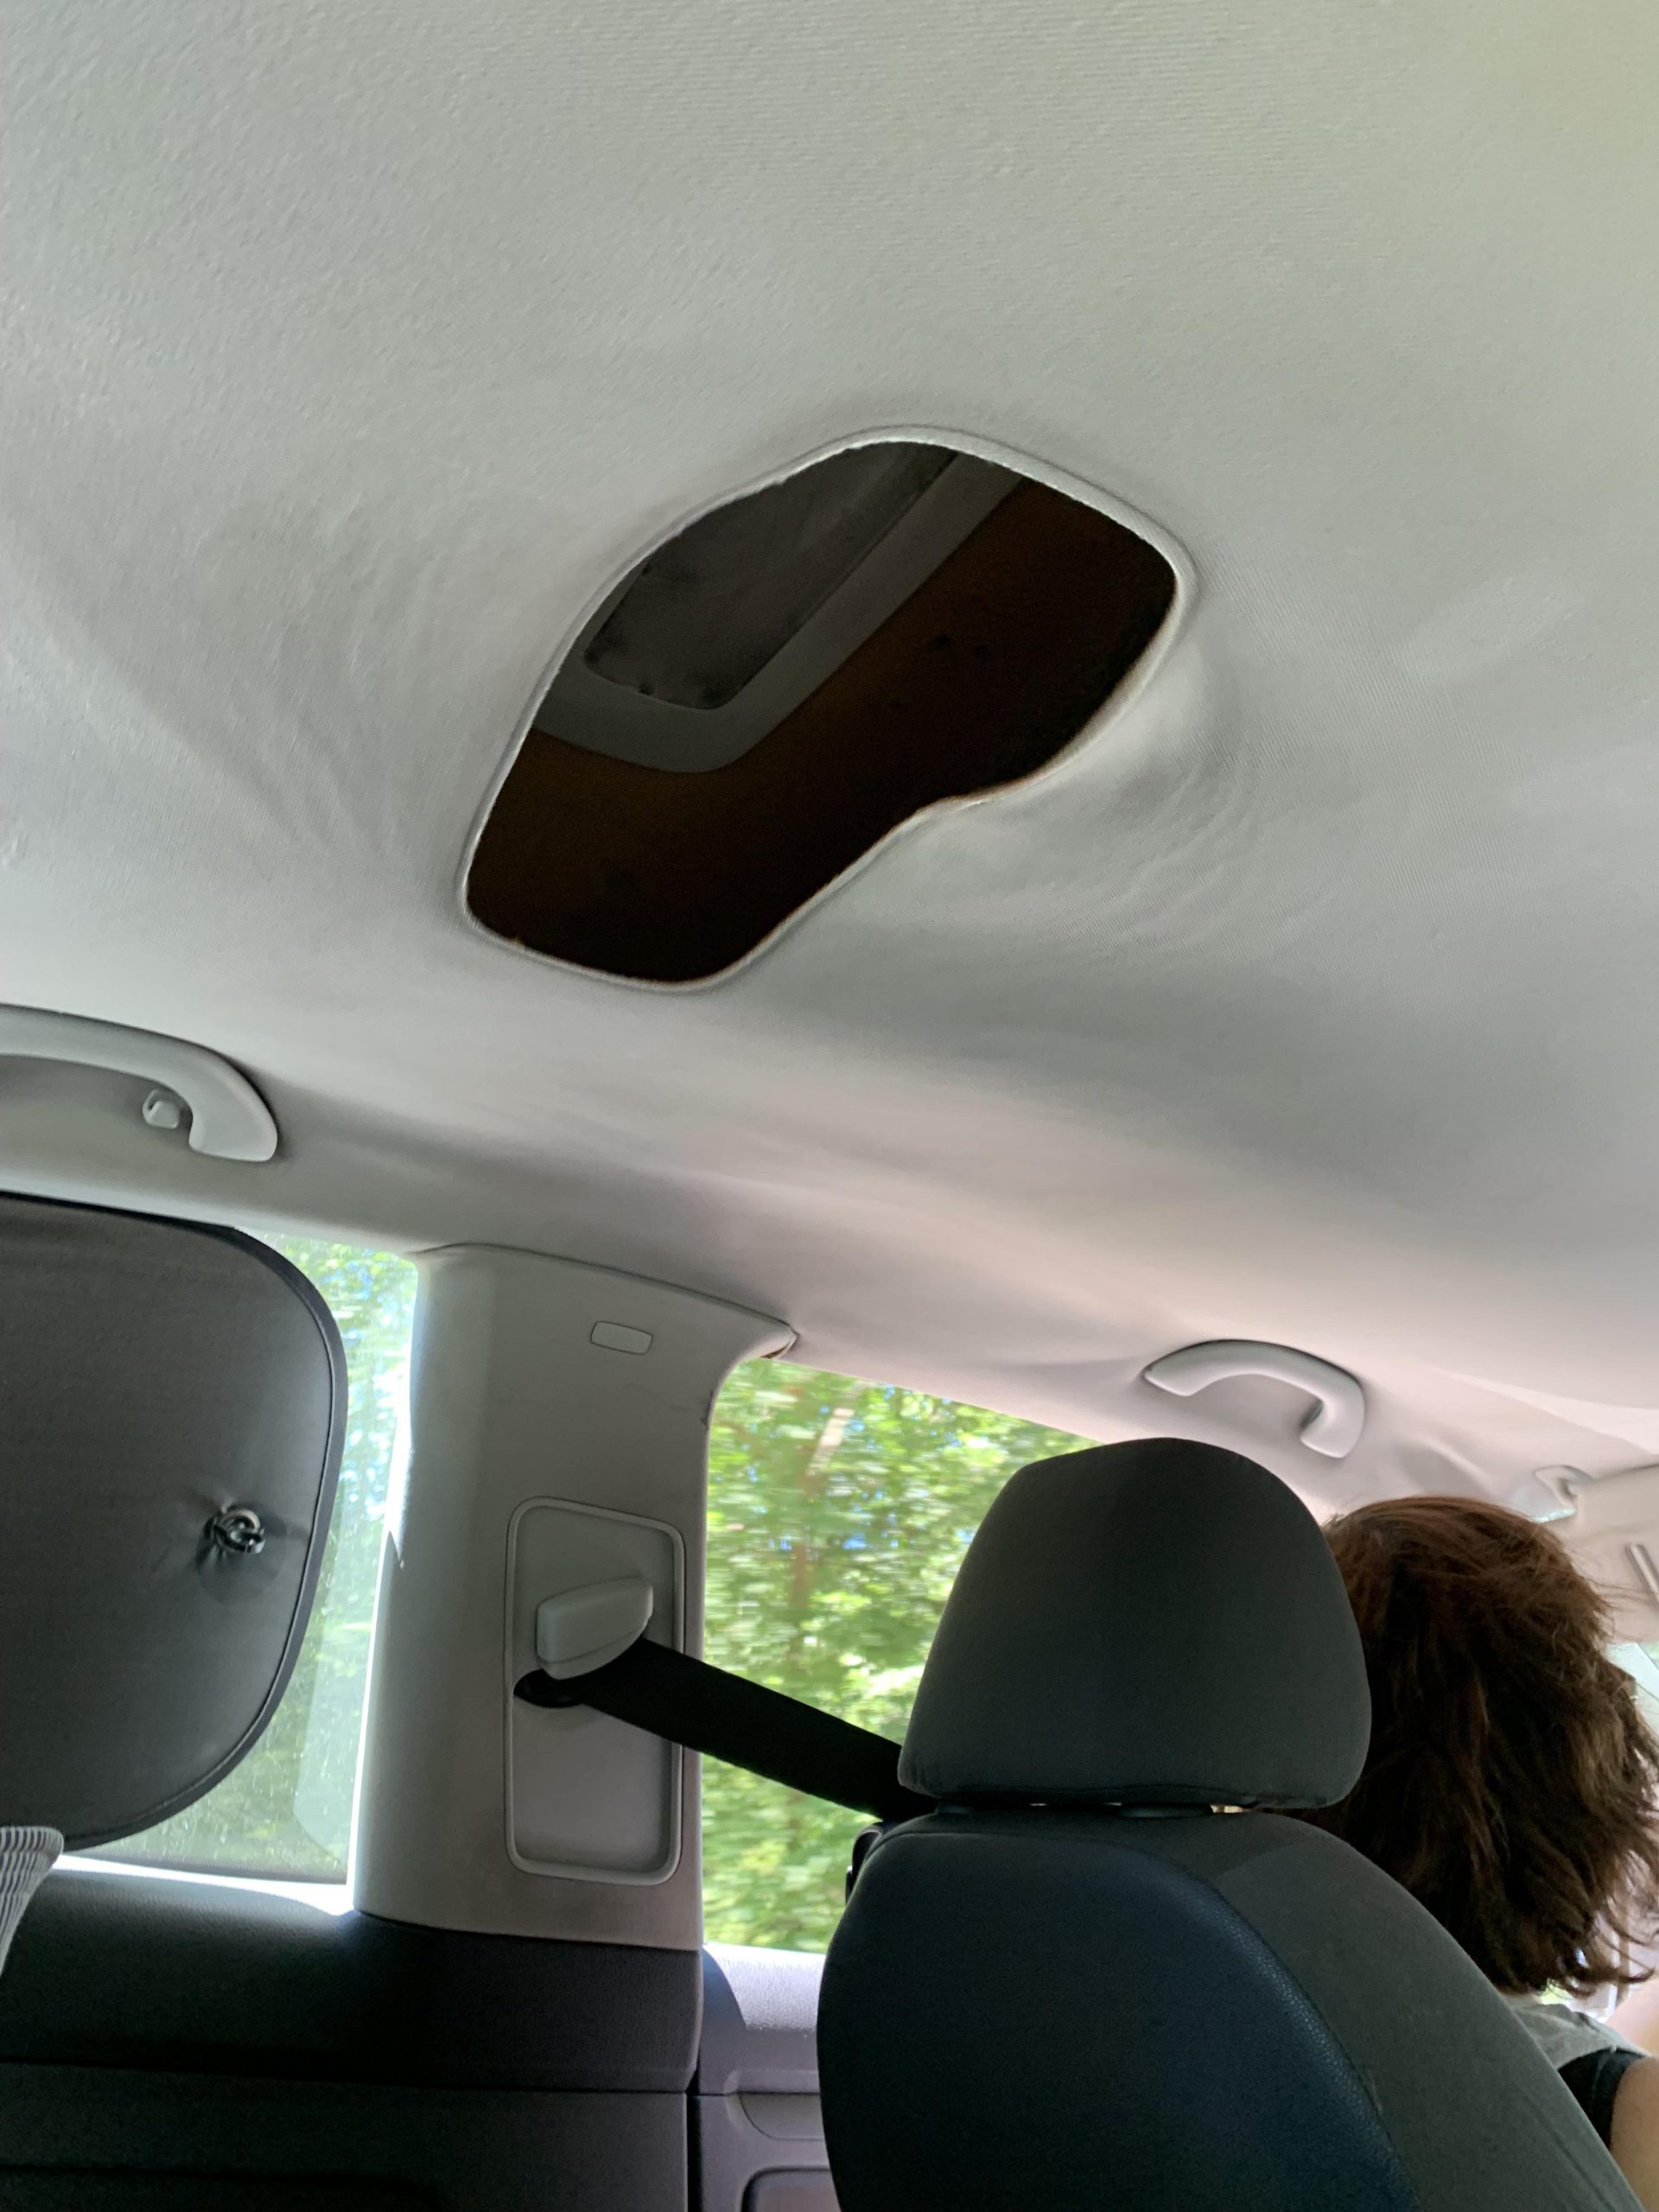
Sagging fabric often happens when the glue holding it weakens. This causes the fabric to hang down or wrinkle, making the car ceiling look old. Fixing sagging fabric usually needs new glue or pins to hold it tight again.
Tears and holes appear from sharp objects or wear and tear. Small tears can be patched with special fabric glue or tape. Bigger holes may need a fabric patch or replacement of the whole ceiling fabric to keep it strong and neat.
Stains and discoloration are common from smoke, spills, or dirt. Cleaning with mild soap and water can help remove most stains. For tough stains, using a fabric cleaner made for car interiors works best. Avoid harsh chemicals that might damage the fabric color.
Why Headliner Fabric Really Sags (and When a Heat Gun Can Fix It)
Most car ceilings (“headliners”) aren’t just fabric — the cloth is laminated to a thin layer of foam, which is then glued to a rigid board. That foam is almost always the real point of failure. Years of heat and humidity cause it to oxidize and crumble into a fine powder, and once that happens, the fabric loses its grip even if the glue underneath is technically still there.
For minor sagging where the foam hasn’t fully broken down, a heat gun (or hair dryer) on a low setting can sometimes reactivate the factory adhesive: hold it 6–8 inches from the sagging area, warm it gently, then press the fabric back into place with your hand or a small roller and let it cool. This avoids removing the headliner panel entirely, but it’s a temporary fix — if the foam itself has turned to powder, fresh adhesive (or full headliner replacement in severe cases) is the more lasting solution.
Preparing The Car Interior
Start by cleaning the car ceiling well. Use a soft brush or cloth to remove dust and dirt. This helps the new fabric stick better.
Next, check for any loose or sagging fabric. Gently peel it off by hand or with a plastic scraper. Be careful not to damage the ceiling surface.
Remove all old glue and fabric bits. Use a mild cleaner or rubbing alcohol on a cloth. This makes sure the surface is smooth and ready for the new fabric.
Allow the surface to dry completely before moving to the next step. A clean, dry base is key for a good fix.
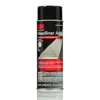
3M Headliner & Fabric Adhesive, 18.1 oz., Exceptional Strength Bonds Heavyweight Automotiv
Best for: Reattaching sagging headliner fabric with a strong, heat- and vibration-resistant bond.
Why we picked it: Purpose-built automotive headliner adhesive, unlike generic craft spray glue that can fail in a hot car.
Main drawback: Won’t fix fabric that’s sagging because the foam backing has already crumbled — that needs a full re-glue or replacement.
View Our Pick on Amazon
 OEMTOOLS 24665 Dual Temperature Heat Gun, 1200W Corded Hot A Check on Amazon |
 65 Set Car Roof Headliner Repair Kits, 262 Pcs Auto Roof Sna Check on Amazon |
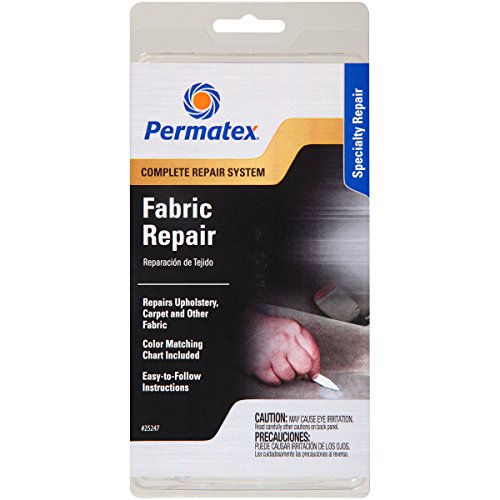
 Permatex 25247 Fabric Repair Kit, Single Unit, Gel Check on Amazon |
Fixing Sagging Fabric
Adhesive spray works well to fix sagging fabric on car ceilings. Spray the adhesive evenly on the fabric and the ceiling. Press the fabric firmly to stick it back. Let it dry for a few minutes.
Upholstery glue is another option. Apply a thin layer of glue on the fabric’s back side. Press it carefully onto the ceiling. Hold it in place until the glue sets. This glue is strong and lasts long.
Using pins or clips can help if glue is not enough. Attach small pins or clips to hold the fabric tight. These are easy to remove later if needed. Be gentle to avoid making holes too big.
Repairing Tears And Holes
For small holes, use a fabric patch. Cut a piece slightly bigger than the hole. Apply fabric glue or spray adhesive to the patch. Press it firmly over the hole. Let it dry for a few hours. This stops the hole from growing.
Sewing larger tears needs a needle and thread. Choose a thread color close to the fabric. Use small stitches to join the edges. Keep the fabric flat to avoid bumps. Tie knots at the ends to secure the thread. This method makes the tear less visible.
Fabric tape works well for quick fixes. Cut a piece slightly bigger than the damaged area. Stick it on the inside of the fabric. Press hard to make it stick well. This helps hold the fabric in place until a better fix is done.
Dealing With Stains
Stains on the car ceiling fabric can be treated with gentle spot cleaning. Use a soft cloth or sponge and dab the stained area carefully. Avoid rubbing hard to stop damage.
Choose fabric cleaners made for car interiors. Test a small hidden spot first to check for color change. Apply the cleaner lightly and wipe with a clean cloth.
Some easy preventive tips help keep the fabric clean. Avoid eating or drinking in the car. Use sunshades to protect from harsh sunlight. Regularly vacuum the ceiling fabric to remove dust.
Preventing Future Damage
Regular maintenance helps keep the car ceiling fabric strong. Check for small tears or loose fabric often. Clean the fabric gently with a soft cloth and mild cleaner. Avoid using harsh chemicals that can damage the fabric.
Excess moisture can cause the fabric to sag or grow mold. Always dry wet areas quickly. Avoid leaving wet clothes or towels on the ceiling fabric. Use a waterproof cover if rain or snow might enter the car.
Proper ventilation stops moisture build-up inside the car. Open windows or use air conditioning to keep air flowing. Avoid parking the car in very humid places for long times. Good airflow helps the fabric stay dry and fresh.
Frequently Asked Questions
How Do I Reattach Sagging Car Ceiling Fabric?
To fix sagging fabric, gently peel back the old adhesive. Use spray adhesive or fabric glue to reattach it smoothly without wrinkles.
What Materials Are Needed To Fix Car Ceiling Fabric?
You need fabric glue or spray adhesive, a flat tool to smooth fabric, a clean cloth, and a trimming knife.
Can I Fix Car Ceiling Fabric Without Removing It?
Yes, you can apply adhesive under sagging areas and press firmly. This works for minor sagging without full removal.
How Long Does It Take To Fix Car Ceiling Fabric?
Fixing fabric usually takes 30 to 60 minutes, depending on damage extent and drying time of adhesive.
Why Does Headliner Fabric Sag Even When the Glue Seems Fine?
The fabric is bonded to a foam layer, and that foam — not the glue — is usually what fails first. Heat and humidity cause it to break down into powder over time, so the fabric loses its grip even where adhesive is still present. A heat gun can sometimes revive a minor sag, but heavily degraded foam needs fresh adhesive or a full re-glue.
Conclusion
Fixing the fabric on your car ceiling is easier than it seems. Small steps can make a big difference. Use the right tools and materials for a lasting fix. Take your time to avoid mistakes. A neat repair keeps your car looking fresh and clean.
You can save money by doing it yourself. Try the methods discussed and enjoy a smooth, wrinkle-free car roof. Keep your car interior comfortable and tidy. Simple care can extend the life of your car’s fabric ceiling.
Products related to this article
Sponsored / affiliate links. As an Amazon Associate I earn from qualifying purchases. I may earn additional commission from eligible campaigns.