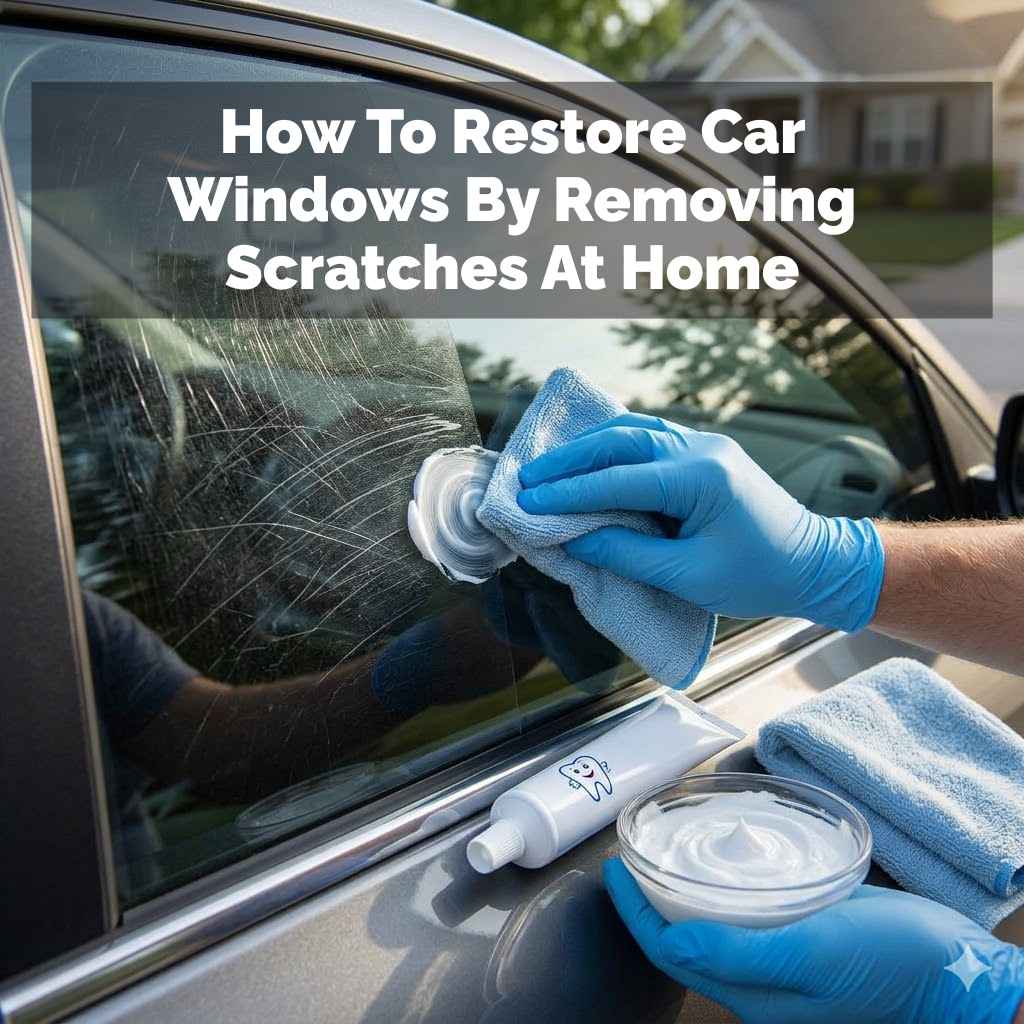
How To Restore Car Windows By Removing Scratches At Home
It’s incredibly frustrating when you notice a scratch on your car’s window. That little line can catch your eye every time, and it spoils the clean look of your car. Worse, it can be a real distraction when you’re driving.
You might worry about the cost of professional repair or if it’s even possible to fix it yourself. Don’t stress too much. Many common window scratches can be handled right at home.
This guide will walk you through safe and simple ways to bring back that crystal-clear view.
Car window scratches can often be safely removed at home using common household items and simple techniques. Most minor to moderate abrasions on glass can be buffed out, restoring clarity and your car’s aesthetic. The key is using the right materials and gentle, persistent methods.
Understanding Car Window Scratches
Car windows are made of glass. This glass is pretty tough, but it can still get scratched. These marks happen from everyday things.
Tiny bits of grit or sand can get on your wipers. Then, when you use them, they act like sandpaper. Other times, it’s something you accidentally brush against.
Keys, branches, or even rough car washes can leave a mark. The depth of the scratch matters a lot. Shallow ones are usually easier to fix.
Deeper ones can be much harder, sometimes impossible, to remove completely at home.
The type of glass also plays a role. Most car side windows are tempered glass. This breaks into small, blunt pieces if it shatters.
The windshield is usually laminated glass. It has a plastic layer in between two pieces of glass. This makes it stronger and safer.
Both types can scratch. The good news is that the methods we’ll cover work well on most standard car glass. We need to be careful not to make things worse.
Gentle is always the best approach first.
My Own Scratchy Window Story
I remember one sweltering summer day. I was packing up after a family picnic. My little one, barely four at the time, was helping load the trunk.
He grabbed a small plastic toy shovel and swung it around. It connected with my driver’s side window with a faint tink. My heart sank.
I saw a thin, white line etched right in my line of sight. At first, I panicked. I imagined spending hundreds of dollars to
Common Causes of Car Window Scratches
Friction:
- Dirty windshield wipers
- Sand and grit on glass
- Ice scrapers used carelessly
Impacts:
- Small stones hitting the glass
- Tree branches brushing against windows
- Accidental contact with sharp objects
Cleaning Errors:
- Using rough cloths or paper towels
- Dry wiping a dusty window
- Harsh cleaning chemicals
Different Types of Window Scratches
Not all scratches are created equal. Some are so light they’re barely visible. Others are deep enough to catch your fingernail.
Understanding the difference helps you pick the right repair method. Light scratches, often called hairline scratches, are usually surface-level. They don’t go deep into the glass.
These are the easiest to fix. You can often buff these out with mild abrasive materials.
Medium scratches go a bit deeper. They might be noticeable when you run your finger over the glass. These require a bit more effort and a slightly stronger abrasive.
You might need to repeat the process a few times. Deep scratches are the trickiest. They are very noticeable and you can feel a clear groove.
Sometimes, these are too deep to fully remove without professional help. Attempting to fix very deep scratches at home can sometimes make them look worse or create more damage. It’s always best to start with the gentlest method and see how it goes.
DIY Scratch Removal: What You’ll Need
You don’t need fancy tools for most home repairs. Many things you might already have. For light scratches, baking soda is a popular choice.
You can mix it with water to make a paste. Toothpaste, especially non-gel white paste, also works. It has mild abrasives that can polish glass.
For slightly deeper marks, you might need a glass polish compound. These are specifically made to remove imperfections from glass.
You’ll also need microfiber cloths. These are soft and won’t scratch the glass further. Avoid paper towels or rough rags.
You’ll want a spray bottle with water. This helps keep the area lubricated. For protection, gloves are a good idea.
And if you’re using a power tool like a drill with a buffer attachment, safety glasses are a must. Always prepare your workspace and have everything ready before you start. This makes the process smoother.
Method 1: Baking Soda Paste for Light Scratches
This is a great first step for very minor scratches. Baking soda is a mild abrasive. It can gently polish the glass surface.
To start, clean the window thoroughly. You want to remove all dirt and debris. Mix about two parts baking soda with one part water in a small bowl.
Stir it until you get a thick, paste-like consistency. It should not be runny. It needs to have some body to it.
Apply a small amount of this paste to a clean microfiber cloth. Gently rub the paste onto the scratch in a circular motion. Don’t press too hard.
You are trying to buff the glass, not grind it. Continue rubbing for about 30-60 seconds. Then, wipe away the paste with a clean, damp microfiber cloth.
Check the scratch. If it looks better, repeat the process. You might need several passes.
Be patient. If you don’t see improvement after a few tries, the scratch might be too deep for baking soda.
DIY Scratch Repair Kit Checklist
For Light Scratches:
- Baking Soda
- Water
- Microfiber Cloths
For Medium Scratches:
- White Non-Gel Toothpaste
- Glass Polish Compound
- Polishing Pads (for drill if used)
General Supplies:
- Spray Bottle with Water
- Rubbing Alcohol (for initial cleaning)
- Gloves
- Safety Glasses (if using power tools)
Method 2: Toothpaste Polish for Minor Abrasions
White, non-gel toothpaste can also be a handy tool. It contains fine abrasives that are good for polishing. Again, start by cleaning the window.
Make sure it’s completely dry. Put a small dab of toothpaste onto a clean microfiber cloth. Gently rub the toothpaste over the scratch.
Use small, circular motions. Work on the scratch for about a minute. Then, wipe it clean with a damp microfiber cloth.
Rinse the cloth and wipe the area again to remove all toothpaste residue. Check your work. You might need to repeat this process a few times.
Toothpaste is less abrasive than some dedicated polishes, so it requires patience. If the scratch is still visible, you might need a stronger product. This method is best for those very fine, light scratches that bother you but aren’t deep.
Method 3: Using a Glass Polish Compound
If baking soda and toothpaste didn’t do the trick, it’s time for a dedicated glass polish. You can find these at auto parts stores or online. They are formulated to be more effective than household items.
Always read the product instructions carefully. They often come with specific application methods.
First, clean the window very well. Use a glass cleaner and a microfiber cloth. Ensure the glass is dry.
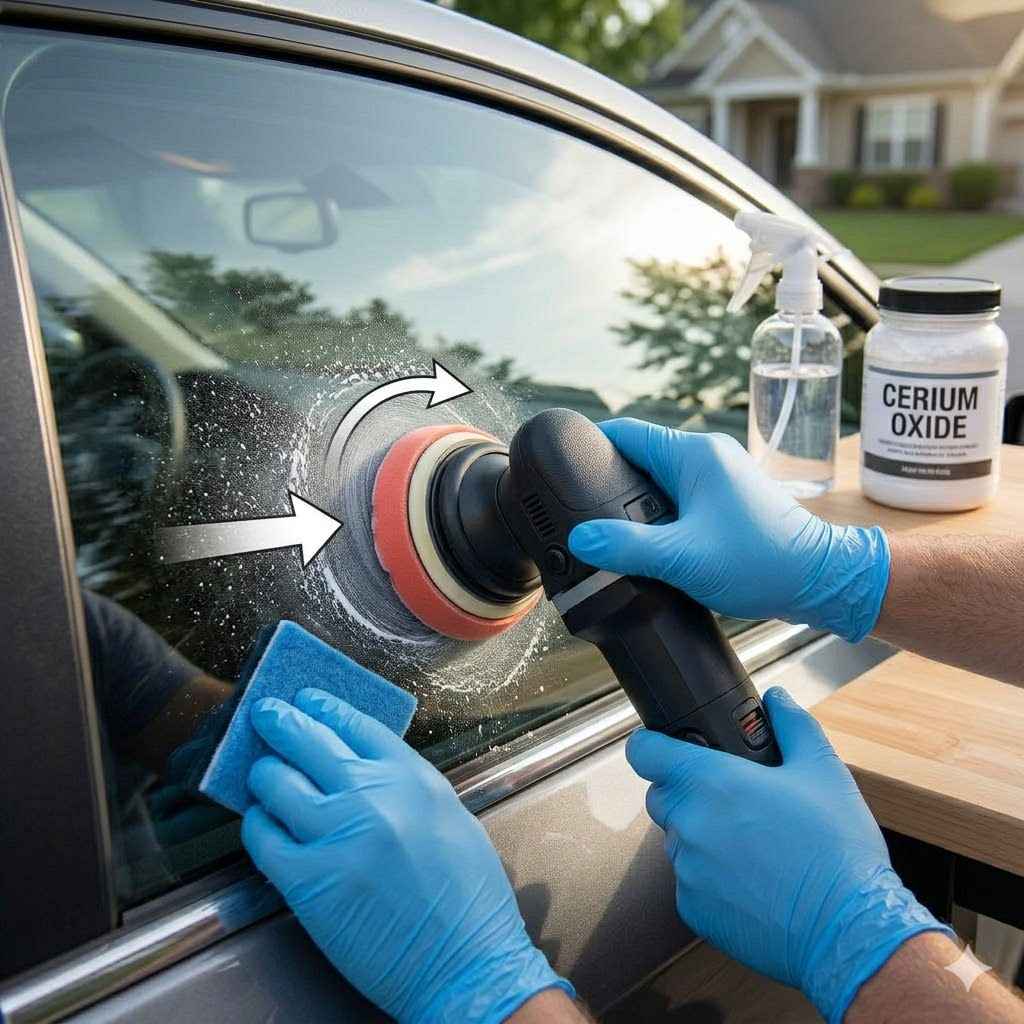
Apply a small amount of the glass polish to a clean applicator pad or microfiber cloth. You can also use a power buffer with a low speed setting. Gently rub the polish into the scratch.
Work in small sections, using moderate pressure. Move the applicator in a circular or back-and-forth motion. Don’t let the polish dry on the glass.
Continue polishing for a few minutes. Then, wipe away the residue with a clean, damp microfiber cloth. Inspect the scratch.
You may need to repeat the polishing process. For deeper scratches, you might need to use a finer grit polishing pad with the compound. Always follow the product’s recommendations.
Some compounds are more aggressive than others. It’s wise to test on an inconspicuous area first if possible.
Glass Polish Application Tips
Preparation is Key:
- Clean the window thoroughly.
- Ensure the glass is completely dry.
Application:
- Use a small amount of polish.
- Apply to a clean microfiber cloth or pad.
- Work in small, manageable areas.
- Use gentle to moderate pressure.
- Keep the area lubricated; don’t let polish dry.
Post-Application:
- Wipe away residue with a damp cloth.
- Check progress frequently.
- Repeat as needed, following product instructions.
When to Consider Professional Help
While DIY methods are great, they have limits. If a scratch is very deep, you might not be able to remove it entirely. Trying to force it can actually damage the glass further.
If you can easily catch your fingernail on the scratch, it’s likely too deep for home repair. Also, some scratches might be on very delicate or tinted windows. In these cases, it’s safer to consult a professional.
They have specialized tools and knowledge.
Sometimes, a scratch might not be just on the surface. It could be a chip or crack. These require different repair techniques.
A professional auto glass shop can assess the damage. They can tell you if it’s repairable or if replacement is needed. It’s better to pay for professional service than to risk causing more damage at home.
Safety is also important. Damaged glass can be a safety hazard. Always prioritize clear visibility while driving.
Real-World Scenarios and What to Expect
Imagine you’re driving on a dusty gravel road. A truck ahead kicks up a cloud of dirt. Some of it hits your windshield.
Later, you notice fine, spiderweb-like scratches. These are usually light. Baking soda or a good glass polish should work well here.
You’ll spend some time buffing, but you’ll likely get a clear result.
Now, think about a time a small rock flew up from the road. It hit your side window and left a distinct, deeper line. This isn’t a hairline scratch.
It’s a noticeable groove. You might be able to lessen its appearance with a glass polish, but it might not disappear completely. You may still see a faint line, especially when the light hits it just right.
This is a common outcome for medium scratches.
What about keys accidentally dragged across a window? Or a bad scrape from a shopping cart? These can create long, deep gouges.
These are the kinds of problems where DIY methods often fall short. You might improve the look slightly, but the scratch will likely remain visible. This is when calling a professional glass repair service is the wisest choice.
They can often repair these types of damage, or recommend replacement if needed. It’s all about managing expectations for what home methods can achieve.
Understanding Scratch Severity
Light Scratches:
- Appearance: Very faint, hard to see unless looking closely or at an angle.
- Feel: Cannot feel with a fingernail.
- DIY Fix: High success rate with baking soda, toothpaste, or mild glass polish.
Medium Scratches:
- Appearance: Noticeable, especially in certain light.
- Feel: May feel a slight catch with a fingernail.
- DIY Fix: Possible to reduce appearance with glass polish, but may not fully remove. Requires patience and multiple attempts.
Deep Scratches:
- Appearance: Very obvious, significant groove.
- Feel: Easily catch a fingernail.
- DIY Fix: Difficult to remove completely. Risk of making it worse. Professional repair or replacement often needed.
Preventing Future Scratches
The best way to deal with scratches is to prevent them. This saves you time, money, and frustration. Regular cleaning is key.
Wash your car often. Use a good car wash soap and plenty of water. This removes abrasive grit before it can cause damage.
When you wash your windows, use a clean microfiber cloth and a quality glass cleaner.
Be mindful of your windshield wipers. If they look worn or cracked, replace them. Dirty wipers are a major cause of scratches.
Don’t use them to clear off dry dirt or ice. If you must scrape ice, use a proper ice scraper designed for cars. Avoid metal edges.
Also, be careful when cleaning the inside of your windows. The plastic trim around the windows can scratch the glass if you’re not careful.
Park your car thoughtfully. Avoid parking under trees that shed sticky sap or debris. Be aware of your surroundings when driving.
Try to avoid following large trucks on unpaved roads. These simple habits can go a long way in keeping your car windows looking like new. It’s about being proactive and treating your car with care.
Protecting your car’s glass is part of overall car care.
Quick Prevention Tips
Smart Cleaning:
- Wash your car regularly.
- Use soft microfiber cloths for windows.
- Use a dedicated glass cleaner.
Wiper Care:
- Inspect wipers for wear.
- Replace worn or damaged wipers.
- Clean wipers gently.
Driving Habits:
- Avoid following trucks on dirt roads.
- Park away from falling debris.
- Use proper tools for ice removal.
What This Means for Your Car’s Value
Clear windows are more than just for looks. They are important for your car’s safety and value. Scratched windows can impair your vision, especially at night or in bad weather.
This is a safety risk. A car with clean, clear windows looks better maintained. This can positively impact its resale value.
Potential buyers notice these details. A well-kept exterior, including the glass, suggests the car has been cared for.
If you plan to sell your car privately or trade it in, the condition of the windows matters. Removing minor scratches can make a noticeable difference. It shows you’ve taken pride in ownership.
If you have deep scratches or chips, getting them professionally repaired before selling can boost the car’s appeal and price. Think of it as an investment in your car’s overall presentation and marketability. It’s a small detail that can have a big impact.
FAQ: Your Questions Answered
How quickly can I see results from scratch removal?
Results vary based on scratch depth and method used. Light scratches often show improvement within minutes of polishing. Deeper ones may require multiple sessions or professional attention. Patience is key.
Can I use a nail file to remove a scratch?
Absolutely not. A nail file is far too abrasive. It will create more and deeper scratches, significantly damaging the glass. Stick to approved cleaning and polishing methods.
Will removing scratches affect window tint?
If the scratch is on the outside of the window, tinting is usually unaffected. If you are trying to fix a scratch on the inside, and your windows are tinted on the inside, you must be extremely careful. Most DIY methods are not recommended for tinted interiors.
What is the best time of day to try scratch removal?
It’s best to work in good natural light, but avoid direct, hot sunlight. Sunlight can make the polishing compounds dry too quickly and leave streaks. A slightly overcast day or working in shade is ideal.
Can I use a regular household cleaner on my car windows?
Many household cleaners contain ammonia or harsh chemicals. These can damage window tint or leave streaks on car glass. Use a cleaner specifically designed for automotive glass for the best results. Microfiber cloths are essential for a streak-free finish.
How do I know if a scratch is too deep to fix at home?
If you can feel a significant groove when you run your fingernail across the scratch, it is likely too deep for DIY methods. Trying to force it could cause more damage. Professional assessment is recommended for deep scratches.
Conclusion: Clearer Views Ahead
Dealing with car window scratches can be a real headache. But as you’ve seen, many common imperfections are fixable at home. By using simple materials like baking soda or toothpaste, or investing in a good glass polish, you can often restore your windows to their former glory.
Remember to always start with the gentlest method and be patient. If a scratch is too deep, don’t hesitate to seek professional help. Keeping your windows clear not only makes your car look better but also ensures your safety on the road.
Happy polishing!