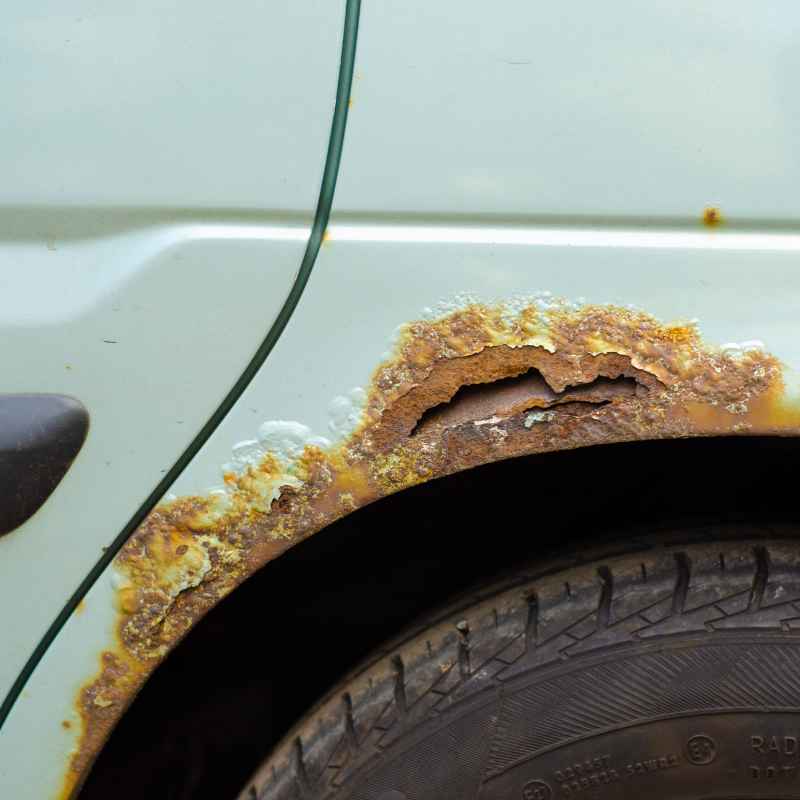
How to Repair Small Rust Spots on a Car the Right Way
Repairing small rust spots on a car quickly is the only way to stop them from spreading and destroying your paint. Left alone, even a tiny bubble can turn into a hole within months. This guide walks you through the exact steps to remove rust, treat the metal, and blend the repair so it looks professional.
In short, the right way to repair small rust spots is to sand down to bare metal, treat the area with a rust converter or inhibitor, apply primer, paint, and clear coat in thin layers. Rushing any step or skipping the rust treatment guarantees the spot will come back within a year.
Key Takeaways
- Repairing small rust spots on a car requires sanding until all rust is gone — if you see discoloration, you aren’t done yet.
- Using a rust converter or inhibitor after sanding is critical to prevent regrowth beneath the paint.
- Thin coats of primer, base paint, and clear coat with proper drying time between each layer produce a blendable, durable finish.
- Avoid common mistakes like skipping the clear coat or sanding too aggressively near the repair area.
What You Need for a Professional Rust Repair
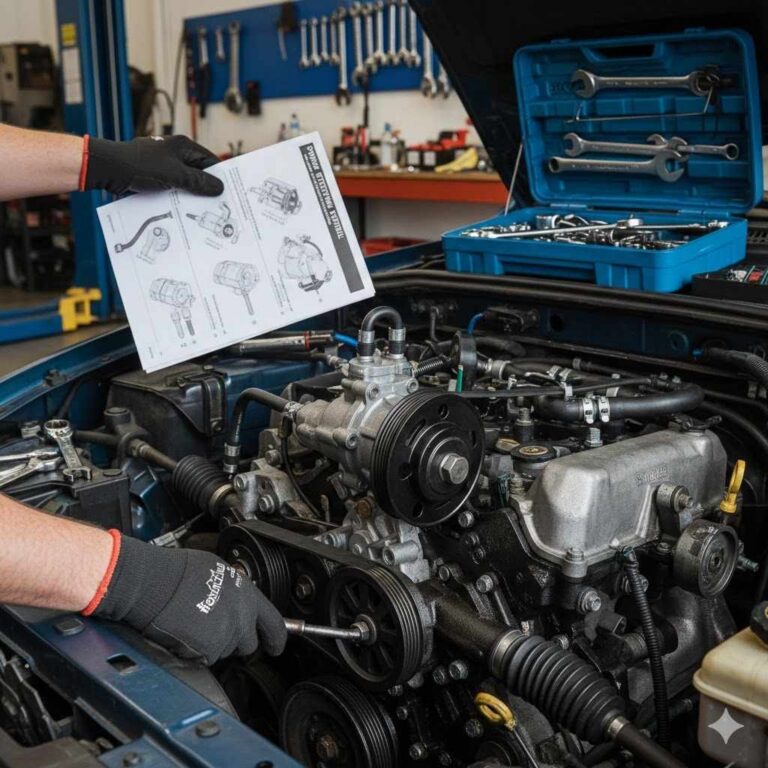
You don’t need a body shop to fix small rust spots on a car. With the right tools and a little patience, a driveway repair can look factory-fresh. Below is a complete list of everything required for the job.
- Sandpaper in varying grits: 80, 120, 220, 400, 600, and 1500 (wet/dry)
- Rust converter or rust inhibitor (e.g., Permatex Rust Treatment or Corroseal)
- Automotive primer (self-etching or high-build recommended)
- Touch-up paint matched to your car’s paint code (check driver’s door jamb sticker)
- Clear coat spray (aerosol or brush-on for small spots)
- Rubbing compound and polishing compound
- Sanding block, microfiber cloths, painter’s tape, and newspaper
- Tack cloth or isopropyl alcohol for cleaning
Tip: Buy a “touch-up paint pen” from your dealer if the spot is smaller than a pencil eraser. For larger spots, use a spray can matched to your paint code.
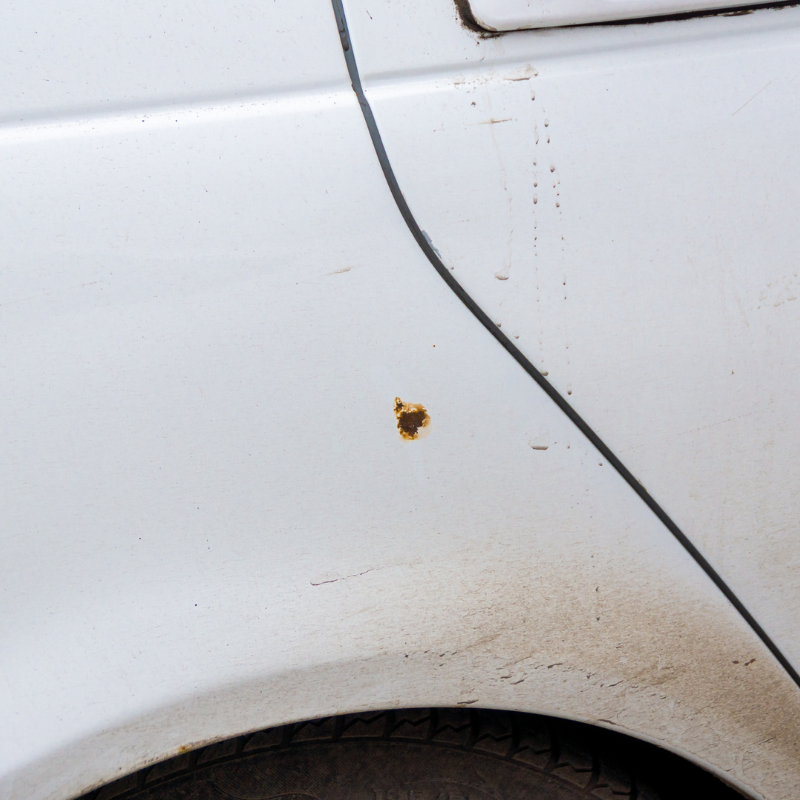
Step 1: Sand the Rust Spot Down to Bare Metal
This is the most aggressive — and most important — step. You must remove every trace of rust until you see shiny, bare metal. Any leftover rust will continue to grow under the new paint.
- Clean the area with soap and water, then dry completely.
- Mask off the surrounding area with painter’s tape and newspaper to protect nearby paint.
- Start with 80-grit sandpaper and sand the rust spot in a circular motion. Go about 1 inch beyond the visible rust.
- Wipe away dust frequently to inspect progress. Keep sanding until no orange or brown discoloration remains.
- Feather the edges by switching to 120-grit, then 220-grit, blending the repair into the surrounding clear coat.
Warning: Do not press too hard. Let the sandpaper do the work. Excessive pressure can dent the metal or burn through the clear coat on the edges.
Step 2: Treat the Bare Metal with a Rust Converter
A rust converter chemically reacts with any microscopic rust particles you missed and creates a stable, paintable surface. This step is non-negotiable if you want the repair to last.
- Apply a thin, even coat of rust converter using a small brush or foam applicator.
- Allow it to dry according to the product instructions — typically 20 to 30 minutes.
- The treated area will turn a dark blue, black, or gray color. This is normal and indicates the chemical reaction is complete.
- Lightly sand with 400-grit sandpaper to smooth any texture, then clean with a tack cloth.
According to a 2022 report from the American Automobile Association (AAA), untreated rust spots can expand by up to 5 times their original size within 12 months in regions with road salt. Using a converter stops that cold.
Step 3: Apply Primer to Seal the Metal
Primer provides adhesion between the bare metal and the paint, while also adding a layer of corrosion resistance. Without it, the paint will peel or bubble within months.
- Shake the primer can vigorously for at least 2 minutes.
- Spray from about 8 to 10 inches away in light, sweeping passes.
- Apply 2 to 3 thin coats, waiting 5 to 10 minutes between each coat.
- After the final coat dries for 30 minutes, wet-sand with 600-grit sandpaper for a smooth base.
- Wipe clean with isopropyl alcohol and let dry.
| Primer Type | Best For | Drying Time |
|---|---|---|
| Self-etching primer | Bare metal, aluminum, galvanized steel | 20 minutes |
| High-build primer | Filling light scratches and imperfections | 30 minutes |
| 2K epoxy primer | Maximum corrosion resistance | 2 hours |
Self-etching primer is the best all-around choice for bare metal on cars. It bonds chemically rather than just mechanically.
Step 4: Apply the Base Color Paint
Now you add color. The goal is to build up thin layers that match the surrounding paint without creating a raised edge or “halo.”
- Use touch-up paint that matches your car’s exact paint code. You can find this on the driver’s side door jamb sticker or in the owner’s manual.
- If using a spray can, test on cardboard first to check color and spray pattern.
- Apply 3 to 4 thin coats, waiting 5 minutes between each coat. Keep the spray can 8 to 10 inches away.
- For pen-style touch-up paint, dab the paint into the spot and let it self-level. Do not brush it out.
- Allow the final coat to dry completely — at least 1 hour for aerosol, 24 hours for pen paint.
Important: If the color does not match your car’s paint code exactly, bring a sample (like your gas cap cover) to an auto paint store for custom mixing. Never guess.
Step 5: Apply Clear Coat for Gloss and Protection
Clear coat seals your color layer and provides the glossy finish that matches the rest of the car. It also blocks UV rays that can fade the paint over time.
- Shake the clear coat can for 2 minutes minimum.
- Spray from 8 to 10 inches away in light, even passes.
- Apply 2 to 3 coats, allowing 10 minutes between each coat.
- After the final coat, let it cure for at least 24 hours before polishing or washing.
- If the clear coat looks orange-peeled or rough, wet-sand with 1500-grit sandpaper and then buff with rubbing compound.
The National Automotive Paint Association notes that clear coat thickness on modern cars is typically 1.5 to 2 mils. Applying too much clear coat can cause cracking, while too little leaves the paint vulnerable.
Step 6: Blend, Polish, and Wax the Repair Area
Blending makes the repair invisible. The goal is to level the clear coat edge and restore gloss so the repaired rust spot disappears into the surrounding paint.
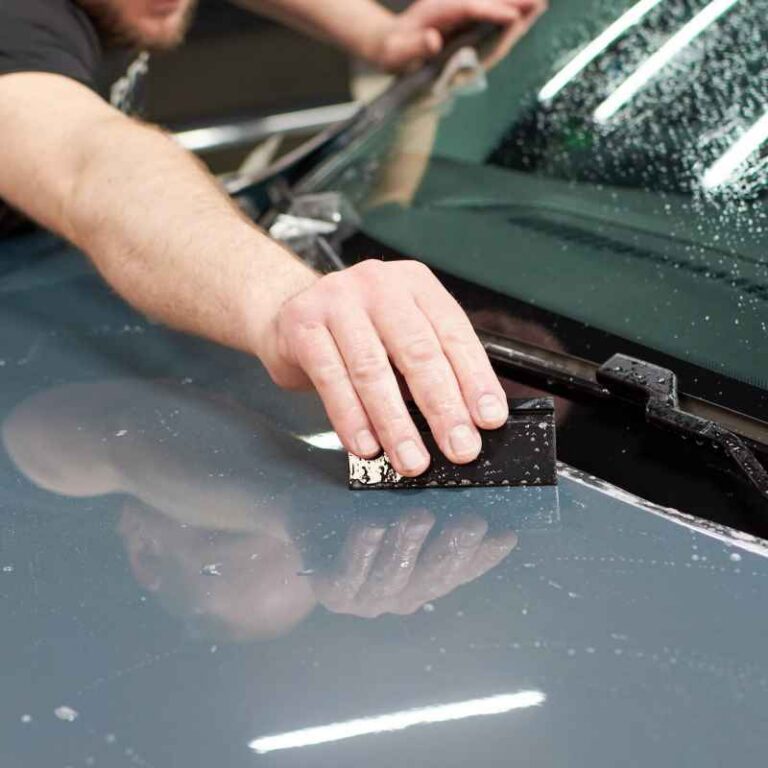
- Wet-sand the clear coat with 1500-grit sandpaper to knock down any texture.
- Use rubbing compound with a microfiber cloth or an orbital buffer on low speed.
- Follow with polishing compound to bring back the shine.
- Apply a coat of automotive wax or paint sealant to protect the fresh paint.
- Inspect the repair from different angles in direct sunlight. If you see a dull spot, repeat the polishing step.
Tip: Use a “blending solvent” or “blend reducer” if you want a professional-grade transition. It softens the edge of the clear coat so it melts into the factory paint.
Common Mistakes When Repairing Small Rust Spots
Even experienced DIYers make these errors. Avoiding them saves time and prevents the rust from returning.
- Skipping the rust converter — Sanding alone does not remove microscopic rust. Without a converter, the spot returns within months.
- Applying thick coats — Thick paint runs, drips, and takes forever to dry. Thin coats build up properly and self-level.
- Not feathering the edges — A sudden edge between the repair and old paint creates a visible ring. Feathering blends it seamlessly.
- Painting in direct sunlight or high humidity — Paint dries too fast in sun, causing orange peel. Humidity causes blushing (a milky haze).
- Rushing the cure time — Clear coat needs 24 to 48 hours to fully harden. Polishing too early can ruin the finish.
| Mistake | Consequence | How to Avoid |
|---|---|---|
| No rust converter | Rust returns in 6–12 months | Always use a converter after sanding |
| Thick clear coat | Runs, drips, cracks | Apply 2–3 thin coats only |
| Painting in humidity | Paint blushing, poor adhesion | Paint when humidity is below 60% |
Most people who try to repair small rust spots on a car fail because they skip the chemical treatment. Rust is a cancer — it grows from below. You have to kill the roots.
How Long Does a Rust Spot Repair Last?
With proper preparation and materials, a DIY repair on small rust spots can last 3 to 5 years or longer. The key factors are the quality of the rust treatment, the number of paint layers, and the environment where the car lives.
- Vehicles in dry climates (Arizona, Nevada) often see repairs last 5+ years.
- Cars driven in snowy regions with road salt may need touch-ups every 2 to 3 years.
- Frequent washing and waxing extends the life of any paint repair significantly.
- Parking in a garage or under a carport reduces UV and moisture exposure.
The Car Care Council reports that 70% of vehicles over 7 years old have some form of rust, but fewer than 20% of owners address it promptly. Early intervention is the cheapest and most effective strategy.
Frequently Asked Questions
Can you repair small rust spots on a car without sanding?
No. Sanding is required to remove the rust and create a surface that primer and paint can adhere to. Products that claim to “cover rust” without sanding are temporary at best and often trap moisture, making the rust worse.
How much does it cost to repair a small rust spot on a car?
A DIY repair costs between $15 and $50 for sandpaper, primer, paint, and clear coat. A professional body shop will charge $150 to $500 per spot, depending on location and blending requirements.
What is the best rust converter for car body panels?
Permatex Rust Treatment and Corroseal are the most popular and effective brands for automotive use. Both convert rust into a stable, paintable surface and work well on small spots.
How long should I wait between painting coats?
Wait 5 to 10 minutes between primer coats, 5 minutes between base color coats, and 10 minutes between clear coat coats. Drying time depends on temperature and humidity — warmer, drier conditions speed things up.
Can I use touch-up paint from a pen instead of a spray can?
Yes, for spots smaller than a dime. Paint pens work well for small chips and pinhead-sized rust spots. For anything larger, a matched spray can gives a smoother, more uniform finish.
Final Thoughts
Fixing small rust spots on a car the right way takes a few hours of work but saves hundreds of dollars in body shop fees. The process is straightforward: sand, treat, prime, paint, clear, and polish. Never skip the rust converter, and always apply thin coats.
With patience and the right materials, your car can look clean and protected for years to come.
Sponsored / affiliate links. As an Amazon Associate I earn from qualifying purchases. I may earn additional commission from eligible campaigns.
Products related to this article