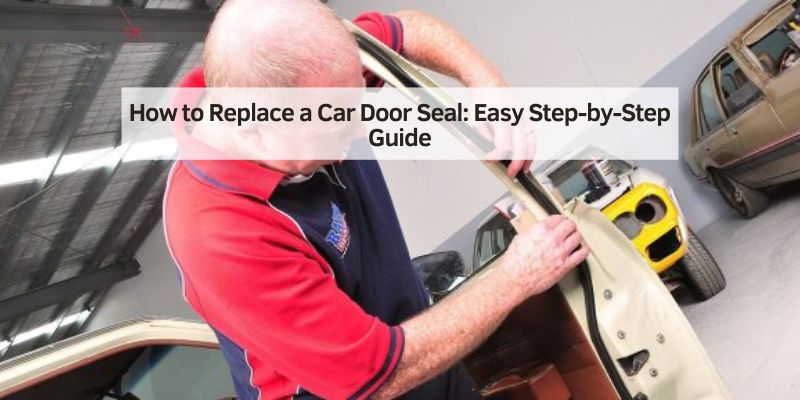
How to Replace a Car Door Seal: Easy Step-by-Step Guide
Replacing a car door seal is one of the cheapest repairs that actually protects your car, because a cracked or compressed seal lets in water and wind long before the damage becomes obvious.
It’s a job most drivers can handle in an afternoon with a trim tool, some adhesive, and a replacement seal that matches your door’s channel profile — no welding, no interior disassembly, and no dealership labor rate. Rubber weatherstripping breaks down gradually as UV light and ozone dry out the compound, and after several years in direct sun it stiffens, shrinks slightly, and loses the flexibility that lets it compress against the door frame.
Once that happens, gaps open at the corners and along the beltline, and both water and road noise start finding their way in around the glass and door skin — moisture trapped inside the door can rust the inner panel from the inside out long before rust shows up on the paint. None of this requires specialized training to fix. With the right replacement seal and a little patience during removal, you can restore a tight, quiet seal in a single sitting. This guide walks through choosing the seal, stripping the old one off cleanly, and installing the new one so it seats correctly the first time.
Introduction To Car Door Seals
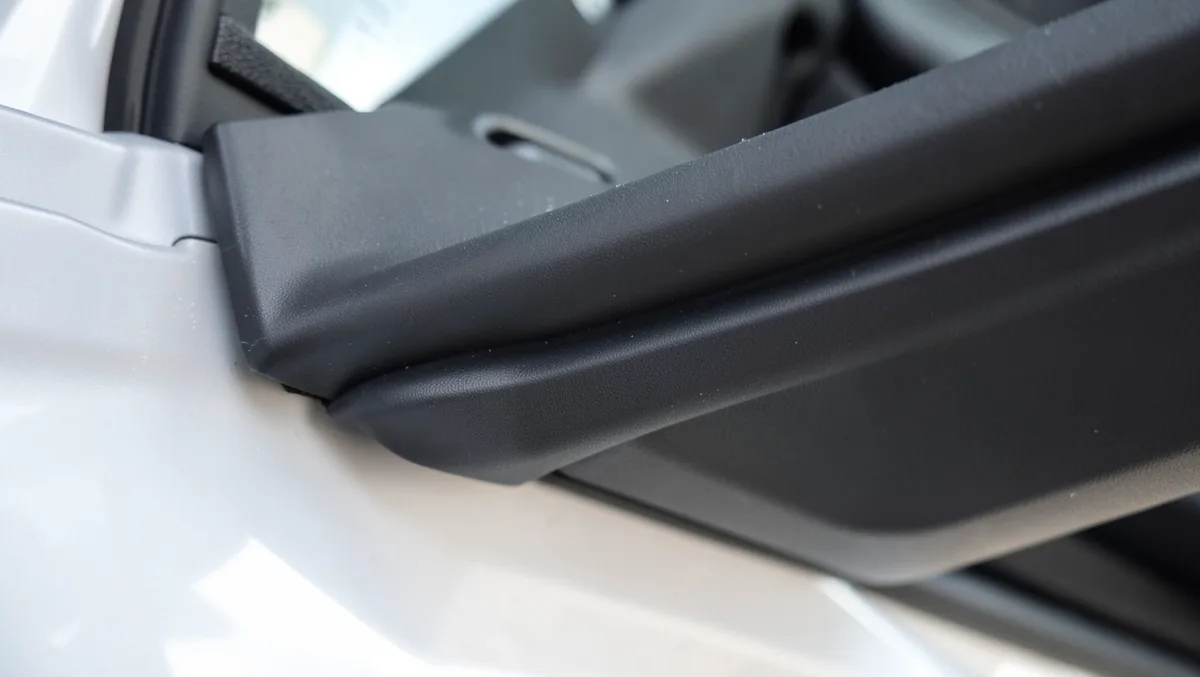
Car door seals — technically called weatherstripping — are the rubber gaskets that run around the door opening or the door itself, compressing against the body when the door closes to block out water, dust, and wind noise. Most factory seals are extruded EPDM rubber with a hollow bulb section that flattens slightly under the door’s latch pressure, which is what creates the airtight seal that keeps the cabin quiet at highway speed.
That bulb shape is also the first thing to fail. EPDM resists UV and ozone better than older rubber compounds, but years of sun exposure still dry it out, and the hollow bulb eventually loses its memory and stays flattened even with the door open. A seal in that condition can’t flex back into the gap it’s supposed to fill, so it stops blocking water even though it may still look intact from a few feet away.
The signs are usually easier to hear than to see. A seal that’s gone hard or brittle lets in more road noise, especially a rushing sound near the mirrors or A-pillar. Cracks along the bulb or flat spots where it’s been pinched by the door for years are visual giveaways. If you find water on the floor mats after rain, feel a draft with your hand near the seal while the engine’s off, or notice the door doesn’t latch with the same resistance it used to, the seal is telling you it’s due for replacement.
Gathering Necessary Tools
You don’t need a full mechanic’s toolbox for this job, but a few specific tools make the difference between a clean removal and a torn door panel. A flat trim removal tool (plastic, not metal, so it won’t scratch paint or gouge the channel) is what actually gets the old seal started; a screwdriver is only needed if your door has seal retainers held on with screws or push clips rather than adhesive alone. Adhesive remover or a citrus-based degreaser cuts through the old butyl or contact cement left behind once the seal is off, and a heat gun or hairdryer on low helps soften stubborn adhesive without damaging the paint underneath it. Keep a shop rag and a small bucket nearby for the scraps — old weatherstripping sheds rubber dust as it comes off, and it’s easier to bag as you go than to sweep up afterward.
On the materials side, buy the replacement seal matched to your exact make, model, and door — front and rear door seals are rarely interchangeable, and driver and passenger sides can differ too. A rubber-safe adhesive, usually 3M Weatherstrip Adhesive or an equivalent trim cement, is what actually holds the new seal in place long-term; regular super glue or silicone caulk won’t hold up to years of door-slamming and temperature swings. Alcohol wipes clean the channel surface so the new adhesive can bond properly, and fine-grit sandpaper (400-600 grit) can knock down old adhesive ridges without gouging the metal. A soft brush and dish soap handle general grime, and painter’s tape is handy for holding the new seal in position while the adhesive sets.
Preparing Your Workspace
Work somewhere flat, dry, and out of direct sun — a garage is ideal, since heat and glare make adhesive cure unevenly and rubber harder to shape. Park the car and set the parking brake before you start, and shut off the engine. You’ll be working with the door open for an extended stretch, so give yourself enough room on both sides that you’re not squeezing between the door and a wall or another vehicle.
Wear gloves — old adhesive and rubber shavings are unpleasant on bare skin, and a plastic trim tool can slip if your hands are damp. Safety glasses are worth putting on too, since dried adhesive can flake off unexpectedly when you’re prying at it. Lay out your tools somewhere you won’t trip over them, and keep the work area lit well enough to actually see the channel you’re cleaning — a shop light or a flashlight earns its keep here, since most of the gaps you’re checking are shadowed even in daylight.
Removing The Old Seal
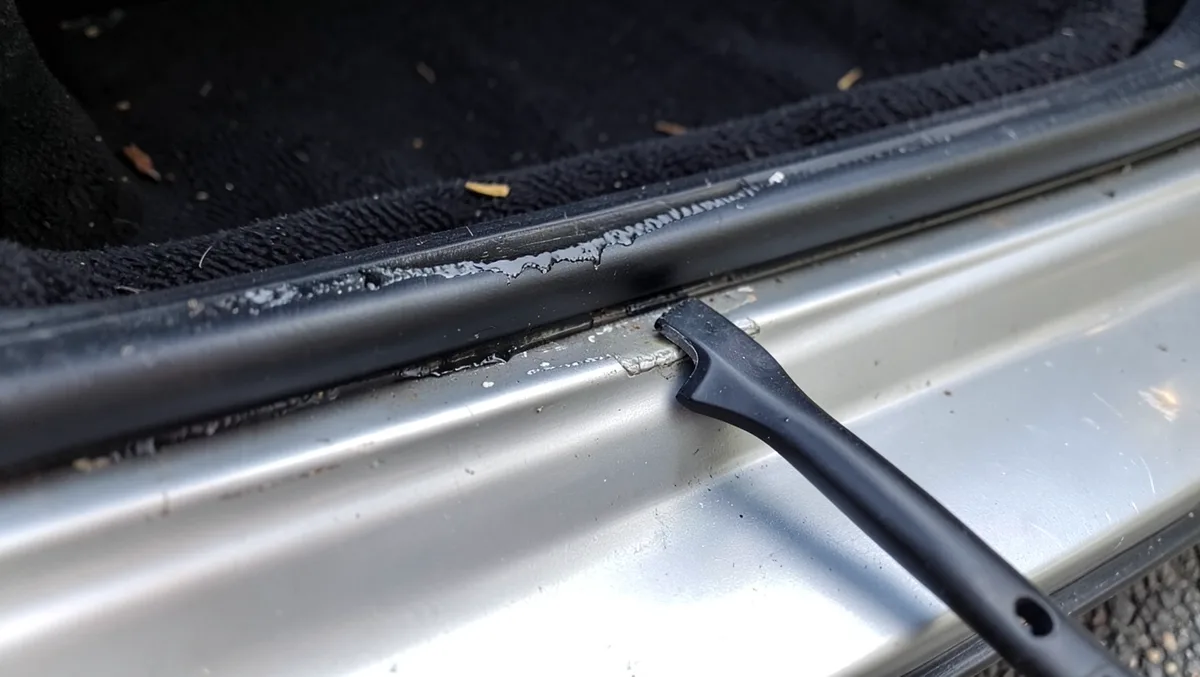
Removing the old seal is mostly about patience rather than force. Start at one corner — usually near the top of the door or where the seal meets a plastic end cap — and work a trim tool gently underneath the bulb to break the adhesive bond a few inches at a time. Pulling on one spot and yanking the whole strip off in one motion is the fastest way to crack the plastic retainer clips underneath or tear the paint in the door channel, so resist the urge to rush it.
Identifying Attachment Points
Before you start prying, look at how your specific seal is actually held on, since methods vary by manufacturer and even by door on the same car. Some seals sit in a channel and rely almost entirely on adhesive; others have plastic push-pin clips spaced every few inches along the door frame, visible as small bumps under the rubber if you run a finger along it. A few designs combine both — clips at the corners for shape, adhesive along the straight runs — so check the whole perimeter rather than assuming one method applies everywhere. Corners and the area near the door hinge are the most common spots for a screw or bracket, since that’s where the seal takes the most stress from repeated opening and closing.
Techniques For Easy Removal
Work the trim tool under the bulb at a shallow angle, close to the metal channel rather than into the rubber itself, and peel back a short section at a time instead of trying to free the whole seal in one pull. Old adhesive that’s turned brittle usually lets go with steady pressure, but where it’s still gummy, warm the area with a hairdryer on low heat for 20-30 seconds first — heat softens butyl adhesive enough that it releases without tearing the rubber. If a section fights back more than the rest, stop and check for a hidden clip before forcing it; snapped retainer clips are the most common reason a seal replacement takes longer than expected, since replacements for them aren’t always sold separately from the door hardware.
Cleaning The Seal Area
Removing residue is the step that gets skipped most often, and it’s the one that decides whether the new seal actually bonds. Once the old seal is off, you’ll usually find a thin film of dried adhesive left in the channel, along with whatever dirt and grease worked its way in over the years. Wipe it down first with a soft cloth and warm soapy water to clear loose debris, then follow with alcohol wipes to strip the oily residue that soap alone won’t fully remove, paying extra attention to the corners and any spot welds.
Ensuring a smooth surface matters just as much, since the channel needs to be flat for the new seal to compress evenly. If you feel raised edges of old adhesive or scale from surface rust, knock them down with 400-600 grit sandpaper — enough to level the surface, not enough to strip paint down to bare metal. Run a hand along the whole channel when you’re done; any bump you can feel will telegraph through the new seal and create a gap right at that spot.
Installing The New Seal
With the channel clean and dry, dry-fit the new seal along the frame before committing any adhesive, checking that the profile matches the old one and that it reaches every corner without stretching. Once you’re confident it’s the right part, apply adhesive in a thin, even bead along the channel — not the seal itself, unless the manufacturer’s instructions say otherwise — then press the seal into place from one end to the other rather than setting it down all at once.
Positioning The Seal Correctly
Line up the new seal against the same reference points the old one used — usually a molded corner piece or a marked centerline — so it sits the same distance from the door edge all the way around. Keep the seal relaxed rather than stretched as you press it in; a stretched seal shrinks back over the following weeks and pulls away from the corners, which is exactly the gap you’re trying to eliminate. Work from one fixed point outward in both directions, checking every foot or so that it’s sitting flush and hasn’t twisted, since a twisted bulb won’t compress evenly in the corners once the door closes.
Securing The Seal In Place
Once the seal is positioned, go back over the full length with firm hand pressure, then use a rubber mallet over a block of wood or a folded rag to seat any spots that feel slightly proud of the channel — never strike the seal directly with bare metal, since that can crush the bulb permanently. Where a spot still feels loose, add a small amount of glue at that point and hold it with painter’s tape while it cures, typically 12-24 hours depending on the product. Resist the urge to test-slam the door during that curing window; close it gently instead, and give the adhesive its full cure time before judging the fit.
Testing The Seal
Checking for gaps once the adhesive has cured is worth doing the same way a body shop would: close the door slowly while watching the seal compress, and run a flashlight beam along the edge from outside while a helper checks for light leaking through from inside. Any spot where the beam shows through, or where you can see daylight without a light at all, is a spot where the seal isn’t compressing — usually because of a slight twist, a low spot in the channel, or the seal not being pressed in fully at that point.
Ensuring proper fit is also a matter of feel and sound. With the doors closed and the engine off, run a hand slowly around the inside edge of the seal on a breezy day and feel for air movement; a properly seated seal should block it almost completely. On the next highway drive, listen for wind noise near the mirrors and A-pillars specifically — that’s usually the first place a slightly misaligned seal reveals itself, since even a small gap gets noisy at speed even if it never lets in water.
Maintenance Tips
Check your car door seals every few months rather than waiting for a problem to show up. Run a finger along the rubber and note whether it still feels pliable — hard, glassy, or cracked rubber has already started the same UV-driven breakdown that killed the old seal, and catching it early means a quick fix instead of a full replacement. Wipe the seal down with a soft cloth whenever you wash the car, since built-up grime and road salt accelerate the rubber’s aging.
Keeping the car out of direct sun does more for seal longevity than almost anything else you can do — a car cover or a shaded parking spot slows the UV exposure that dries rubber out in the first place. A silicone-based rubber protectant applied every few months keeps the seal flexible without the petroleum solvents in some all-purpose products, which can actually accelerate cracking over time. Beyond that, it comes down to habit: close doors with a firm push rather than a slam, since the repeated shock of slamming compresses the bulb unevenly and shortens its working life.
Frequently Asked Questions
Can Car Door Seals Be Replaced?
Yes, car door seals can be replaced. Damaged seals lead to noise and water leaks. Replacing them improves insulation and comfort. You can do it yourself or hire a professional. Quality seals ensure a snug fit and long-lasting performance. Regular inspection extends their lifespan.
Is It Easy To Replace Car Seals?
Replacing car seals can be challenging, especially for beginners. It requires proper tools and mechanical skills. Consulting a professional is advisable to ensure a proper fit and avoid potential leaks. Always consult your vehicle’s manual for guidance and follow safety precautions during the process.
How To Replace Car Door Weatherstrip?
Remove the old weatherstrip by pulling it away gently. Clean the area thoroughly. Align the new weatherstrip, pressing it firmly into place. Ensure it’s secured properly without gaps. Test the door for proper sealing.
How To Fix The Seal On A Car Door?
Clean the seal with soapy water and a cloth. Inspect for damage or gaps. Apply silicone lubricant to restore flexibility. Replace the seal if cracked or broken. Ensure proper alignment when installing new seals for a snug fit. Regular maintenance helps prevent future issues.
Conclusion
Replacing a car door seal isn’t a complicated job once you break it down: gather a trim tool, adhesive, and a seal that matches your door, work the old one off patiently instead of ripping it free, clean the channel thoroughly, and press the new seal in without stretching it. The whole process usually takes an hour or two per door, and it’s a fraction of what a shop would charge for the same repair.
The payoff is more than a quieter cabin — a good seal keeps water out of the door panel and sill, which is where rust actually starts on most cars long before it reaches visible paint. Check your seals a couple of times a year, keep them out of direct sun when you can, and a fresh set installed correctly should easily outlast the next several years of daily driving.
Products related to this article
Sponsored / affiliate links. As an Amazon Associate I earn from qualifying purchases. I may earn additional commission from eligible campaigns.
 10FT Car Door Seal Strip with Upgraded 3-Bulb Side Design, Universal EPDM Rubber Weather Stripping for Truck, RV, Boat & Home Cabinets, Automotive Edge Trim Gasket, Fit for Original 35mm Weatherstrips
 Car Door Seal Strip 5-Hole - alophoty 34 Ft EPDM Rubber Self-Adhesive Automotive Weather Stripping, 0.39" × 0.31", Soundproof Waterproof & Dustproof, Fits Cars SUVs Trucks RVs