How to Get Pine Pitch Off a Car Without Dulling the Paint (2026)
Pine pitch is thicker and stickier than ordinary tree sap, and a plain car wash usually will not touch it. The good news is that you can get it off with a short, low-risk sequence: wash, soften or dissolve, clay what is left, then re-protect the paint. The catch is that every step that actually works also strips wax, or can mar clear coat if you rush it.
This guide ranks the methods from least to most aggressive, with a table of how strong each one is and what it risks for your paint. It draws on the published sap guides from Chemical Guys and Turtle Wax, Griot’s Garage product pages and its safety data sheet, and WD-40 Company’s own statements. Where a popular home remedy has no maker support, we say so instead of repeating it.
Quick Answer
Wash and dry the car, then try a stronger car-soap solution on the spot. If the pitch is still tacky, use a bug, tar and sap remover on a soft cloth (spot test first, short dwell, one small section at a time), then clay any residue with plenty of lubricant. Re-wax afterward, because the remover and alcohol strip wax. Do not scrape or rub dry.
Why Pine Pitch Is Problematic
Best Clay Kit for Baked-On Sap
|
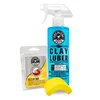
Chemical Guys OG Clay Bar and Luber Synthetic Lube Kit, Medium Duty A two-piece kit: a medium duty clay bar plus the Luber spray lubricant that the clay needs to glide without marring paint.
As an Amazon Associate we earn from qualifying purchases. Price and availability change; check the listing. |
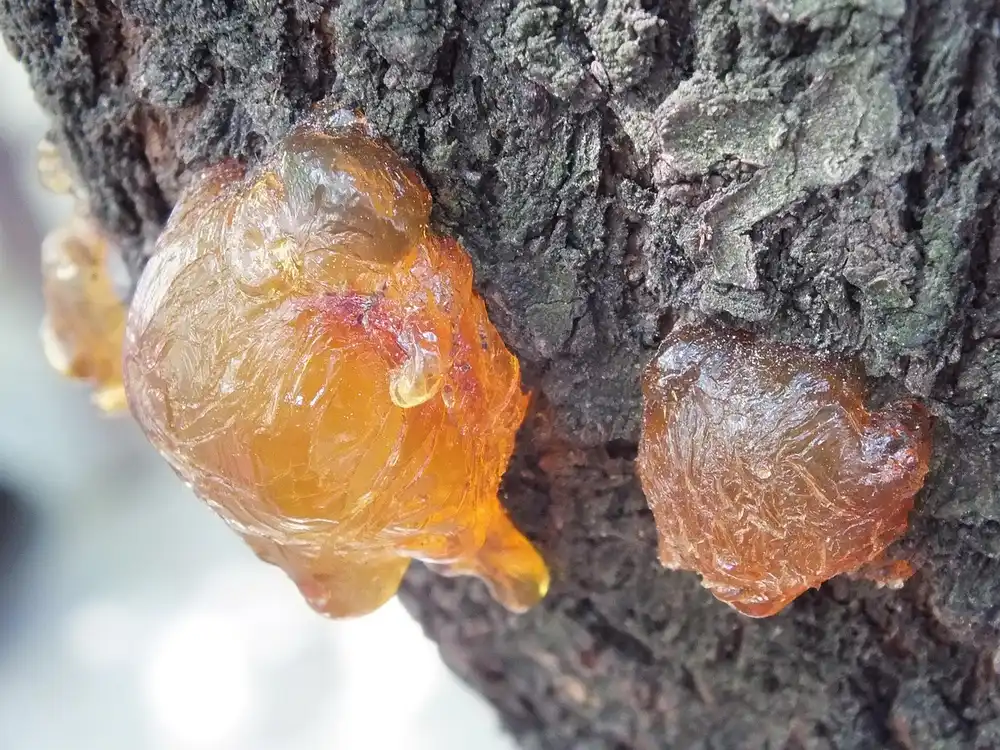
Turtle Wax explains the problem in chemistry terms: sap is made of oils, resins and terpenes, and the terpenes are what make it sticky. Oak and maple sap is thin and usually comes off easily, especially when fresh. Cedar, fir and pine sap is thick and glue-like, and Turtle Wax says it rarely comes off with soap and water alone. That is why a quick wash often seems to do nothing on pine pitch.
The clock matters too. Chemical Guys says sap bonds to clear coat as it cures under UV and heat, that sap left in direct sunlight for a few days gets harder to remove and riskier to work on, and that sap left for weeks or months can etch deeply enough to leave a permanent indentation. Turtle Wax goes further and notes the terpenes act like a natural paint thinner on the clear coat.

Essential Tools And Supplies
- Car wash soap, a wash mitt and clean microfiber towels (several, so you can switch to a fresh one often)
- A bug, tar and sap remover made for automotive paint, if the pitch is still sticky after washing
- A clay bar and clay lubricant (or a kit that includes both) for residue that remains
- A car wax or sealant, plus an applicator, to re-protect the area afterward
- Nitrile gloves and eye protection for any solvent product, and a shaded, ventilated spot to work
Pre-treatment Steps
Start with a clean, dry surface: Chemical Guys says never to attempt sap removal from a dirty surface.
Choosing A Safe Location
Work in the shade on a cool panel. A hot panel dries solvents and lubricants too fast, and Turtle Wax’s remover directions assume you will work one small section at a time.
Washing The Car
Rinse, wash with car shampoo and dry the whole car, not just the sticky spot. Then run a fingertip over the spot: if it feels sticky or raised, it needs more work. If it feels smooth, you are done and can move on to wax.

Effective Removal Techniques
Work through these in order and stop as soon as the paint feels smooth. Each step is harsher than the one before it.
Step 1: A stronger soap solution
Turtle Wax’s first escalation is simply to increase the concentration of car wash soap in your bucket and spot clean the sticky areas, or to put a little soap straight on the mitt for leftover spots. It is the lowest-risk move, but on thick pine pitch it may not be enough.
Step 2: A bug, tar and sap remover
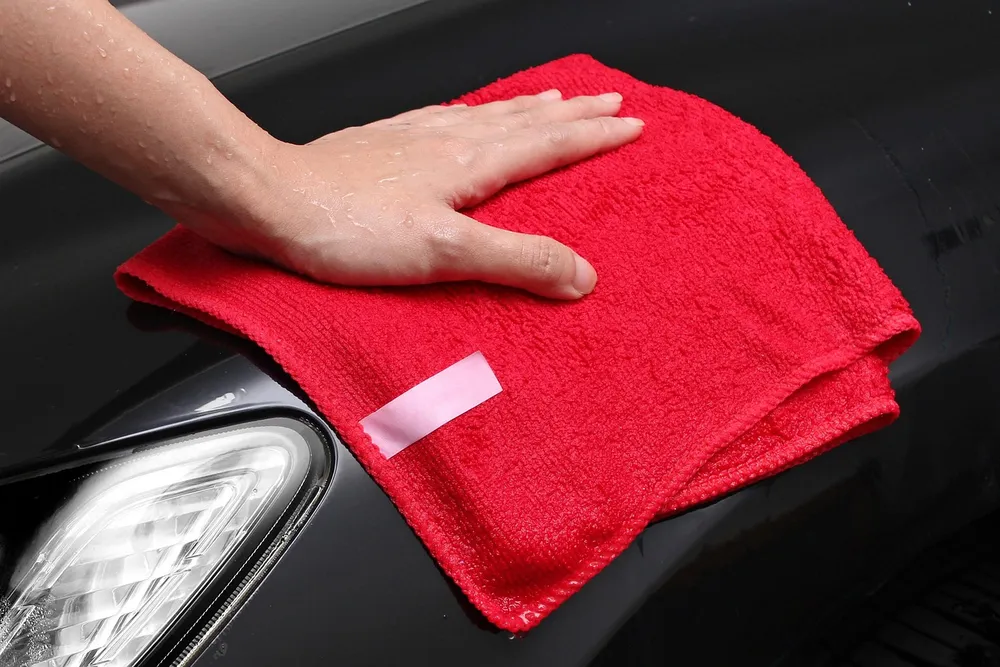
For stubborn pitch, Turtle Wax’s directions for its Bug and Tar Remover are specific and worth copying for any similar product: spot test one small area first, let it dwell for about 10 seconds, reapply and wait a little longer if residue remains, wipe with a fresh microfiber towel, and work one 1 foot by 1 foot section at a time. Always follow the label of the product you actually bought, since dwell times differ.
Griot’s Garage describes its Tar and Sap Remover as a d-limonene solvent blend and says it is safe and effective on clear coat, most plastics, wheels and chrome. Notice the words “most plastics”: test first, and keep any solvent off unpainted or textured trim you are unsure about. Because these removers also dissolve wax, plan to re-wax the area.
Do not let a remover dry on the paint. Re-wet the cloth, wipe, and rinse the section before moving on.
Step 3: Clay for what is left
If a hard, bonded speck survives the remover, a clay bar is the right tool. Chemical Guys’ method is a good template: spray the sap and the surrounding panel generously with clay lubricant, flatten the clay, use straight overlapping passes with light to moderate pressure (no circles), and fold the clay every few passes to expose a clean surface. Stop when the surface feels smooth and passes the plastic-bag test. If you drop the clay, throw it away: grit stuck to it will scratch the paint. For the full routine, see our guide to what a clay bar does for a car.
Step 4: Polish if you can feel a dent
Chemical Guys notes that a light finishing polish may be needed after claying to remove micro-marring, and that deeply etched areas may need a light compound. Etching leaves a slightly indented spot even after the sap is gone, so run a fingertip across it. If it is still dented, polishing is the next step, not more clay.
Which Method Is Strongest, And What Does It Risk?
| Method | Strength on pine pitch | Risk to paint | What the maker sources say |
|---|---|---|---|
| Car soap, regular wash | Low | Lowest | Turtle Wax: thick pine, cedar and fir sap rarely comes off with soap and water alone |
| Stronger soap solution, spot cleaned | Low to medium | Low | Turtle Wax: increase soap concentration in the bucket and spot clean |
| Bug, tar and sap remover (solvent) | Medium to high | Medium: strips wax; spot test | Turtle Wax: about 10 second dwell, one 1 ft by 1 ft section at a time, re-wax. Griot’s: d-limonene blend, clear coat safe per listing |
| Isopropyl (rubbing) alcohol | Medium on fresh sap | Medium: strips wax and sealant | Chemical Guys: softens fresh sap but strips wax and sealant from surrounding paint |
| Clay bar with lubricant | High on bonded residue | Low to medium: can mar if dry or dirty | Chemical Guys: straight passes, light to moderate pressure, fold often, discard if dropped |
| Polish or light compound | High on etching | Medium: removes a thin layer of clear coat | Chemical Guys: light finishing polish after clay, light compound for deep etching |
| WD-40 Multi-Use Product | Unverified | Spot test first | WD-40 Company lists sap removal among user-submitted uses; those are not tested procedures |
The strength and risk ratings are our own reading of those sources: begin at the top and only move down when the row above has failed. Razor blades, scrapers, acetone, gasoline and paint thinner are deliberately absent. None of the maker guides call for them, and our guide to whether acetone damages car paint explains why that class of solvent is a bad idea on a finish you want to keep.
What Is Actually In A Sap Remover, And How To Use It Safely
This is the angle most guides skip. A sap remover is mostly a hydrocarbon solvent, and the safety data sheet shows it. Griot’s Garage publishes one for its aerosol Tar, Bug and Sap Remover (revision dated July 1, 2020, so check the current label of whatever you buy). It lists petroleum distillates at 30 to 40 percent, d-limonene at 10 to 25 percent, heptane at 5 to 15 percent, and isopropanol at under 10 percent. The sheet carries the signal word DANGER and the statement “Extremely flammable aerosol.”
That has practical consequences. The same sheet says to use it only outdoors or in a well-ventilated area, to wear protective gloves and eye protection, to avoid breathing the spray, and to keep it away from heat, sparks and open flames. Do not use a solvent remover in a closed garage next to a water heater or a running engine, do not smoke while working, and lay used towels out flat outdoors rather than balling them up. Even a milder liquid remover deserves the same habits, and you should read its own label.
Popular Home Remedies: What Holds Up
- Rubbing alcohol: Chemical Guys confirms it softens fresh sap, but it takes your wax with it. Use it sparingly on a small spot and re-wax.
- Hand sanitizer: a widely repeated tip, but none of the maker guides we checked recommend it. Since these products are alcohol based, the same wax-stripping caveat applies, so rinse the area well and re-wax.
- Peanut butter, mayonnaise or cooking oil: the previous version of this page repeated the peanut butter tip. We could not find any paint maker or detailing brand that supports it, so we removed it.
- WD-40: WD-40 Company says its Multi-Use Product is safe on painted metal when used as directed, and its uses list includes sap removal, but that list is compiled from end-user submissions rather than lab tests. If you try it, test first, wipe gently, wash the spot with car soap afterward and re-wax.
Post-removal Care
Solvents and alcohol strip whatever wax or sealant was on that spot, which leaves bare clear coat that sap will bond to again. Chemical Guys recommends applying wax or sealant to the cleared area before the car goes back under tree cover, so any new sap bonds to a sacrificial layer instead of the clear coat.
Wash the spot once more with car soap to remove remover residue, dry it, and apply your wax or sealant with a clean applicator. If you are not sure which to choose, our comparison of car wax vs paint sealant covers the trade-offs.
Preventive Measures
- Park away from pine, cedar and fir when you can. Thick resin trees are the ones that cause this problem.
- Wash sooner after parking under trees. Fresh pitch is the easiest pitch.
- Keep a current coat of wax or sealant on the roof, hood and trunk lid, the panels that sit under branches.
- Use a car cover that fits well when you cannot avoid a tree, and never put a cover on a dirty car, because dragging it over grit scratches the paint.
Common Mistakes To Avoid
- Rubbing dry or scrubbing. Chemical Guys says to work from a clean surface and avoid circular motions, and clay needs lubricant or it causes micro-scratches.
- Skipping the spot test. Even a product that claims to be clear coat safe should be tested first, and “most plastics” is not “all plastics.”
When To Seek Professional Help
Stop and see a detailer if the spot still feels dented after claying and a light polish, if the paint looks cloudy or hazy where the sap sat, or if you see cracking or peeling clear coat. A professional can judge how much clear coat is left before compounding. Also stop if you are unsure what the paint is: matte finishes need different handling, and Chemical Guys specifically calls for a fine-grade clay, generous lubricant and very light pressure on matte paint.
If the sticky stuff on your car turns out not to be sap, our guides on removing adhesive from a car and getting paint off a car cover those cases, and our page on removing pitch from car paint gives a second take on the same problem.
Frequently Asked Questions
How Do You Get Dried Pine Pitch Off A Car?
Wash and dry the car first. If the pitch is still hard, use a stronger car-soap solution, then a bug, tar and sap remover with a short dwell, wiping with a fresh microfiber towel. Clay any bonded residue with plenty of lubricant, then re-wax. Do not scrape or rub dry.
How Do I Get Pine Pollen Off My Car?
Pollen is not sticky like pitch. Rinse it off first, then wash with car soap and a clean mitt, dry the car and add wax or sealant. Do not wipe dry pollen with a cloth, because the dust can scratch the clear coat.
Will WD-40 Remove Pine Sap From Car?
WD-40 Company says its Multi-Use Product is safe on painted metal when used as directed and lists sap removal among user-submitted uses, but that is not a tested procedure. If you try it, test a hidden spot, wipe gently, wash the area with car soap afterward and re-wax.
Does Pine Sap Damage Car Paint?
It can. Chemical Guys says sap bonds to clear coat as it cures and can etch it, leaving a permanent indentation if left for weeks or months, and Turtle Wax says the terpenes in sap act like a natural paint thinner. Removing it promptly is the best protection.
Will Pine Pitch Come Off In A Car Wash?
Usually not. Turtle Wax says thick cedar, fir and pine sap rarely comes off with soap and water alone, so an automatic wash tends to leave it behind. Spot treat it with a stronger soap solution or a sap remover first.
Conclusion
Remove pine pitch with the least aggressive method that works: wash, a stronger soap solution, a sap remover with a short dwell, then clay with lubricant, and polish only if you can feel etching. Use solvents outdoors or in a ventilated space, away from ignition sources, and re-wax afterward. The sooner you act, the easier every step gets.
Products related to this article
Sponsored / affiliate links. As an Amazon Associate I earn from qualifying purchases. I may earn additional commission from eligible campaigns.